
If you order the nudge bar and over-riders they come as separate parts and need to fitted together. This requires 4 x M8 bolts with spring washers and normal washers. I had 35mm bolts so I needed to trim these down to 25mm as the fitting is quite short.
The parts you need are:
2 x Over-riders
1 x Nudge Bar
1m of 10mm threaded bar
1m of chromed tubing to place over the bar
12 - 16 half nuts
Cut the threaded bar into 4x 25cm lengths and then cut the chrome tubing making 4 x 17cm lengths.
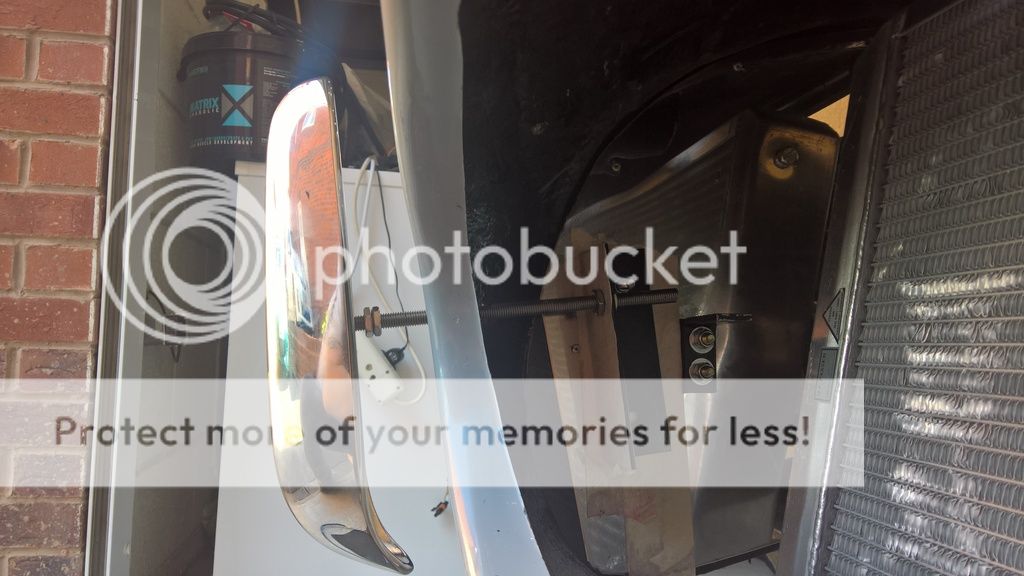
I drilled the top left hole roughly where AK had marked on the bodywork and then placed the over-rider in position. This allowed me to put into place one of the brackets that come with the AK kit so it could be marked out. For ease of adjustment I only drilled the top hole in the wing and made an elongated hole in the bracket for the threaded bar. This was then attached with an M8 bolt and nyloc.
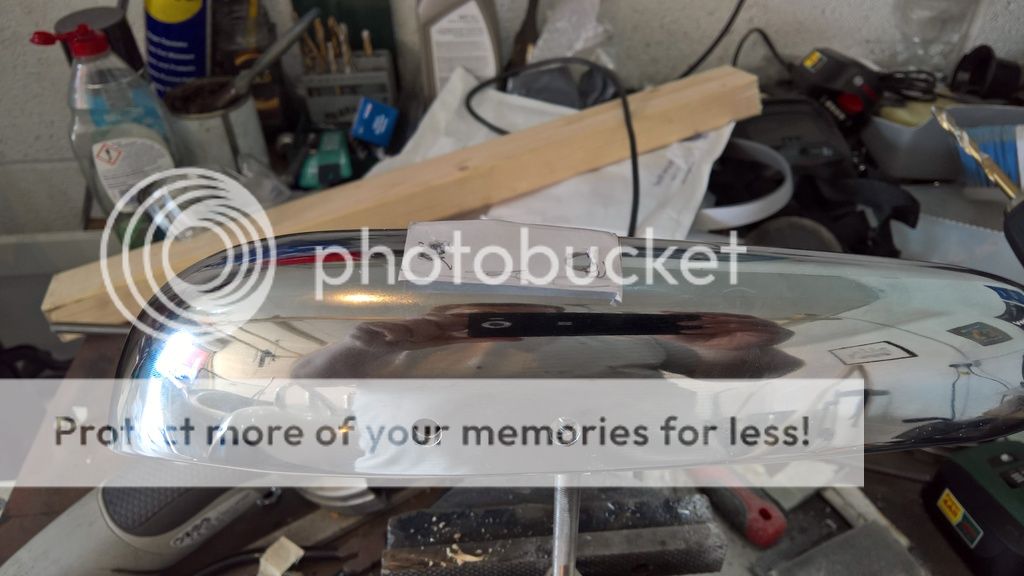
The next task was to make a paper template of the fitting and then mark and drill two holes in the first over-rider so that the nudge bar could be bolted together.
Connecting the two parts together is again a mixture of measurements and by eye, but its fairly straight forward. Just take your time.
 Once you have the nudge bar bolted together, offer it up to the car with just the top threaded bar attached in both over-riders and repeat the process of attaching the top bolt in the bracket.
 Then put into place the bottom threaded bars, mark out the holes on the bracket and align the nudge bar how you want it. I have done mine about an inch away from the car but some people prefer it much closer.
Now comes the fettling bit which frankly takes some time and involves taking the bar on and off a few more times.
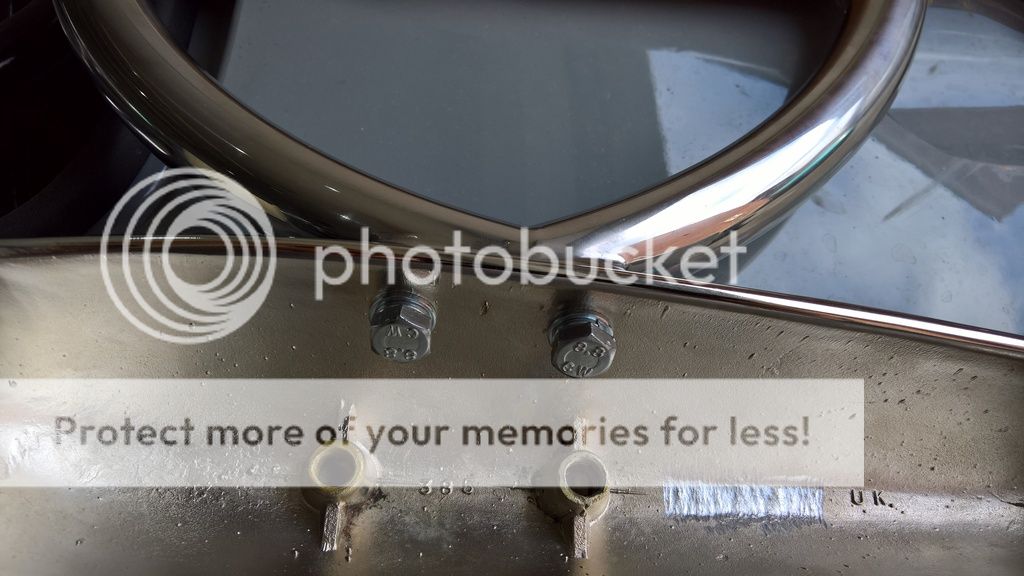
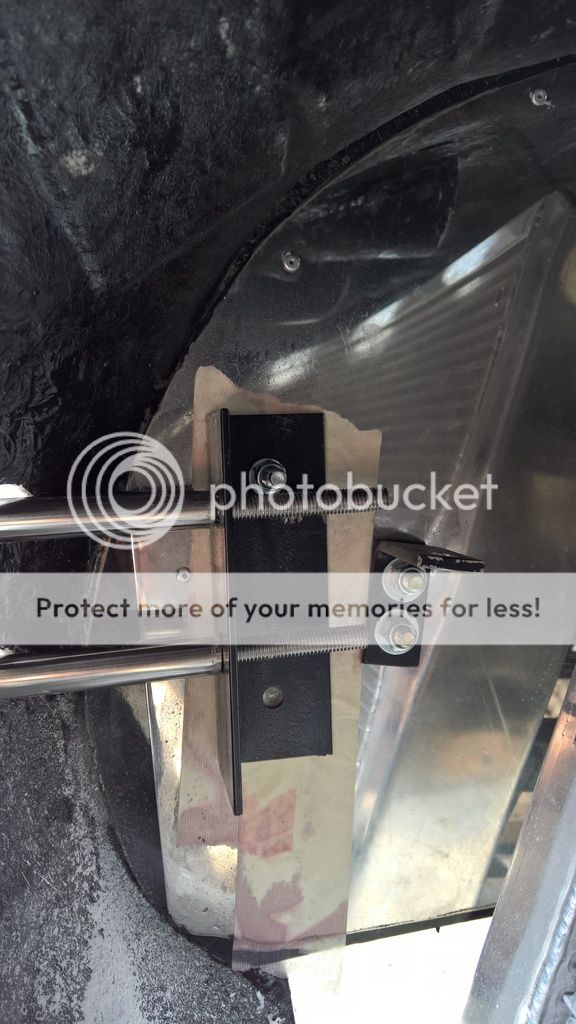
You need to sand/file the holes and add the chromed tubing ensuring nothing catches on the bodywork when its fitted. I chose to add a half nut onto the threaded bar before adding the tubing, then to put another on after the tubing to hold everything in place. I then placed another half nut either side of the bracket.
I checked with AK and they drill the holes and leave a small gap around the chrome tubing for paint but they don't use grommets.
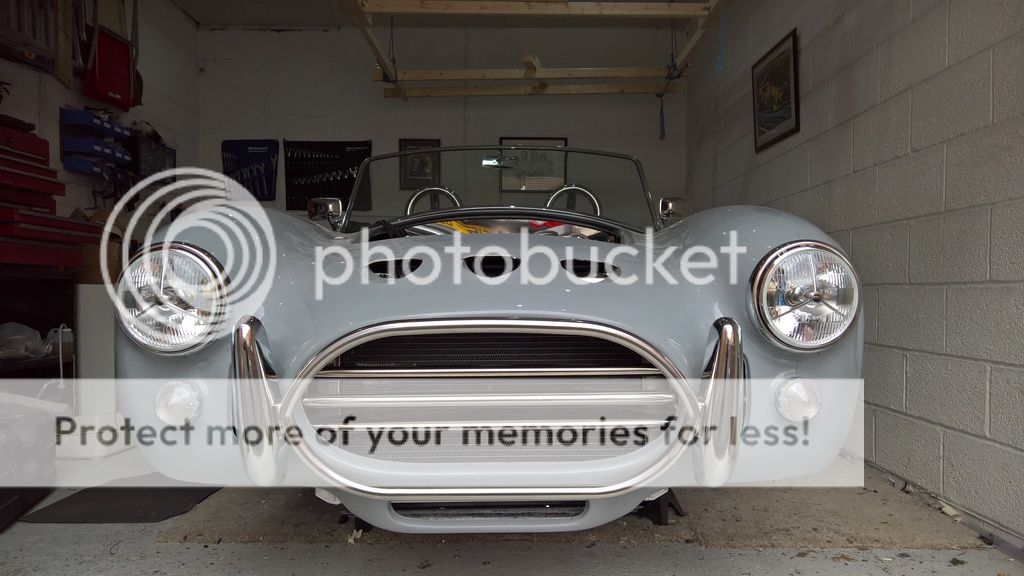
The picture on the right also shows the splitter wing bracket. This is simple an angle bracket with two M8 bolts through, again purely fitted by eye to make the splitter wing look level.
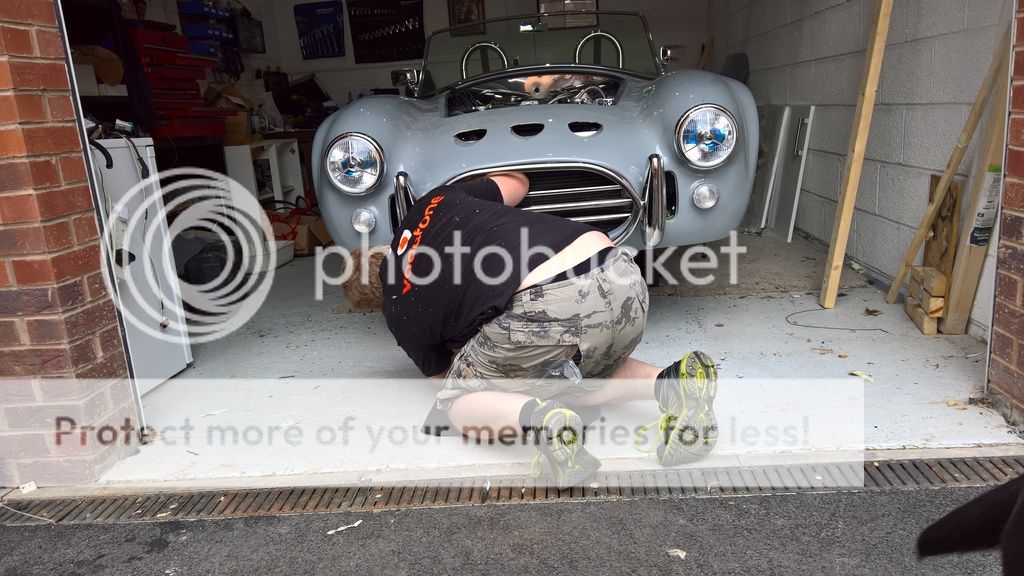
As it was warm today I decided to work in my shorts rather than the overalls something that caught me out when I ripped them on the grate at the front of the garage. The Mrs wasted no time in picturing me with the duck tape trying to hold the shorts together.
Anywho.... once everything aligns how you want it just add the final nuts, tighten everything up and job done.
No comments:
Post a Comment