Sunday 26 June 2016

More working in the boot

I had an unexpected half day in the garage today which allowed me to tackle the outstanding list of jobs on the rear end of the car, I also managed to get my mechanic mate to call in for half hour and he sorted the lockwire on the calipers for me. That saved me a job :-)

Much of today was spent on the wiring in the boot. I decided to replace the wiring on the lights which was using bullet connectors with better plastic connectors. I didn't go with the weatherproof ones as its in the boot, although I have bought weather proof for the front lights.

I had a little problem with the earth on the loom not quite reaching the chassis bolt for the boot so I decided to drill a new hole right through the chassis and into the boot. The added bonus here was it should be hidden out of the way with the battery so I can box it in. Attached to this was the AK loom earth and a separate battery wire negative which went up to the earth bar shown in a previous blog. From the earth bar I then attached the battery negative, the engine negative, the fuel sender earth and the indicator earth.

Next was the simple job of attaching thing in place with cable ties and putting all the wires in conduit. Not a difficult task but for some reason it took ages to do.

I have also started to make the battery tray - ill post about that separately once I have completed it.

Finally, it was time to cover the boot in SilentCoat to reduce vibration, road noise and differential noise.


This leaves a much smaller list than I had yesterday. I am quite pleased with the weekends work and looking forward to getting the back end of the car finished next weekend.
  1. Make and fit battery tray
  2. Make and fit bracket to mount fog/reverse lights on nudge bar
  3. Fit a differential plate to protect the fuel lines

Rear Nudge Bar and Boot Lock Pt.2

Yesterdays job was to fit the rear nudge bar and complete the lock fitting.

AK use self tappers on the boot handle as its easier but I had decided to use m4 countersunk bolts instead, which meant I needed a larger access hole than I had planned in the boot. Easily sorted and a few minutes later I had the latch and handle secured with the excess handle bar trimmed down.

A few tips for the job:
  1. Make sure you can fit the latch mechanism flush with the most inner part of the boot skin as alignment to the boot floor part of the catch is very difficult if you don't.
  2. You need to mount the boot floor part of the catch right up against the boot lip in order to get a good smooth fitting onto the handle. drilled the hole close and then used the tightening of the bolts to pull it into place.

This meant I had to get the lines right on the boot lid again as after fitting the lock and latch it was sitting a bit high. A combination of lowering the u-shaped catch and a bit more sanding of the lip of the boot got me to a place where I was comfortable with the lines again.


The nudge bar was next and I was pleased to say that the AK markers for the holes were pretty accurate just about 1cm out from the height I decided to mount it at. The chrome on the nudge bar is 16mm so I decided to drill holes at 22mm so I could put rubber grommets in to the body work and then slot the nudge bar into that, locking into place inside the boot with the 8mm threaded bar purchased from brasscraft when I bought the bars.


The length of the bars required varies. I started of with 4 lengths, 2 x 25cm and 2 x 20 cm and then trimmed them down to the required size as I fitted the overriders.

Getting alignment of the bars is ideally a two man job, but after that you can easily manage this on your own.

One thing I had noticed is that stopping and starting on the build makes me forget things. I had purchased a load of stainless nuts from Brasscraft for fitting the nudge bars and after searching fro half an hour I gave in and went to buy some more from Screwfix. Cue first annoyance - Brasscraft were selling them at, if I recall correctly 50p each. Screwfix sold a bag of 100 for £14.

Cue second annoyance.....no sooner had I got home, opened the bag and used some of the nuts. I looked on the shelf and in plain sight was the other piece of threaded bar, which I had screwed the nuts onto for safe keeping!!!


I took the opportunity whilst in the garage to quickly drill the holes for the roll bar escutcheon plates; a job which has been on the waiting list for a while. This allows the rear end of the car to look almost complete and actually my "rear end" list is down to just a few small(ish) jobs.

  1. Make and fit battery tray
  2. Add earth from chassis and earth bar to battery terminal
  3. Make and fit bracket to mount fog/reverse lights on nudge bar
  4. Lockwire the rear calipers (because I forgot during chassis build)
  5. Fit some silent coat in the boot
  6. Cable tie to loom in the boot into place
  7. Fit a differential plate to protect the fuel lines


Sunday 12 June 2016

Rear Wiring and Wing Mirrors

The wiring loom is another part done job which I have been trying to complete.

After identifying the legs and loosely running the loom to all areas of the car I have wired in the rear lights & fuel sender.

This involved spending a lot of time in the drivers side rear wheel arch drilling and cable tying the wires into place and then undoing it and doing it again because I forgot to put the battery wire in a protective loom conduit.

I also had to adjust the loom pulling back the handbrake wiring from the normal AK place underneath the drivers door back to the centre console area where I will have my electronic handbrake switch.

I'll post more pictures once I make more progress.

I saw a post this week too for Ken (from the forum) selling some IVA wing mirrors so I snapped them up. I'll likely replace them after IVA but they are ok for now. Easily fitted by bolting into the lowest bolt holes from windscreen.


Boot Locks and Latches

As with many things, of you are looking for explicit instructions in the manual you wont find it for fitting the locks and latches so I'll try to add some more info on here.

First up try to find a centre line on the car. This is a combination of a number of measurements from measuring the width of the car, to the gap between roll bars, to the width of the boot. Ultimately I recommend going with what looks right, rather than what's perfect by measurement as the car is not symmetrical.

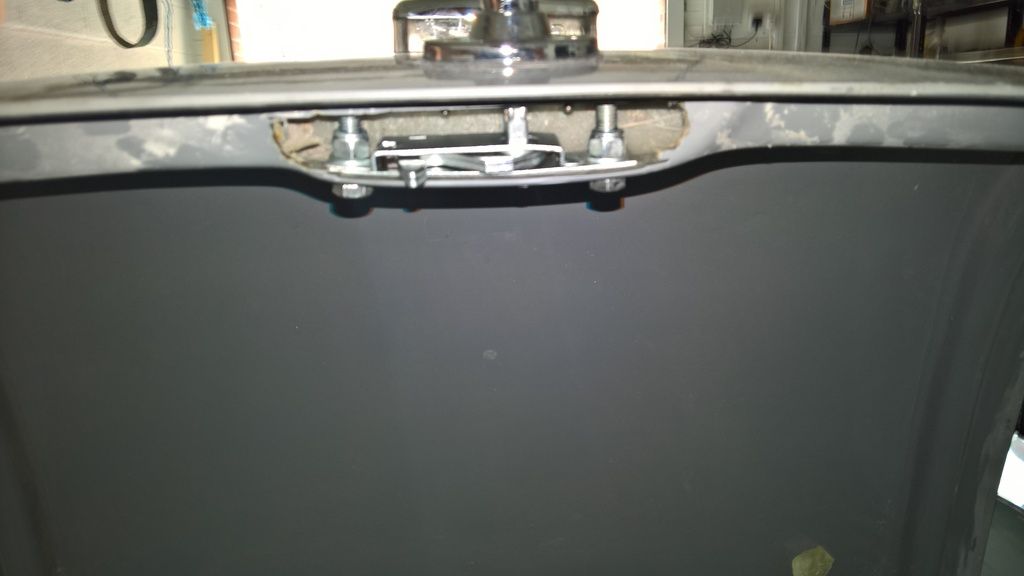
Once you have a centre line down the boot (to where the handle goes) then measure 230mm either side of the for the boot hinges. You can make a paper template of the hinges as they don't come with a rubber gasket to use which can then be used to mark the holes or you can lay the hinge on its side in position to mark the holes.

Don't forget to get your gaps around the boot right before you drill!

Once you have drilled one side then make a template of the actual holes and use this to mark the other hinge otherwise you will end up not quite accurate across both hinges (which is one of the attention to detail things that winds me up)

Bolting them on it easy, attach to the body first then get a helper and attach to the boot.


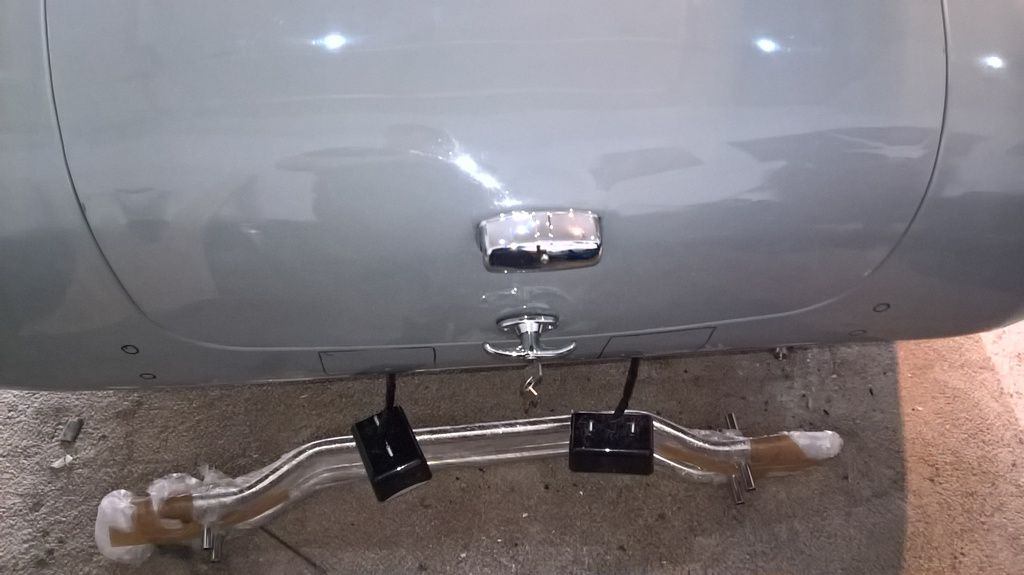
Next mask up for the boot light. This task is very straight forward, just use the gasket to mark out where you want the light and then drill two 5mm holes for the bolts and one 7.5mm (countersunk) for the wiring hole. Drill right through both skins of the boot then open up the inside bolt holes to 12mm or 13mm so you can get a socket in to put on the nut (the bolts don't go through both skins)


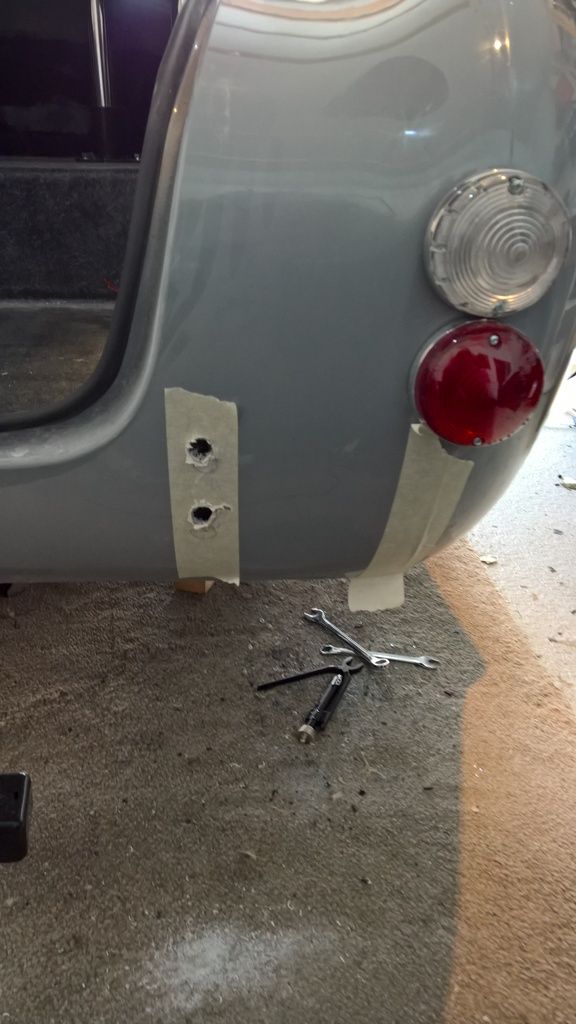
There is measurement in the manual for where to drill the hole for the lock handle so I measure one on another Cobra (thanks Ken). This suggests I needed to drill the hole 45mm from the bottom of the boot. This seemed to work out ok as I drilled it out to 12mm (through both skins) and then 20mm in the outer skin.

Following this you need to cut two small notches for the lock to locate into which you can use the gasket to mark out, as you can with the 5mm bolt holes.

To fit the latch you will need to cut an access hole which you can do with a cutting disk on the angle grinder after drilling a 12mm hole in either end of where the access hole needs to be.

That's as far as I have got with this job, so hopefully the next set of posts will complete this job.


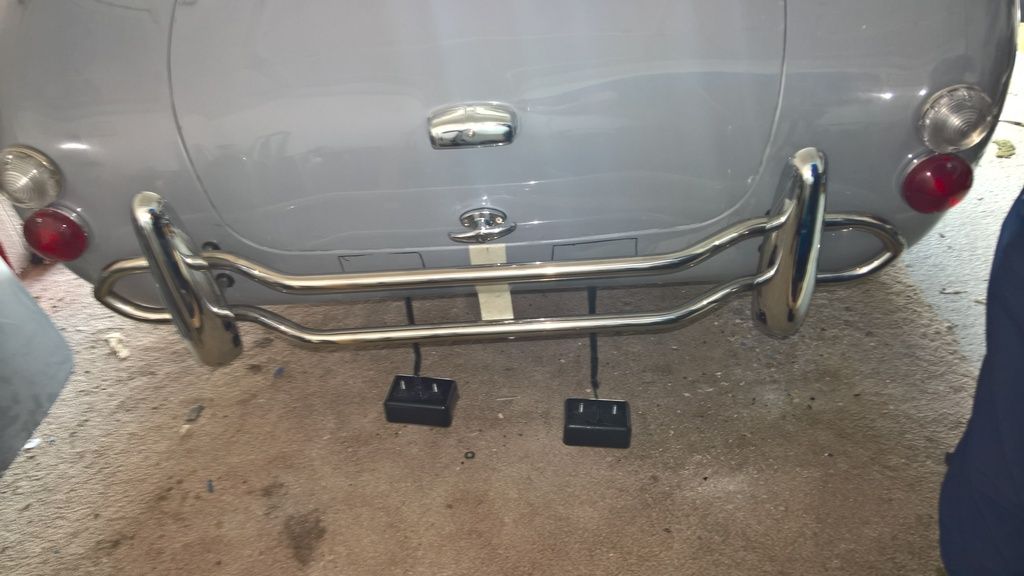
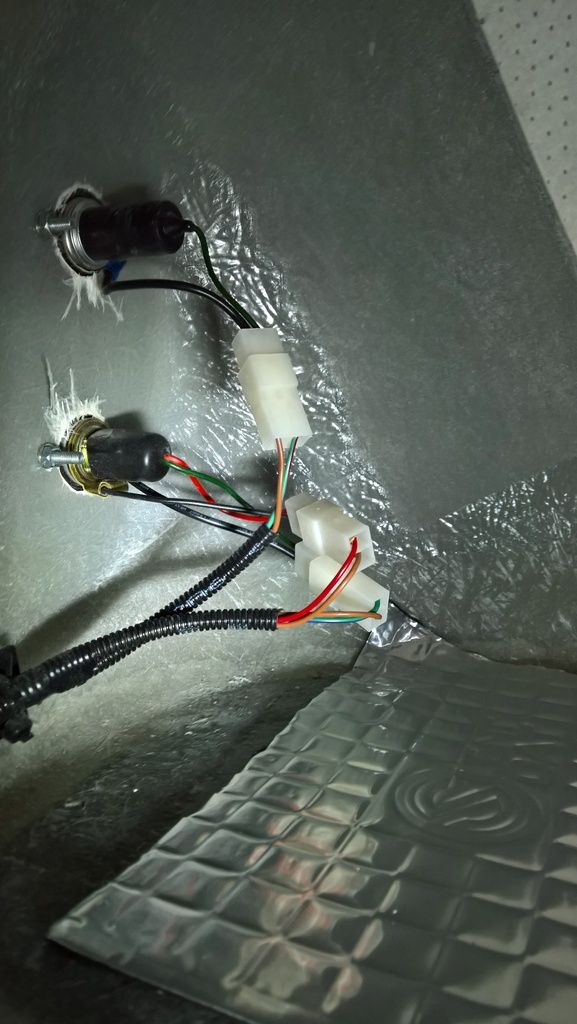
You can see the lights dangling down from te underside of the car. This is because I have drilled and fitted the wiring but intend to attach them to the nudge bar until after IVA where there will be replaced with chromed ones.
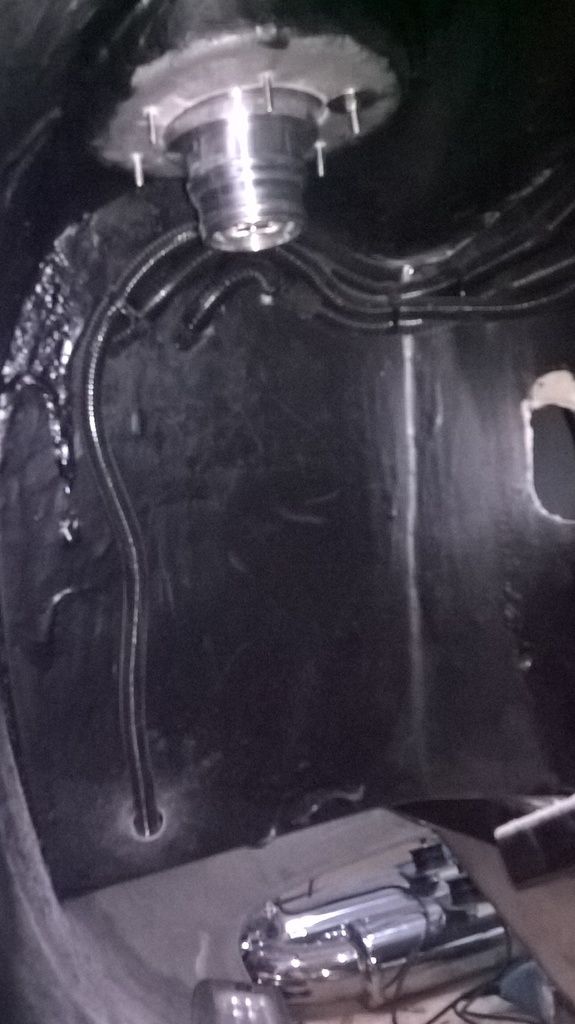
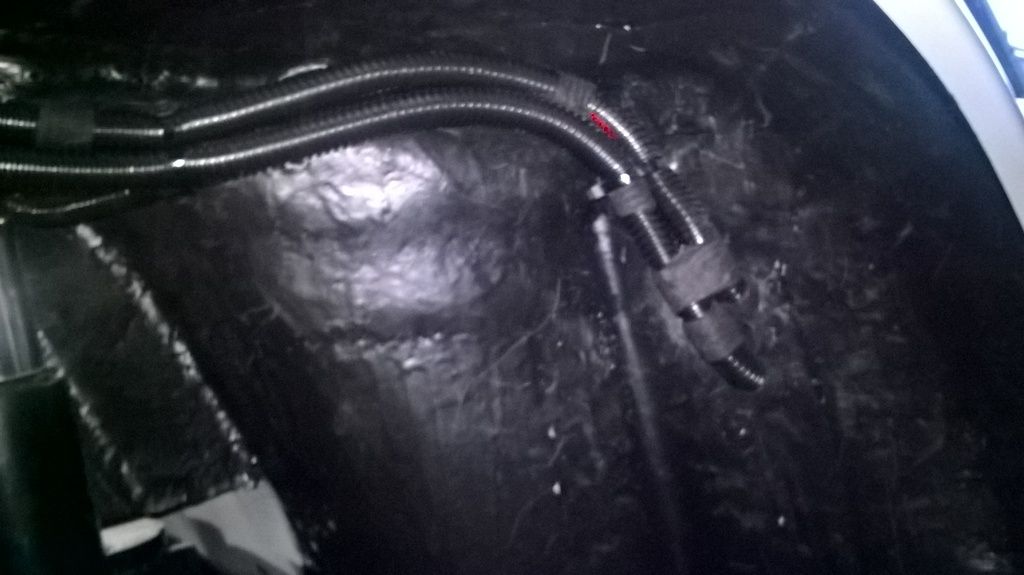
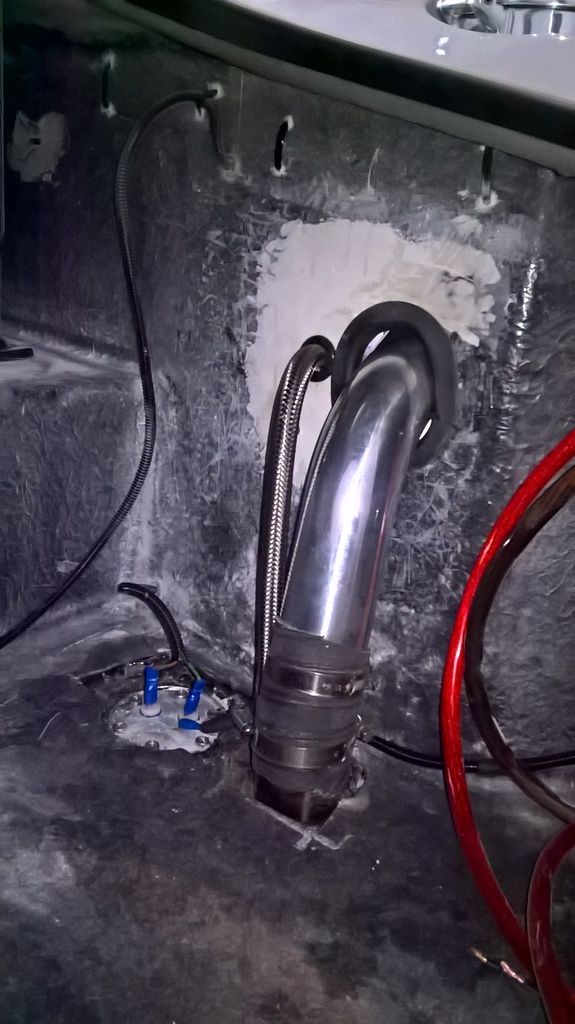
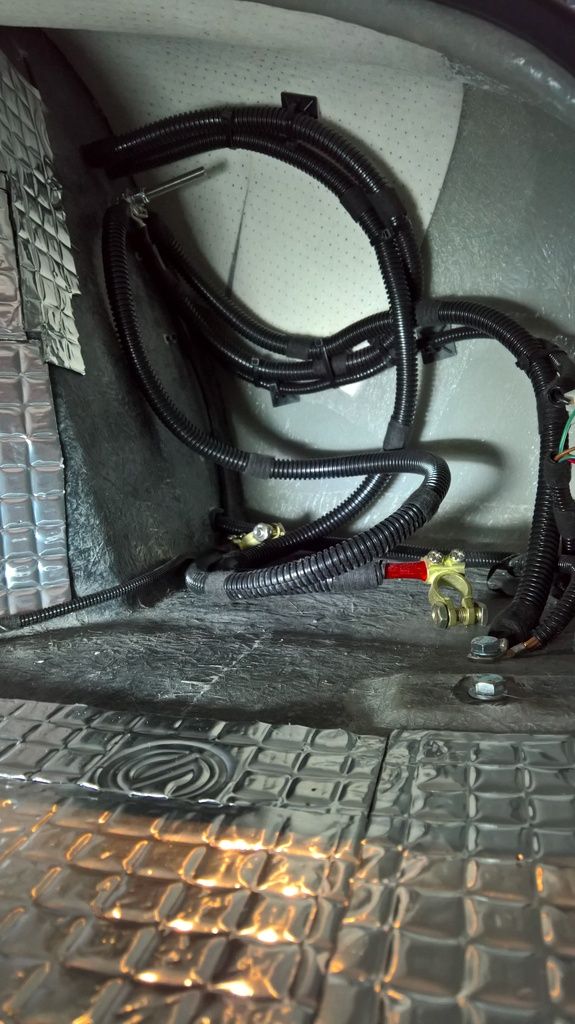


Finishing the Fuel system

Apologies the blog posts are few and far between at the moment. I have a number of things going on at the moment such as my MBA modules which I have to complete by November, a kitchen that still needs finishing and a major contract to do at work.

It doesn't help that I seem to have a number of ongoing tasks on the cob.

This weekend though I managed to finish up a few tasks so here's an update:

First up was to complete the fuel hose and fix the visit from Mr Cockup as Tommy would call it on his blog. After filling in the hole and re-shaping I used some bonnet rubber to make the hole IVA happy and made a separate smaller hole for the breather pipe.

After IVA I'll seal this properly with filler.

The blue think you can see in the picture to the right is a breather valve that has a ball bearing in it which closes the hole if the car rolls over preventing fuel escape, simply held in place with P-clips.

Next job was to fit the earth bar. I am running an earth cable to the engine after advice from the ECU manufacturer saying that most of the car electrical issues he deals with are poor earths on the engine.

This extra wire along with the earth from the loom, earth from the fuel cap and earth from the fuel sender meant a lot of wires in the boot that I didn't want to mess about attaching directly to the battery. Easy sorted with an 8mm bar 100mm long fitted through the chassis and bolted with a nyloc and normal nut on either side of the bodywork. This gives a good bar that all my earth connections can go to before being connected to the battery. You can just see the head of the bolt in the picture (left) to the left of the fuel hose.

My aim at the moment is to finish the back end of the car so next we move onto the boot locks and latches.