Saturday 26 March 2016

T56 Magnum Gearbox Sensors

One, or should I say "another" thing the manual has no mention of how to make the reverse lights come on or how to release the reverse lockout solenoid on the gearbox. The reverse lockout solenoid makes it difficult (although not impossible) to get the gearbox into reverse whilst the car is moving forward; a safety feature and IVA requirement.

Further, if you have a Tremec T56 Magnum gearbox it comes with two speed sensor locations (mechanical and electronic).

I have chosen to go with the electronic version as you can easily buy a blanking plate for the mechanical sensor and an installation kit that has the other sensors in it.

NOTE: there are different electronic speed sensors (VSS sensor) depending on the T56 version you will have bought. I fell foul of this and had to re-order the correct sensor. 

I ended purchasing the parts from differing places but I've since found that bowler transmissions in the USA do all the parts needed:

https://bowlertransmissions.com/p/564/t-56-magnum-installation-set-includes-vss-reverse-lockout-reverse-light


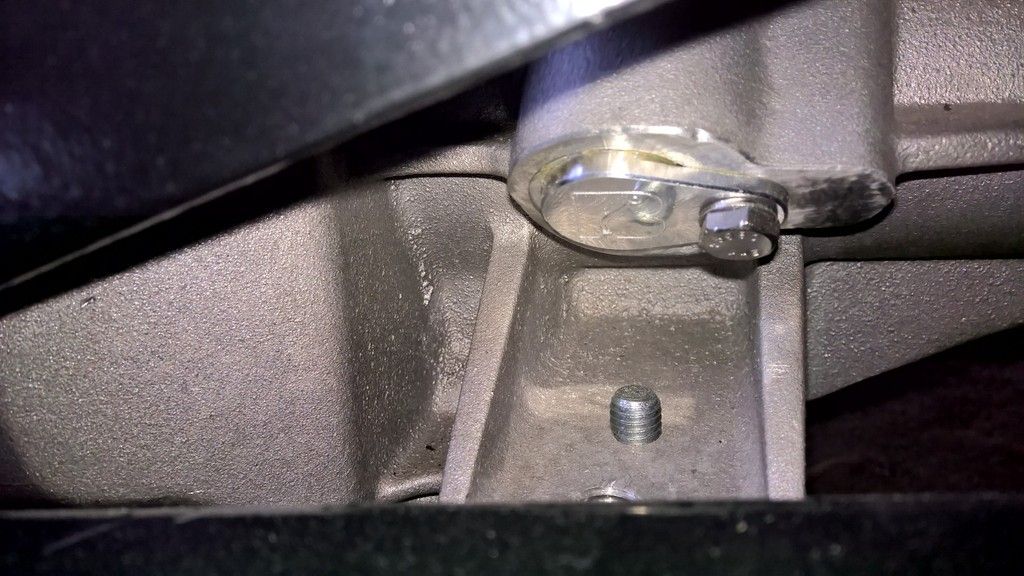
Finally you will need a 1/4"UNC x 1/2" bolt to secure the blanking plate to the transmission, which I got from Kays on ebay.

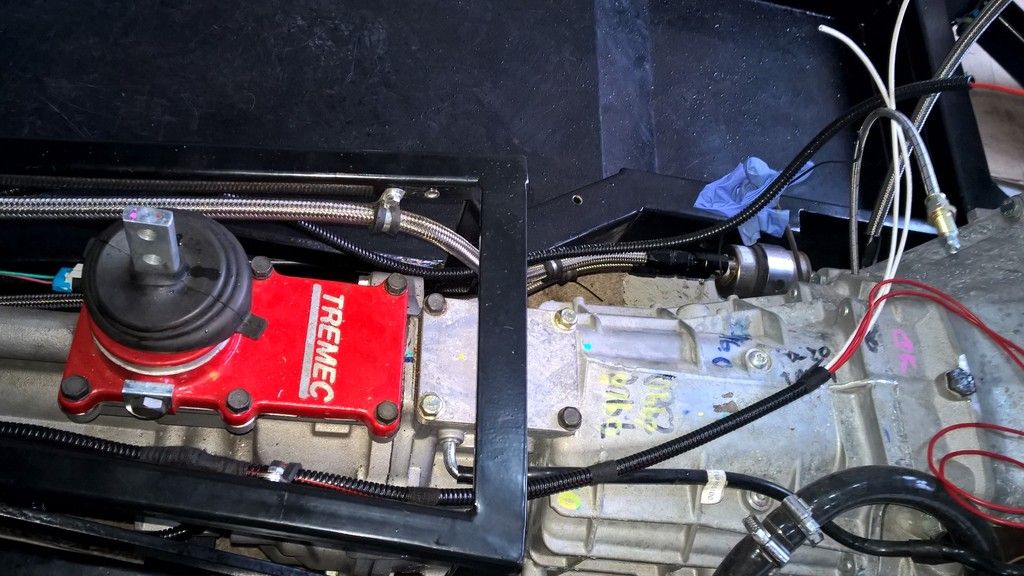
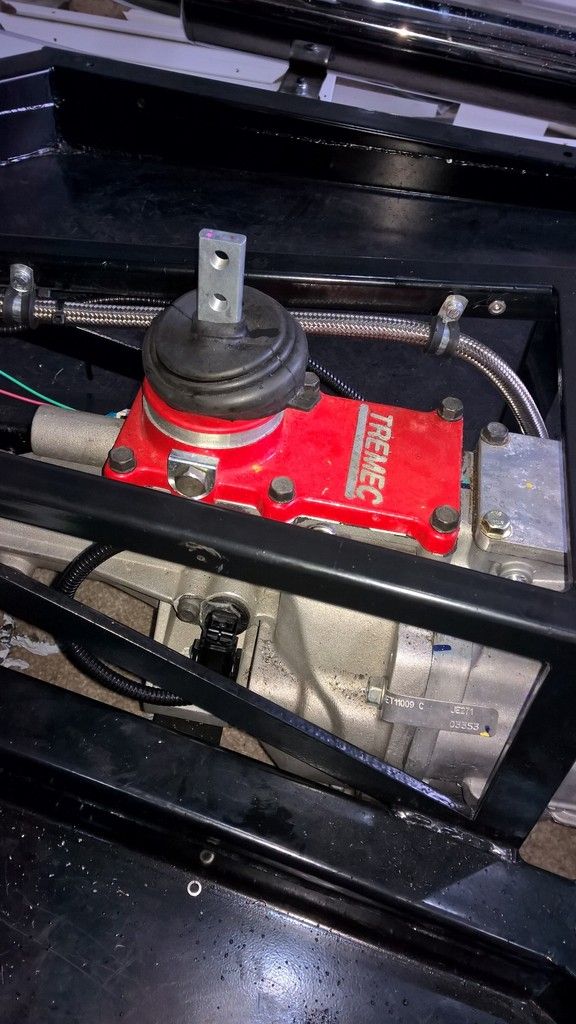
First fit the blanking plate, which is on the left hand side of the gearbox (if your looking down from above with the engine in front of you). 


Next install the reverse lockout pigtail which goes on the sensor to the rear of the gearbox near the shifter.

There is only about 6 inches of wire on each of the pigtails so I extended them using the same colour wires purchased of ebay. There was enough wire added to get them behind the dash when the body is fitted, hopefully making the future wiring job easier. Just for good measure I labelled each set of wires with some cheap labels bought from ebay.

The crimp connectors I bought don't seem to work well so I bought a cheap soldering kit instead and soldered them together. 

This might seem like a daunting task but you can learn to do anything on youtube these days and I found its actually quite easy to do.

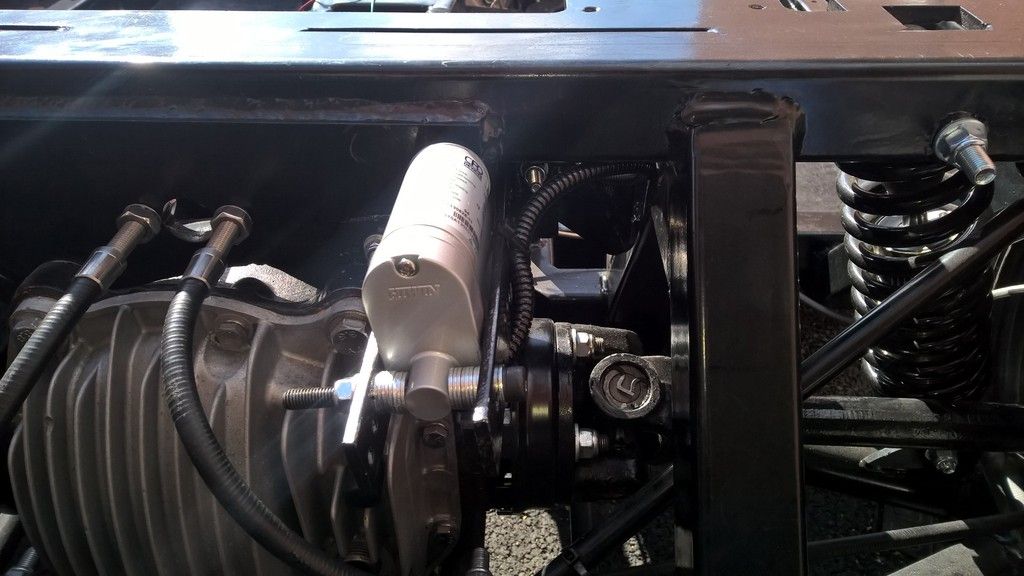
In order to activate the solenoid and allow reverse to be selected I also purchased the following product from Accutech. Basically, its designed for the T56 and will activate the solenoid when the car drops below 5mph. People might advise you that you can force the gearbox into reverse without this but it is not recommended by Tremec and is designed to allow access to reverse in an emergency, not for day to day use.

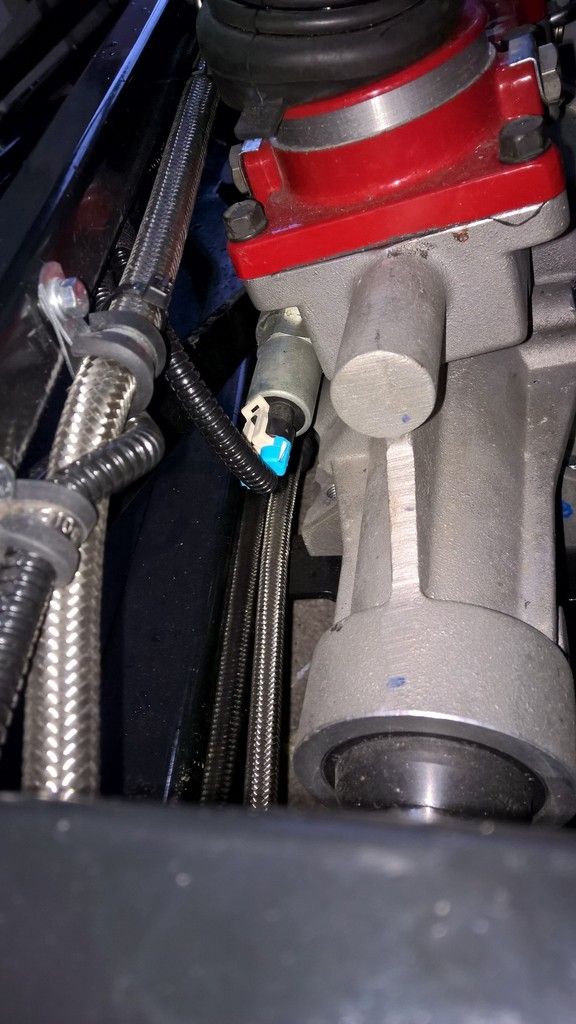
Next up was the electronic speed sensor which is located on the right hand side of the gearbox below the shifter.

All of the wiring has been placed inside 10mm loom conduit to ensure they are protected from damage. 5mm Rivnuts were added to the tunnel frame so that rubber lined P-clips could be used to secure the conduit. 


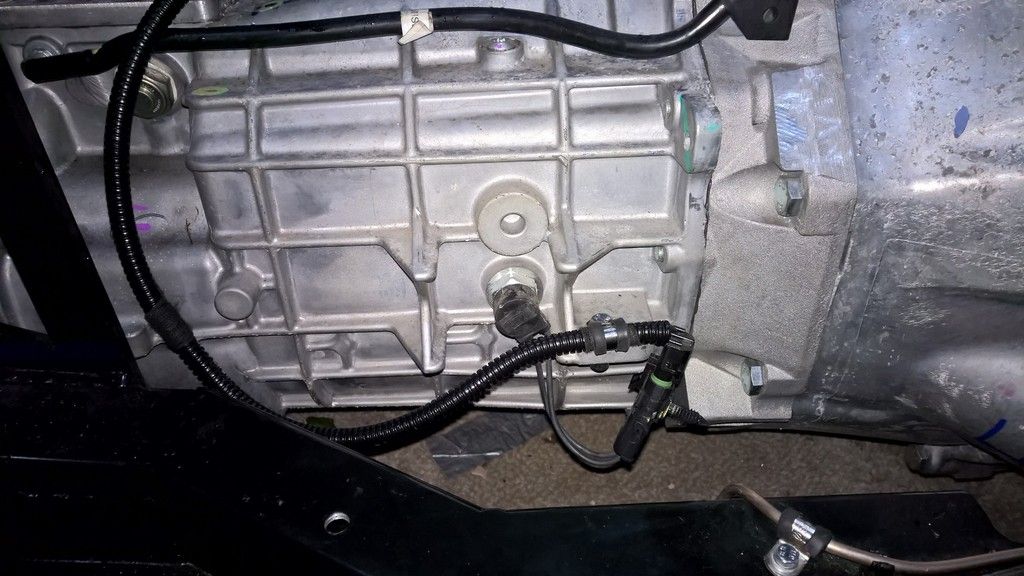
Finally, connect the reverse light pigtail, which, perhaps surprisingly makes the reverse lights come on when reverse gear is selected. This sensor already has a small amount of wire attached so I used one of the mounting "ears" on the gearbox to secure the wire with a p-clip and 6mm bolt.


As stated earlier in the post, all the wires have been extended forward to allow easy routing behind the dash when the body goes on. I am almost at the point where the chassis is ready to accept the body. There is just a small job to secure part of the fuel line which I'll hopefully get to next week.

The picture below shows the extended wires and conduit. 


Friday 25 March 2016

Electronic Handbrake

Given I like to do the odd thing a little differently I decided to fit an electronic handbrake to the car. 

To be honest, I stole the idea from someone on the forum but then fitted it in my own way as I wasn't keen on the implementation on the forum. The handbrake is from http://www.hollinapplications.co.uk/ but the switch they give you is awful so I have bought a double pole aluminium switch from CBS to use with it instead. The key on the switch is it drives the actuator in both directions so it doesnt have an on/off (positive/negative) its more of handbrake on (positive) or handbrake off (positive) hence the need for a double pole switch.

A simple 15 x 15cm steel plate was drilled and bolted to chassis after shaping it to fit around the diff and then a hole was made to fit the actuator through. Angled steel was then used to connect the actuator to the plate utilising 8mm 8.8 bolts for the brackets with an 8mm 12.9 bolt for the back of the actuator. (12.9 is rated at 1200nm whereas 8.8 is 800). The actuator can be adjusted up to 800nm so the bolts chosen should be well within the operating range. 

All steel used was 5mm thick for strength.


I had to thin the steel lever that AK give you to fit the actuator as it was too thick to fit into the gap in the actuator but other than that it is a simple setup because the actuator just pushes the handbrake lever instead of the cable pulling it.


A few minutes creating the test wiring and it all worked very well. I chose to extend the wiring from the actuator so it can be run through the tunnel to the dash which allows easy adjustment of the handbrake should it be needed at IVA.

The two wires are placed within 10mm loom conduit, routed through the handbrake cable hole that AK provides and held into place along the tunnel with 5mm x 20mm bolts into M5 rivnuts. 

Wednesday 23 March 2016

Build Week

This week has finally seen some progress on the car as I had booked the week off specifically to get 3-4 days on it, the rest of the days will be spent on some well deserved family time.

I have a few articles that need finishing which hopefully I'll get to at the end of the week but until then heres one little snippet of this weeks work.
  • Custom heater system
  • Electronic Handbrake
  • Side Louvres
  • Nose Vents
  • Wheel Arches
  • Manifolds
Articles to follow on most of the above but I'll cover the Manifold here.

Basically I noticed that there was a lot of soot around the manifolds suggesting a leak. When I removed the manifold to check it I noticed that the hand made, stainless steel manifolds that AK built and fitted had no gasket or even assembly paste on them. No wonder they were leaking!!

Frankly I find this a bit annoying given they cost over £1500, surely its not that difficult to make a gasket too?

So this became an unplanned job for the week. Following a quick clean with some petrol I added a little assembly paste and reattached the exhausts.

The longest job was re-wiring everything so I could start they engine to check for leaks. 

Luckily all good.

There's not much to see but I do like to add the odd photo to my post.


More to follow....

Monday 7 March 2016

Life gets in the way

Apologies to the readers out there that follow the build but there hasn't been much progress lately. The boxes of parts are building up in the garage and I have a build week planned towards the end of March but in the meantime I have been tied up redesigning the house so Katie can open her Hypnotherapy business www.clearreflections.co.uk

The picture to the right shows the hallway. There used to be a toilet here; to get through the kitchen you had to walk through the room to the right of where I am stood and walk round to the kitchen (it was all open plan). The room to the right is now the therapy room, with the new false wall shown below.


Next I needed to redesign the kitchen, below are the before and after pictures. I have a few tidy up jobs to complete such as pelmet, an extra bit of granite worktop and some holes to fill.

I still need to rebuild a toilet and utility and a dining room in an extension but that call all wait as the Cobra is getting some time next. 

BEFORE


AFTER