
I've also been working on the donor parts and having wasted time and money finding a solution that worked I thought I would post about it. I chose not to sand blast and powder coat as its my first build and I wanted to be able to easily touch parts up a bit if I scratched them whilst putting the kit together.
First and foremost you will need a few items.
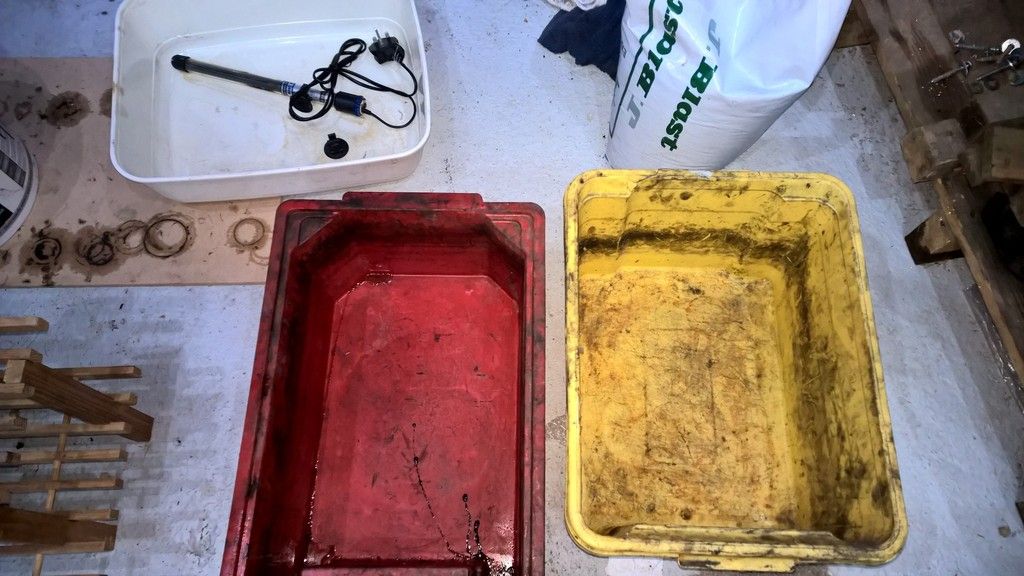
1) A couple of buckets, one to use as an acid bath and the other to use as a wash bath
2) A fish tank heater (I bought one from Amazon 300W Heater)
3) Two tubs of Deox-C (I bought it from http://www.opieoils.co.uk)
4) Some Halfords degreaser
You'll note there is a bag of J-blast in the picture. Some people rate this so I tried it and found it was almost useless on my donor parts.
 My donor parts were pretty rusty as you can see in the picture but they came out fine eventually.
First of all, use a good degrease bath. This will help the acid bath get to the parts to clean them but also makes the acid bath last longer before it needs changing.

I found that buying plenty of wire wheels (of various types) and then using them in a drill and air grinder worked a treat and cleaning the parts up, however, some rust remained and they needed a second acid dip, clean and wire brush to get them good enough for paint.
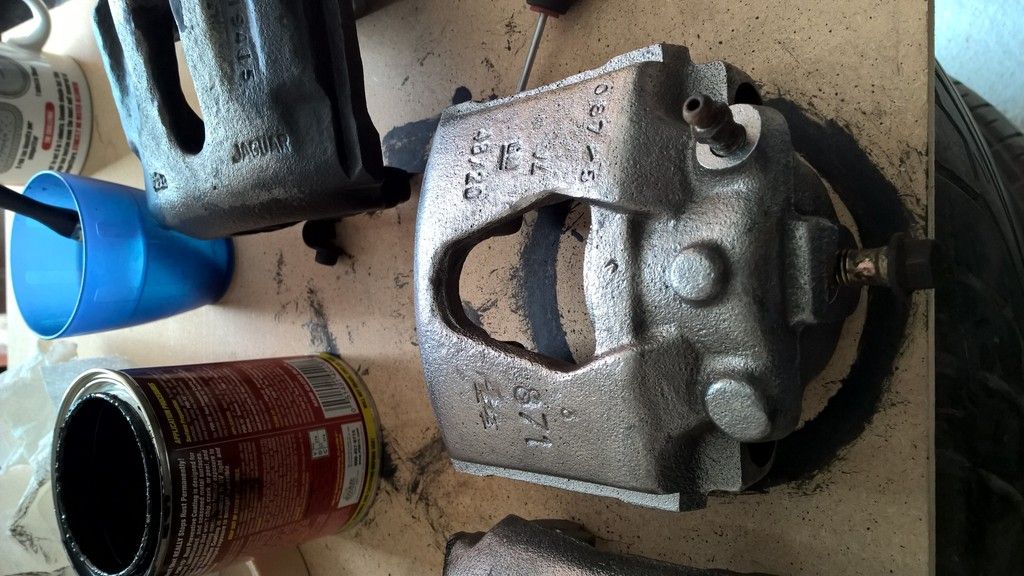
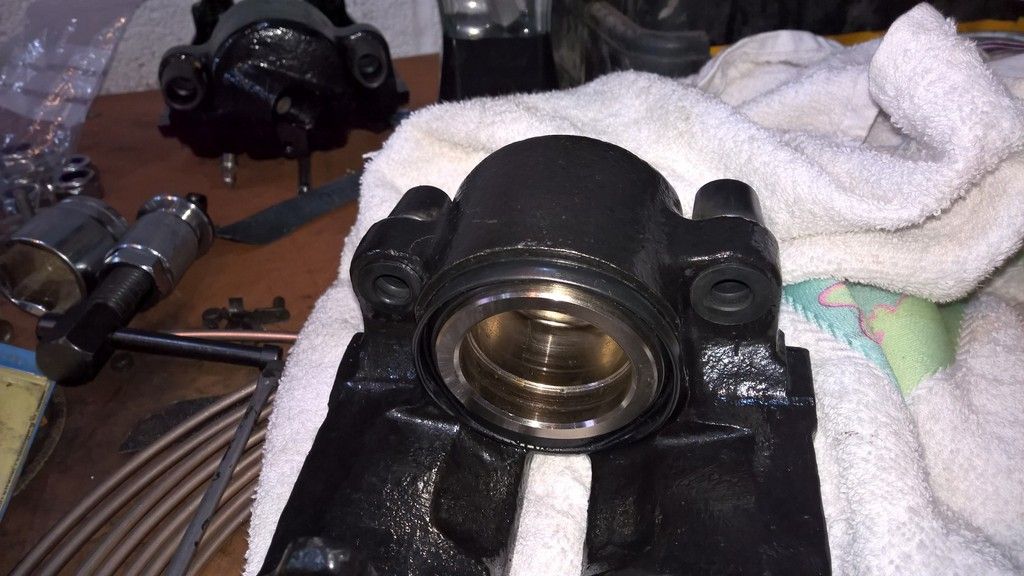
I bought POR15 Caliper paint (black gloss) and POR15 Rust paint as a base coat. The tins are small but it goes a long way. I only used about an inch of each tin on all my donor parts.
The parts are really good quality without the need for paying someone to sand blast and powder coat all the parts.
Where can you get donor parts from?
All the donor parts came from Black Country Jaguar and I really can't fault their customer service. The only thing I was not overly happy with is the amount of times I had to return there to change knackered parts.
When you live in West Yorkshire and you have to drive down to the midlands three times to sort the parts it can get a bit tedious.
First I had to change the stub axle on the half shaft as the thread was stuffed.
Then I realised they had given me a pre-90 back axle and post 90 front so I had Girling 278mm back brakes and ATE 290mm fronts. I wasnt going to change them but was concerned about having uneven braking performance (the new ATE are 295mm rear)
As one of the rear hub carriers was damaged too on the lower fulcrum shaft I asked them to change the calipers and hubs for the newer ATE brakes. They actually gave me X300 calipers and hubs which then meant a third trip to change the other hub carrier to match.