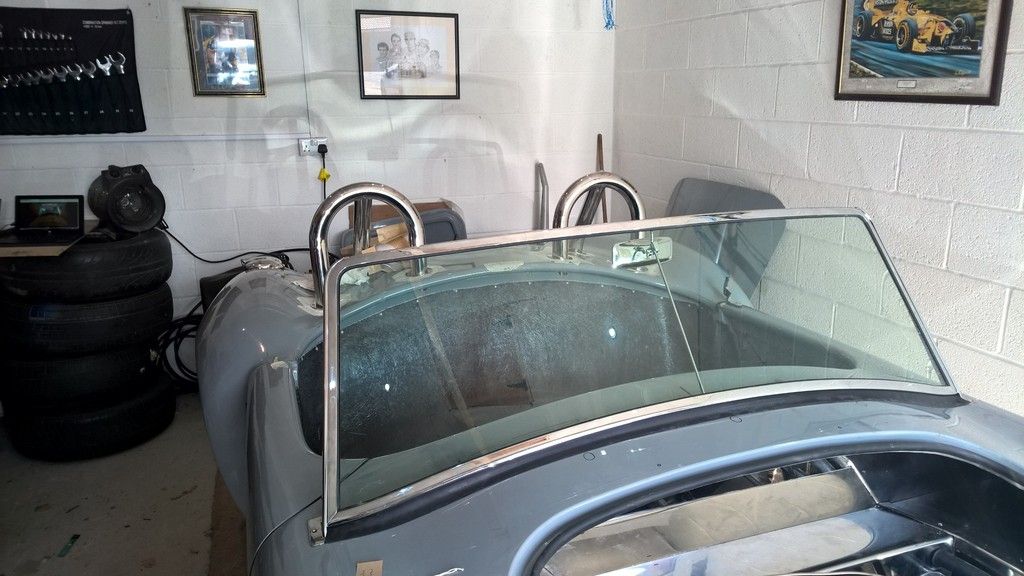
Heres a few tips as I learnt a couple of lessons on this job, something that seems really simple at face value:
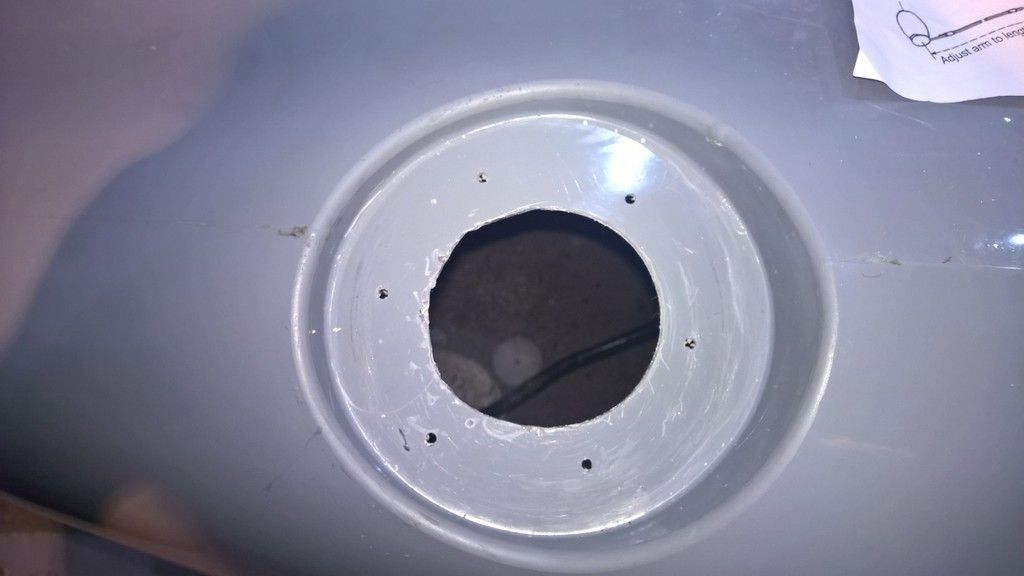
1) The AK manual says drill the hole central and then open it up. In actual fact this causes the filler cap to catch on the bodywork as you screw it on so it helps to drill about 1cm towards the rear of the car - this might not be exact so please make your own call on the exact point to drill.
2) My first thought was to sikaflex the adaptor onto the body after paint but this will only work if you have purchased super flexible hose. I hadn't and it was so difficult to bend the hose and it kept pushing the adaptor back off the car. The adaptor plate comes with partially drilled holes in the underside, you can drill this through with a 3mm carbide drill bit and then open up to 4mm from the top side. You can then use a 8mm drill to countersink the holes without risking damage to the threads as others have reported in their blogs (its certainly close though so be careful). Flat countersunk M4 bolts can then be used to fix the adapter flange to the body and the cap will screw into place (note that the bolt heads must be fully flush with the flange as the cap screws right down onto it).
3) If you have read Tommys Gen I blog then youll note that he made an elongated hole halfway down the wing to fit the tube. This is necessary as the hose wont bend enough which means the 20" tube AK advise you to buy isnt long enough if you want a smaller neater hole. I have addressed this by buying a 2" 45 degree aluminium hose joiner from AP Automotive. I'll post some pictures of this once I complete this part of the job.
4) When screwing the cap down onto the flange have it open and stood at 90 degrees as it will give slightly more clearance to avoid hitting the body work.
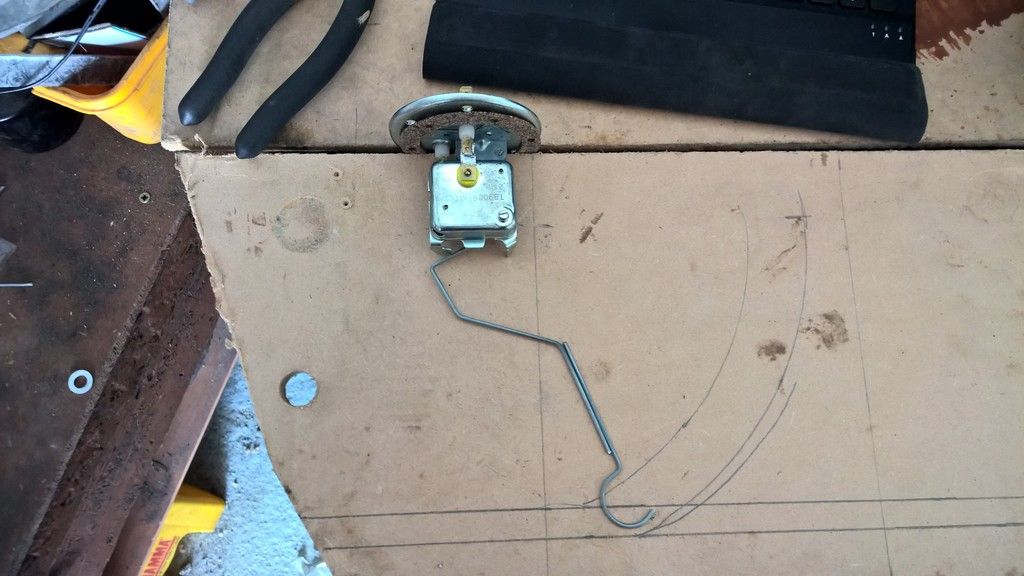
5) The smiths fuel sender comes with a measurement table to adjust the length of the float wire. This doesnt go small enough as the AK tank is 7" deep. AK#s method is to make two lines on the wall however I found using a piece of wood allowed me to lay the sender on its side, draw a line to represent the bottom of the tank and then place a pencil at the point the sender touched the bottom line and just move it up to ensure it could go to the full position. Both wires then need cutting, soldering together and the float adding before placing into the tank with self tapping screws and silicon sealant.
6) The breather pipe is simple fuel hose that goes through the wing and can have a one way valve added and if necessary drill it into the fuel filler. Some people drill and attach this to the filler cap but I have chose to buy a proper valve that will block off if the car rolls to prevent fuel leakage (only £12 from ebay)
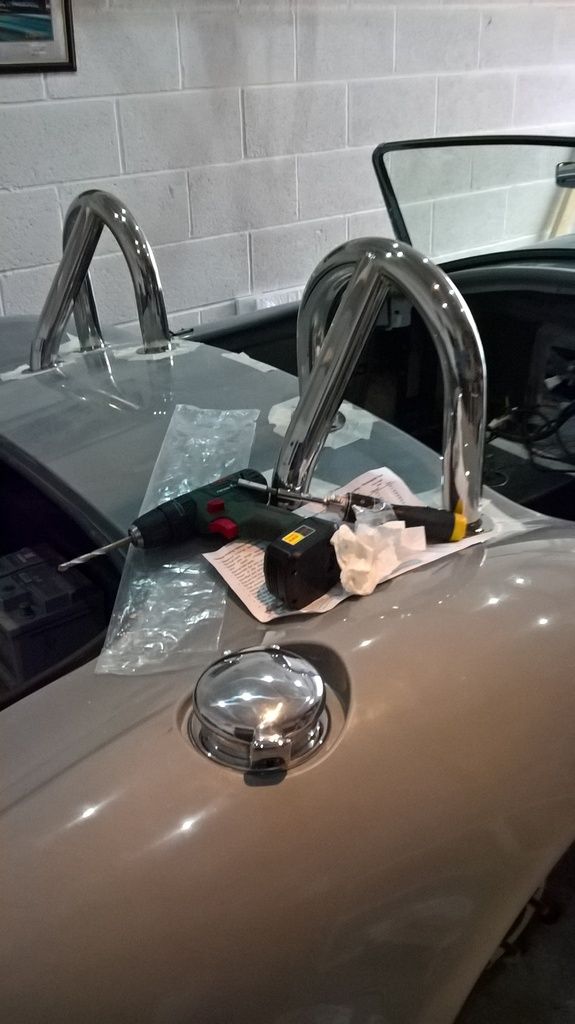 7) Drill through from the boot side otherwise you can end up way off the filler like I did, needing then to do minor fibre glass repairs.
 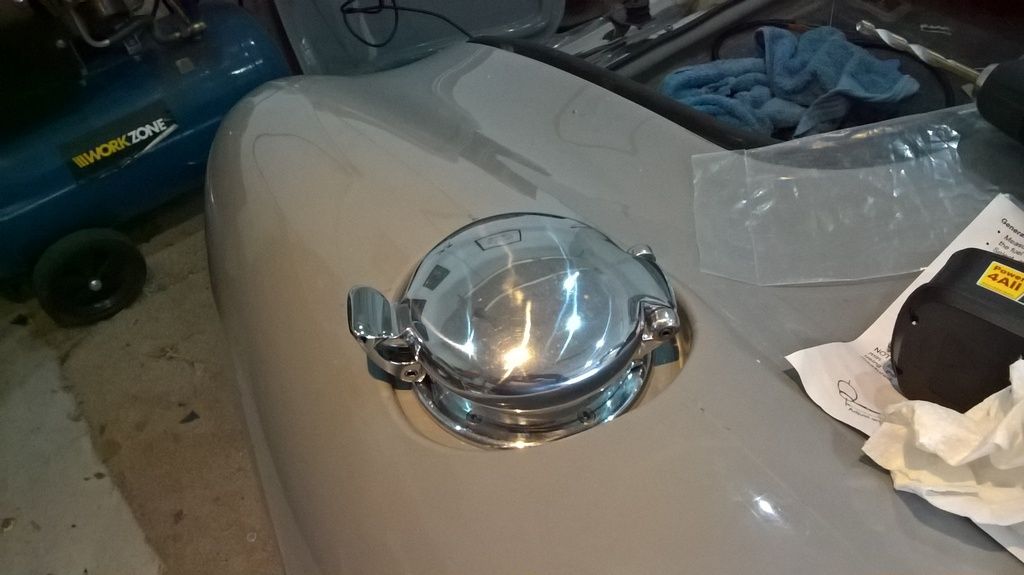 The AK manual says screw it on as far as it can go without hitting the bodywork and there is debate regarding which direction the cap should point to be IVA compliant.
 The pictures here shows where mine is pointing to help others figure this out. I do not know if this will pass IVA but its the best I can achieve without hitting the body.
