Sunday 18 October 2015

Exhaust preparation / Transporting your precious project

This week has been a little quiet on the Cobra front as its off to AK on Thursday for the stainless headers and sidepipes making. I went a bit "bright eyed" on the order and added the cooling pipes, stainless header tank, air intake pipe and filter as well as the wiring loom. The card was already preparing itself for a £4.5K hit...ouch...

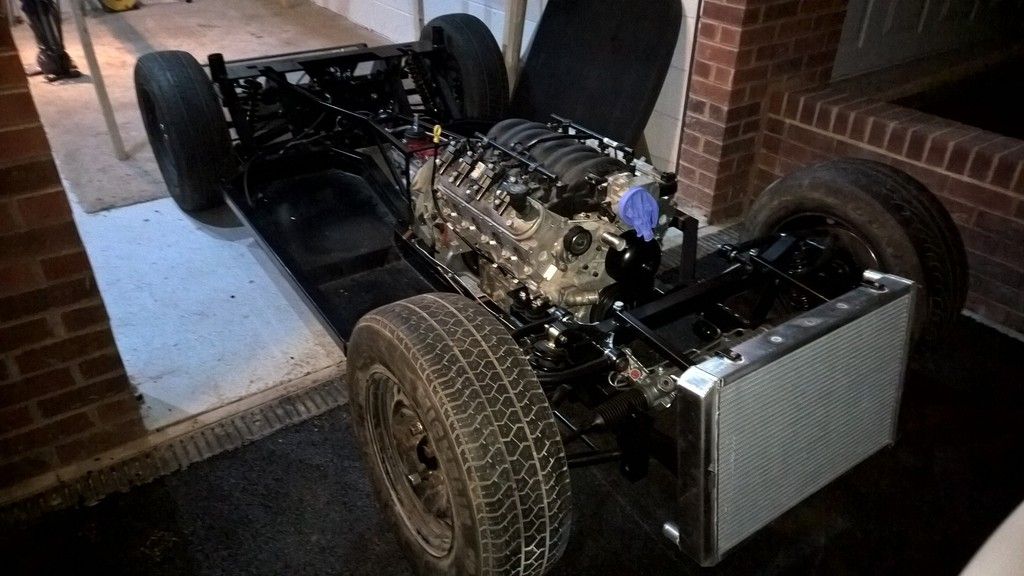
All I had to do was bolt the body down and arrange for it to go, then go on holiday and hope it was ready when I came back.

This time my mechanic friend was on holiday so couldn't transport the car. "No problem" I thought  "AK can do it".

A phone call later and I realise their normal driver charges (at time of writing) £1.25 per mile which worked out at £255 each way!! an expensive addition to an already expensive order at AK. I needed another solution.

A quick Google search later and I come across AnyVan.Com. This is a simple site where you put where the car is going from and to and then companies can "bid" for your job. It started at £150 but within 20 minutes it was down to £123, less than half the price of the AK driver. The company I went with is based in Ripley, West Yorkshire 

Email: grimsalvage@hotmail.com

Once the pickup occurs I'll let readers know how it went.

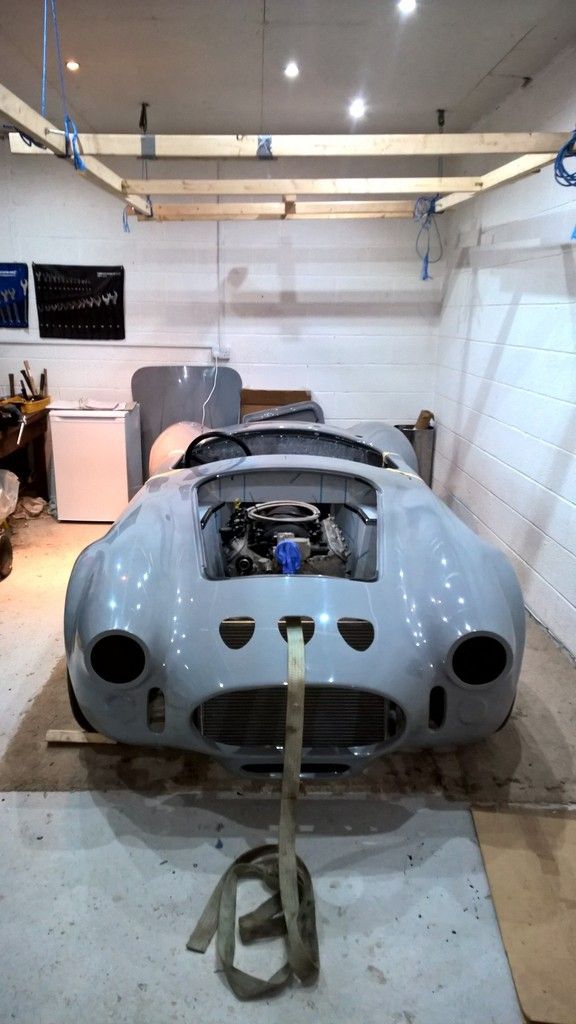
So back to the prep,

I was worried about the car getting damaged during transport so decided to hook up the brakes and steering column so the car was a little safer to manoeuvre. 

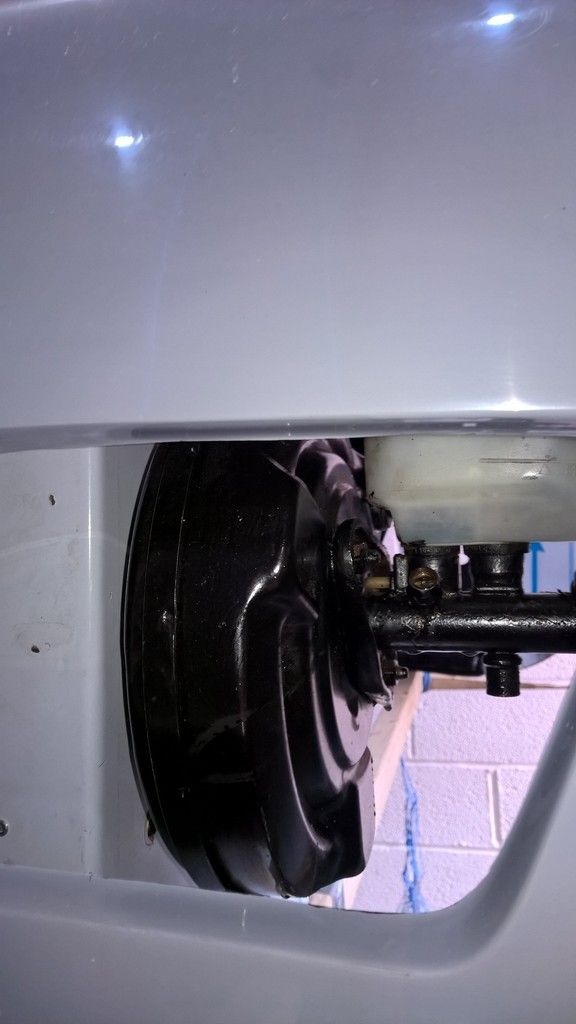
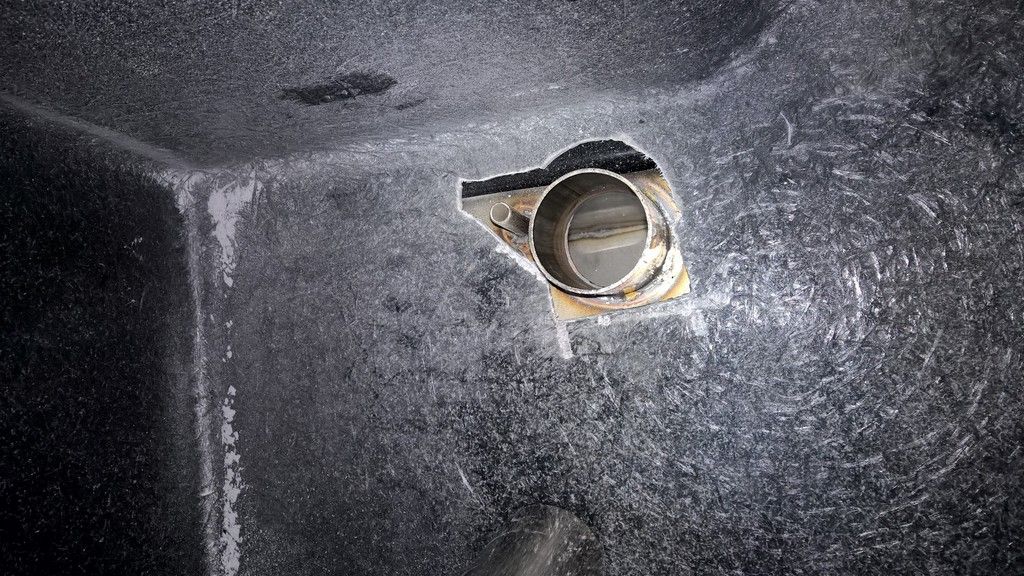
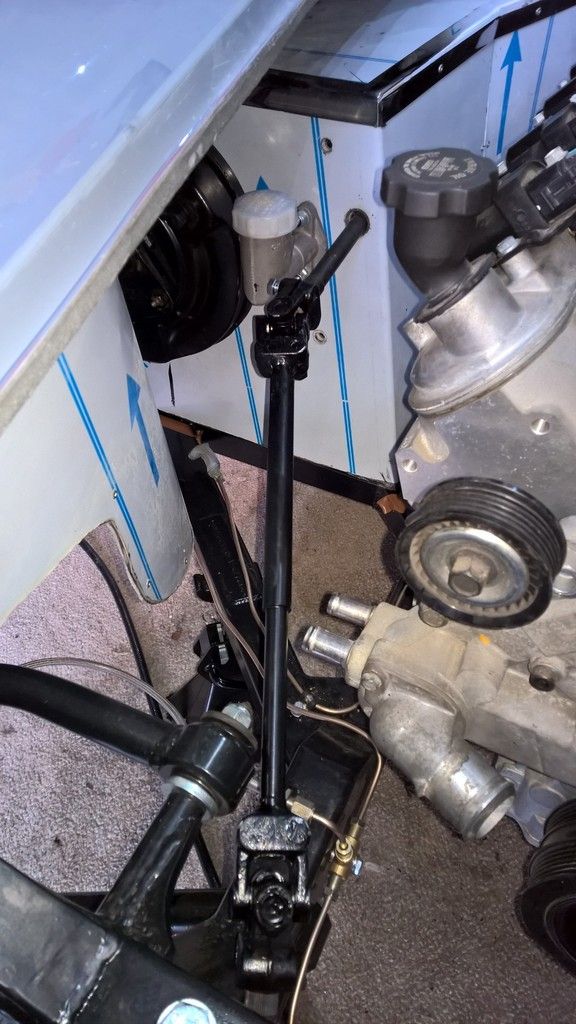
Everything has only been loosely fitted and will be removed later. One tip I have here is take the collapsible part of the column out and feed that through the hole in the bulkhead first, attach it to the AK provided steering rack extension (the black bar with 2 UJs) and then get someone to hold this still whilst slotting the column back onto it.   


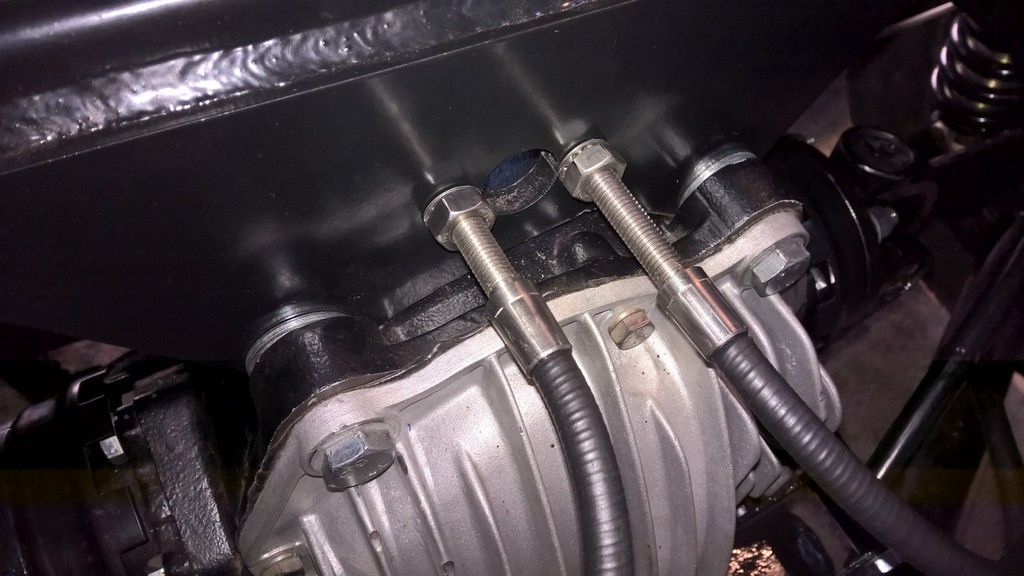
Another tip is pre-fit your brake pipes to the Servo and have connectors down near the chassis otherwise it is extremely difficult to connect them together.

Katie came out with Monroe to help bleed the brakes which took us a while as there was an air lock that just wouldn't clear. I finally managed to clear this just as I ran out of brake fluid to top up the reservoir.  

All ready to go. The next time I post I'll have some side pipes :-)


Sunday 11 October 2015

Body first fit

The Cob is heading down to AK at the end of the month for the exhausts making so I needed to get the body back on the car.

First I painted the inner wings with black high temp POR-15 that I had left over from the donor parts. This was to ensure that the stainless cladding had a better reflection once the film was removed. I couldn't think of anything worse than seeing the grey fibre glass in it.

Then final prep jobs.

First to remove the T56 gear shifter and cover the hole to ensure nothing gets in the gearbox. Easily done (six bolts and just pulls off). I wanted to do this so I could decide where to locate the shifter at a later date.

Next; ensure fuel, clutch and brake lines are out of the way. Enough said on this.

Finally cut holes for fuel filler ....... Worry time!!!

This is the first time I have cut a hole in the body and getting this wrong would be a disaster, both for the car and my confidence going forward. My brother was on hand today to ensure I had two minds on the job; so measure 20 times and cut once then hope all was ok. We decided to go with a hole that was just large enough with the plan to open up the hole later.

Next up was to attached the pedal box and servo so that brakes could be connected to help manoeuvre the car on and off the trailer at AK. I decided not to peel off the protective film from the stainless cladding as the body was going to come back off later for the heater fitting so I figured I just remove the servo at that time.

Here I noticed a bit of a problem in that the accelerator pedal was catching on the body. As this was a custom pedal box by AK (as its a canems ECU - fly by wire) I decided to leave this until I can show AK and get their thoughts.

And now time for the fitting which is a 2 minute job once you have managed to round up 4 of your friends to help lift. A few beer bribes and I soon had the lads around and on it went.


The hole for the filler did need a little adjustment but not much - luckily.


I'll bolt up the body later but for now I have something that is starting to resemble a car


.


Saturday 3 October 2015

Rolling chassing complete .... I think!

How time flies when you nip into the garage to do a couple of jobs on the Cob....

The Mrs was out tonight so I headed into the garage to try to complete the rolling chassis; on todays list was:

1) Take the engine out again to figure out why the gearbox was leaning
2) Check I had used both a spring washer and washer on the P-clips as I had read on the forum IVA man was keen on this.
3) Connect the handbrake assembly
4) Fit the radiator

This would get me to the point where I could lower the car onto its wheels and prove it moved!

After taking the engine out I realised that I had not put a washer after the spring washer on each of my p-clips. The p-clips were metal not plastic so I figured I would be ok, but after re-thinking I came to the decision that putting them on now would save a LOT of hassle later if IVA man decided they were necessary. About an hour or so later and this was all sorted.

Before removing the engine my old man and I had taken a few measurements and almost come to the conclusion that the gearbox was supposed to lean slightly and that it wasn't 5mm out (see last post). Once we put the engine on the floor and noticed the engine was leaning 1 degree and the gearbox 4 degrees this confirmed it. If the gearbox was mounted correctly to the bell housing and the bell housing to the engine then it couldn't be wrong.... could it?

We agreed that it was all ok and set about re-installing the engine and fitting the gearbox bracket. (EDIT: It was later confirmed by Roadcraft that the GM Bell housings do angle the T56 gearbox)

After checking the height of the output was in line with the output on the diff (it only took 7 washers on the bracket!) then this was job done and onto the Handbrake.

First of all I would point out that the AK manual says sweet FA about the fitting of the level which makes the handbrake work. Luckily there are some pictures on various blogs which help. The two cables need to be adjusted to different lengths to get them to work at the same level so don't be afraid to play with them to get it right. My drivers side cable only has about 1cm of the threaded bar after the nut and the passenger side about 3cm. The level does not require much force to lock both wheels solid.

I didn't have any clevis pins as per the AK picture so I used M8 bolts and nylocs to connect the mechanism together. Now onto the radiator.

AK supply a couple of small M6 bolts which are perfect for the top of the radiator along with a washer before and after the bracket. They also supply two M12 bolts for the top frame and 4 M8 for the bottom. You do need to get your own radiator rubber bushes from Rimmerbros though (£1.30 each). See a previous post for the adjustments I had to make to fit this.

Finally I lowered it to the ground. This was such a great feeling. Almost a month after receiving the chassis I was able to push it in and out of the garage and see everything working as expected. I'll need to order the prop shaft next and I have booked it into AK to have the manifolds and side pipes made at the end of October.