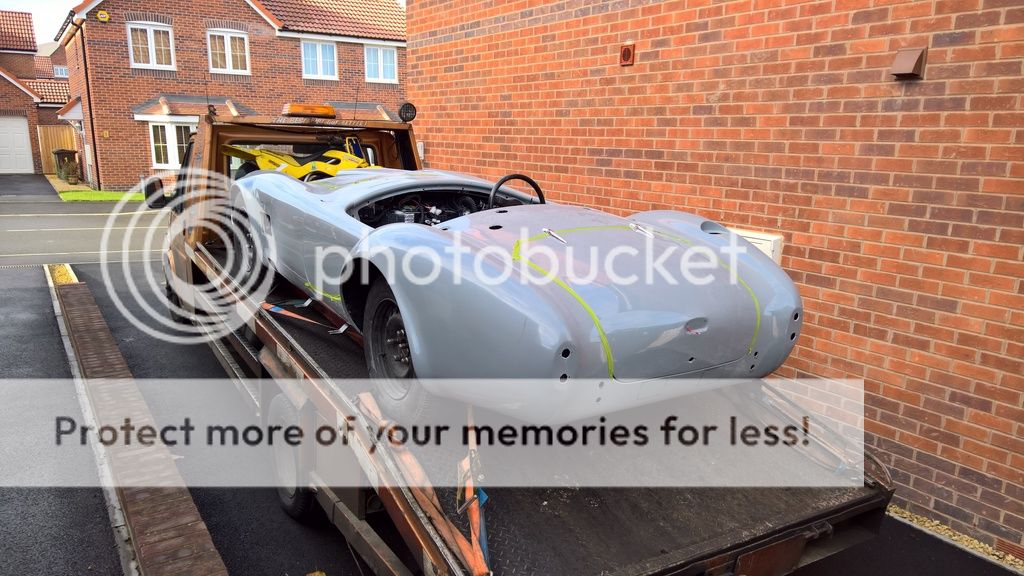
Thursday 8 December 2016

Heres the colour

This is my last update before the car comes back from paint in a few weeks (as I can't take delivery before then). It just needs its final polish and I think it looks great.


Friday 25 November 2016

Primed for Paint

Checked in with SMS today to see how the car was getting on. It will hopefully be ready for collection in a couple of weeks as its already primed with all the prep work completed.

I knew SMS had a good name when I sent the car there but I have to state I'M IMPRESSED!!

The quality and attention to detail of the prep work is amazing. They have smoothed in the nose cones and the lower wings like they were part of the moulded body and the extra attention to getting the gapping right (even building up the main moulded bodywork to close gaps) is just what you need from your painter to ensure the final product is as good as it can be.

After seeing this I have high hopes for a few weeks time when I get to see the car again!


Saturday 5 November 2016

Time for some colour

I have decided its time to go for it and send it off for paint. The chosen colour is Jaguar Odyssey Red with no stripes (because the Mrs thinks it will make it look like a tube of toothpaste).

It should look something like below:


Once complete I'll add pictures but it'll take a few weeks as it will only arrive at the paint shop today.


Hopefully it will be early December when it arrives back, but as I have a holiday coming up it may be the new year before I can take delivery back. Rest assured, the moment its back I'll let everyone see what it looks like.

EDIT: the car received minor damage in transport! a slight crack on the lower valance and a hole ripped in the oil filter. The transport company (Grim Salvage) were great and had already paid SMS Autospray to correct the crack before they called me to ask which oil filter and oil they needed to send to replace the damage. SMS were happy it was minor and I wouldn't even know it had ever happened by the time they had finished with it.

It goes to show that problems can't always be prevented but the real measure of customer service is how its dealt with when they do arise. Despite the issues I will use this transport company to bring it back - albeit on a trailer rather than the transporter so its easier to get on an off!

Last few jobs before paint

This week was a mad rush to get the car ready before I strip it for paint. A couple of key jobs were on the list.

1) Door locks and wooden blocks.
I found that the locks and AK bolts don't quite fit together and the lock holes will require some drilling out to all movement when fitting. Also, when the lock wedges are put in place the door panel doesn't quite sit flush. I spoke to Jon at AK about this and he said because its usually wood above the wedge bolt he cuts the door panel short and then carpets over it.

Progress so far:


The important thing is so get a basic door gap correct (the paint shop will do the rest) and ensure that when you p38/p40 bond everything together that the door is as flush with the body as possible and not touched until completely dry.

2) Washer Jet test
This didn't go so well. I'm using the S&J jets which are really nice jets and I had put them where AK recommend. The result is that they fire water clean over the top of the screen and into the drivers footwell; not great for IVA or for keeping me dry whilst driving!

I filled the holes and moved them closer to the screen (right next to the bulkhead) and they still barely hit the screen so I'll need to find a way to point them down further or replace them when it comes back from paint.

3) Windscreen wipers
I also have a small issue with the windscreen wipers. Whenever I switch them on they work but wont switch off again!. Jon at AK pointed out that the two blades in the relay block which look like fuses are actually diodes and they need to be in the right way around (I had taken them out to fit the block). See the picture below - the diodes have a small notch in one side (hard to see but its at the bottom of the diode in the pic). I didn't find this out until yesterday when at AK so I'll have to check this when it comes back from paint.

Saturday 22 October 2016

Snag List

Just lately I've been working through my snag list.

1) Gearbox mount needs amending.

When I fitted the gearbox rubber and bracket it was 12mm away from the body (in order to keep the prop shaft level) so this weekend I took off the rubber mount, used a crow bar to pull out the rubber bit and then trimmed the bracket down my 12mm. Plenty of Sikaflex into the mount and 12 hours later the rubber part is solid again.


I have also never been happy with the threaded bolts holding on the bracket. The metal in the chassis only allows a couple of threads and I though a combination of an M10 and an M8 bolt would suffice but putting the bracket back on I just wasn't happy with the fact things wouldn't tighten up as much as I wanted to and I was scared of stripping threads completely.

The solution was to drill right through the chassis and into the tub in one of the holes so that I could but a long M8 bolt through with penny washers and nylocs. This was much easier to tighten and I am much happier with the thought of so much torque going through the gearbox and its mount.


2) Boot Gas Struts Not Fitted

I had attached the boot brackets as per the AK instructions (19" diagonal to rain gully from boot hinge) and moulded them in with P38. All I needed to do was rivet on the boot hinges (11") lower bracket and let some gas out of the struts to allow the boot to open/close.


3) Lambda sensor wires hang down

The lambda wires needed to be clipped up into place under the car to prevent them from snagging (an IVA fail). Again, easily fixed with a couple of p-clips and rivnuts each side.


4) Brake pipe and Fuel pipe adjustments

Whilst under the car doing the gearbox I noted that I had a small leak on one of the brake pipe connections. Easily tightened and sorted. I also noted that my fuel pipe had a bit of excess play so I quickly added another p-clip to ensure it stayed clear of the prop shaft.

5) Indicator and Headlight Bulbs

I had major issues sourcing the correct bulbs for the lucas lights as they came with clear bulbs and I needed amber for the indicators. They also came with blue tinted headlights and they must be white light for IVA. LED versions for the indicators didn't work well at all, then I tried Halfords (didn't fit) and CBS in an attempt to get the right bulbs. All sorted now after finding the article below.

https://en.wikipedia.org/wiki/List_of_automotive_light_bulb_types

Essentially the R5W bulb that came with the indicators is a sidelight bulb, hence the problems finding it. First you need to check the cap base, for me this was a BA15s. This makes sure its the right size base. Secondly you need to check if it is opposite of offset pin. For me it was opposite, which was a P21W as opposed to a PY21W which is offset.

Getting silver/chrome bulbs also helped avoid the fried egg look.

6) Washer Jets

I finally got around to completing the washer jets too. This was simply a case of cutting Halfords washer jet tubing (5mm) to lengths of the right size to run along the wing around the coil packs I had fitted and up to the first jet.


Here I cut the tube and inserted a 5mm T-piece. Two other lengths were then cut to run to the jets and it was held in place by cable ties attached to cable tie base plates.


In order to hold the tubes in place I used 5mm spring clips from ebay for the S&J washers and 7mm for attaching to the washer bottle pump and the T-piece.


7) Fuel Sender not working


The fuel sender that I had been given, which seemed to fit the AK tank well does not work with the Smiths Flight gauge it was actually for a smiths classic gauge. After speaking to Europa Spares they confirmed that I needed  different sender. It is cut and fit in a very similar fashion to the previous sender I fitted, however, its smaller and doesn't fit the holes in the AK tank. This meant I needed to fit either an adaptor plate or bond it into place. I decided to bond it into place as there would be fewer surfaces connecting which meant a lower chance of leakage.


Even fitting this sender as per the instructions wouldn't quite get the gauge right as it was working backwards. I am not entirely convinced the gauge isn't faulty but luckily the instructions said "if the gauge works backwards check the diagram as you may have bolted the transducer upside down"; this led me to just fit it upside down and now its working. It seems very sensitive though so I may suffer from a jumpy needle whilst driving.


Perhaps a generic electronic configurable sender would have been a better option; just look at how sensitive the needle is. Theres about 13 litres of fuel in the car from dry to get the needle to this point.


8) Alternator wing adjustment

On the AK the alternator touches the wing so you need to cut out a small square in order for the body to sit on right and to ensure the alternator doesn't get damaged. I have the built the wing up with fibreglass and p-38 so that its still protected from all the crud being sent up from the wings. I completed most of the work some time ago but I just needed to sand it down and paint it up with isoflex rubber paint.


Monday 3 October 2016

T56 Reverse Lockout

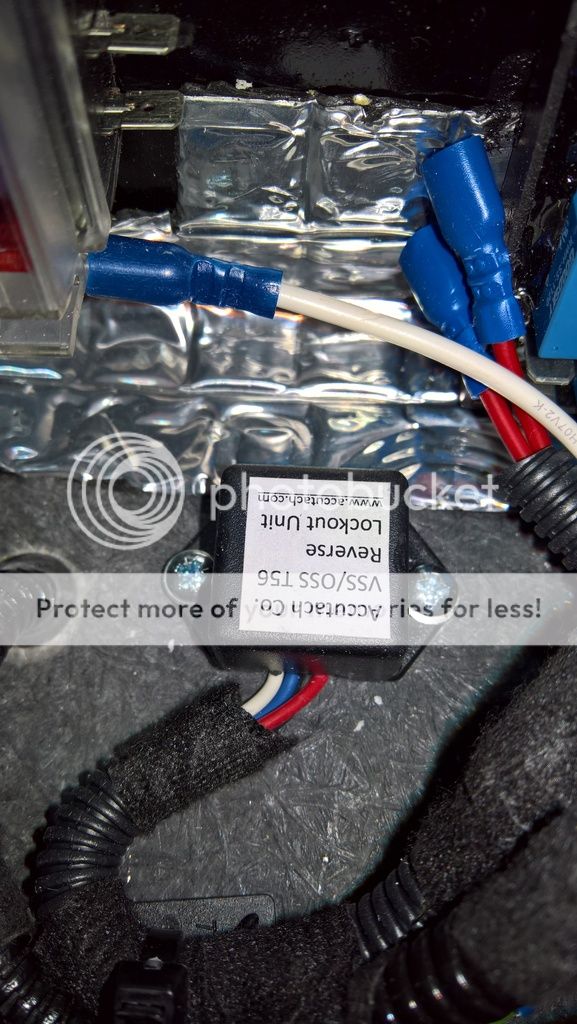
The T56 has a solenoid in it which is there to prevent you from accidently selecting reverse whilst driving forward. The solenoid is designed to allow you to overpower it in an emergency but doing so will eventually contribute to early failure of the gearbox.

To address this you can purchase a little device from Accutech which connects to the solenoid and the speed sensor. When it detects you traveling below 5mph it activates and releases the solenoid allowing reverse to be selected with ease.

As you can see its a tiny device which simply screws into place.


Dashboard Prep


I've slowly been working through getting the dash completed as you may have noticed from a few of the pictures posted but I thought it was about time a give it a post of its own.


The first thing you will need to do is fill around the glove box as you'll find it needs some tidying when it comes from AK. I decided not to bother with the whole printing images and moving them around and instead decided to let my creative juices flow as I did it. Also known as "winging it".

Start by fully masking the centre of the dash and then find a centre line. I put the dash into position in the car and that allowed me to mark from the centre of tunnel up to the centre stay of the windscreen. Perhaps not a perfect centre by measurement but it looks perfect by eye which is more important for something you look at every time you get in the car.

From here I cut out the tacho and speedo holes first, leaving enough room in-between for the push to start button.

Then I just worked my way down the dash, measuring and cutting as I went. I chose just three gauges. Fuel, water temp and oil pressure. I didn't bother with a clock or oil temp as I'm not going to track day it that often and I have a watch..

Next was the switches which are the billet aluminium from car builder solutions. There are five in my dash; Hazard, Rear Fog light. Electronic Handbrake (with built in warning light). Sidelights and Dipped beam.

The lights are from S&J. I have chosen two indicator lights which I have fitter in the centre above the start button then the charge, oil pressure and high beam warning lights on the right of the centre of the dash.

The ignition switch hole is hidden on the side of the dash, the long gap at the bottom is for the heater controls and the hole on the right is for the steering column.


And here it is with all the gauges and controls fitted.


Wiring the dash is a long job. I recommend having at least a full day available to get on with it uninterrupted. The image below allows you to see the ignition switch.

The AK manual, as always is not as clear as it could be especially where the warning lights are concerned as some need to be earthed and others need a live feed. This caused a few calls to AK and Jon was helpful as always in figuring out the issue. What you need to ensure is:

1) Charge warning light - live
2) Main beam warning light - earth 
3) Oil pressure warning light - live
4) Indicators - earth


I think the above is pretty tidy compared to some that I have seen but I'll be tidying it further when I do the final fit, after the leather has been fitted in the new year. At least I know that all the gauges and switches work.


Wheels have arrived!

As the title suggests my wheels have arrived from Vintage Wheels in the US. I chose the Shelby 427's and found Bob at Vintage very easy to order from. All I had to do is tell him that it was an AK Gen II and he knew all the correct offsets etc.

Including nut covers, spinners, VAT, import duty and delivery they set me back just less than £2K which is pretty good given that AK charge 2.5K + VAT for halibrand replicas.

Best of all the saving will pay for the tyres :-)

I cant fit them just yet as the car still needs to go for paint and I don't want to risk them getting damaged so sorry folks, youll have to put up with a picture in the packaging for now.


Steering Column Lower Bracket

Its true what they say:

"Buy cheap, Buy Twice"

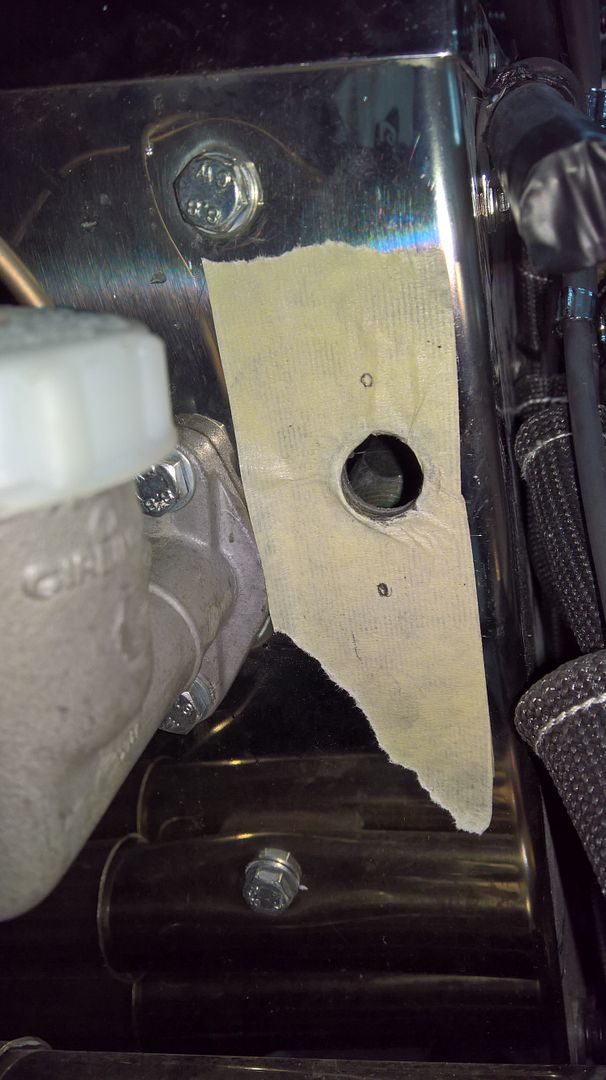
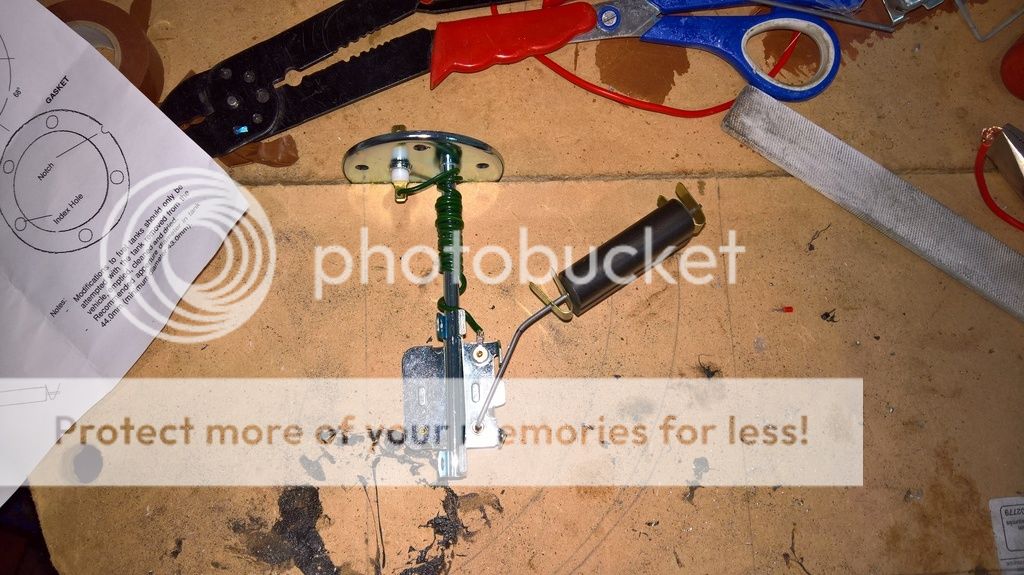
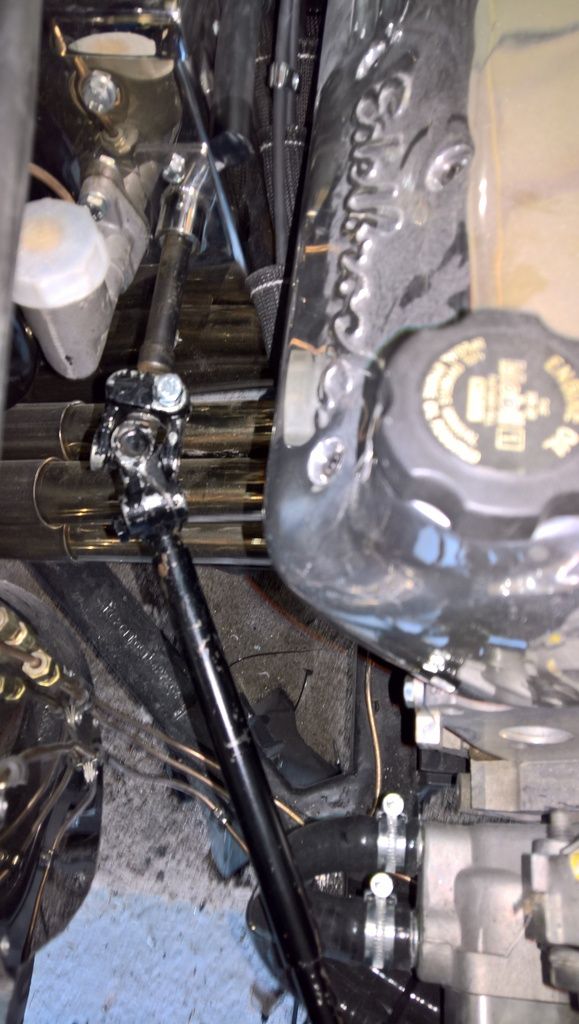
I had bought a cheap bearing for the lower bracket and then spent money on a custom made aluminium spacer. This cost around £40 but it was too big.

AK make a lower bracket with a nylon bush and stainless bracket. At £65 it is far too expensive but it fits easily so I went with it.

Fitting is simply a case of drilling two 6mm holes and bolting through with M6 and nylocs. I have now attached the column extension to the BMW rack (with M8 and spring washers) and its now ready for the main column to be fitted as soon as I am finished with the dash wiring.


Lower Body Wings

If you want to get lower body wings I advise doing it before paint. They are very poor quality as AK no longer have an original mould. Fitting them before paint allows the paint shop to blend them in.

You could do this yourself but they require a lot of work.

Fitting them is quite a quick job but it does require two people as they need forcing along the bodyline as you drill and rivet into place. I placed a rivet every 2-3 inches.

It transforms the front profile.


Heater mould Pt 2.

Sorry there has not been a great deal of activity on the blog as of late but I've been trying to finish my MBA assignment plus move a datacentre a work. What little time I have I've put into dealing with a few items on the snag list so I'll post on that soon.

Last weekend I painted up the heater cover that I made and this week I finished off mounting the relays, smiths gauge fuses, electronic handbrake controls and the reverse lockout unit.


Note: AK only advise a single power feed for the gauges, however, Smiths advise a separate fuse per gauge. Given most companies do what they can to get out of replacing goods if they go faulty I decided I would individually fuse them.

I'm quite pleased with the end result now that its painted and fixed into place. The silentcoat fitted covers the brackets holding it in place and will allow the carpet to have an even finish when fitted.


Monday 19 September 2016

You gotta hate mould

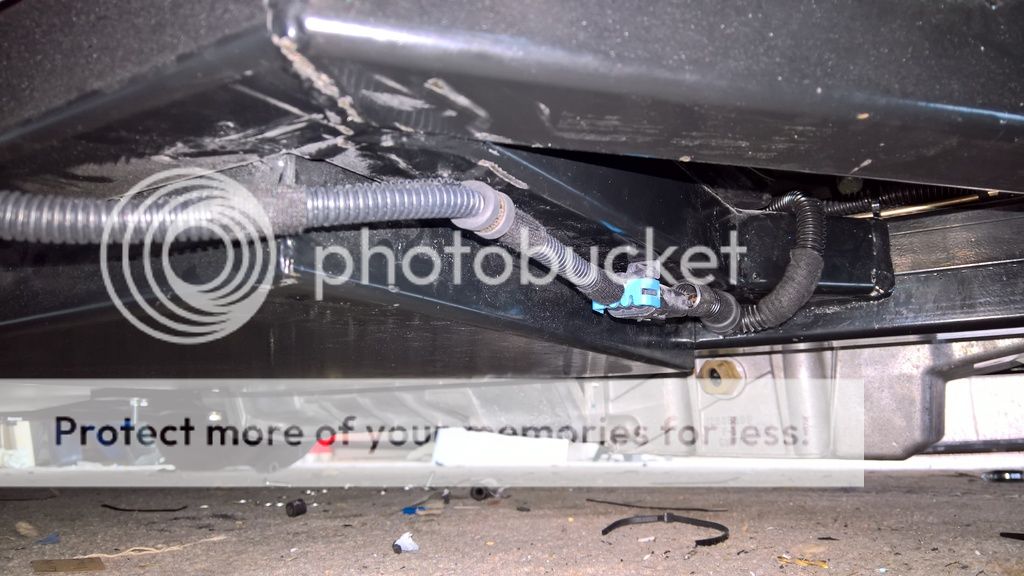
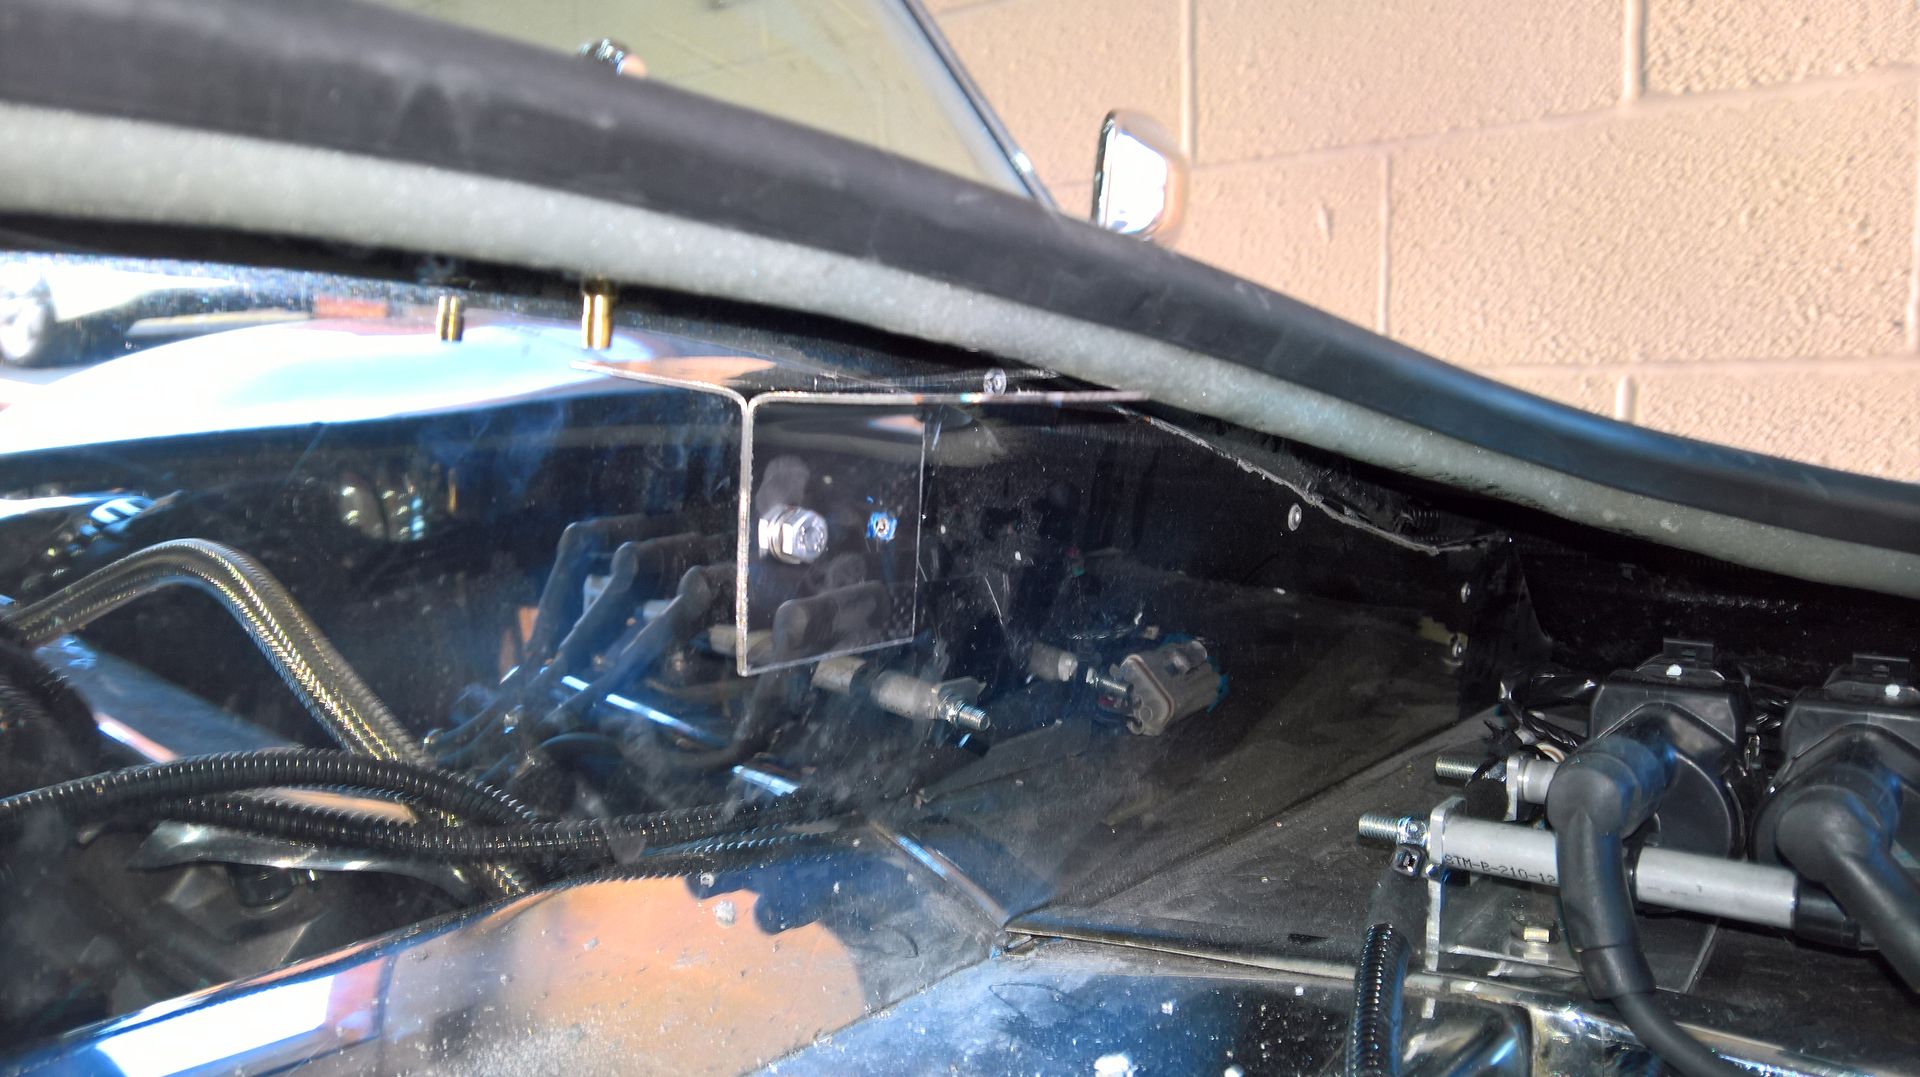
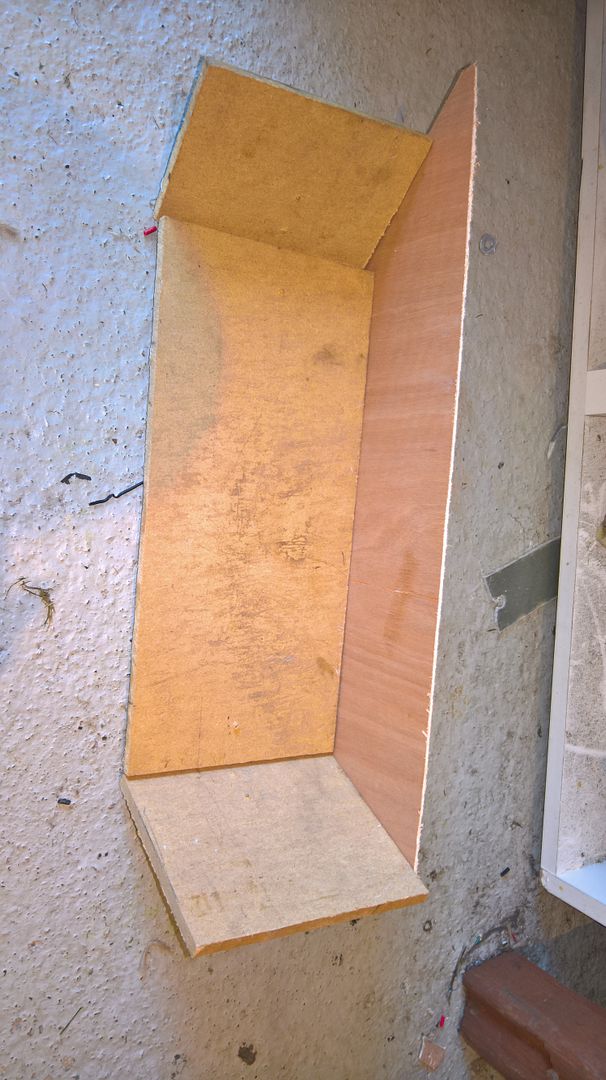
After reading on a post that an IVA man failed a car as the heater could burst water onto the passenger I decided I should properly box in the T7 heater/AC Unit I had installed.

First of all I made a cast from wood in the shape that I needed and purchased a fibre glass kit from fibreglasssupplies online.


I didn't know what to use a release agent and I had read on the forum that simple cling film would do the job.

Well it might do but not when you are using a gel coat. It was a complete cow to get the gel coat on, and I had to use some off cuts of fibre glass to hold it to shape whilst the gel set.


The actual fibre glass bit was fairly easy and everything was dry in a couple of hours. It released from the mould ok but then I needed to sand off the cling film and P38 up the mould to tidy it up.


It fits pretty well and also provides something for me to mount the wash wipe relays and the fuses for the dash on. It should also keep Mr IVA happy and should fine once carpeted.


1 year since it all began

As its been a year since it all began (well since I collected the chassis) I thought I would post some pictures that show how it looks today.


Removing Steering Lock

As I'll be getting around to fitting the steering column soon I decided it was time to sort out the steering lock.

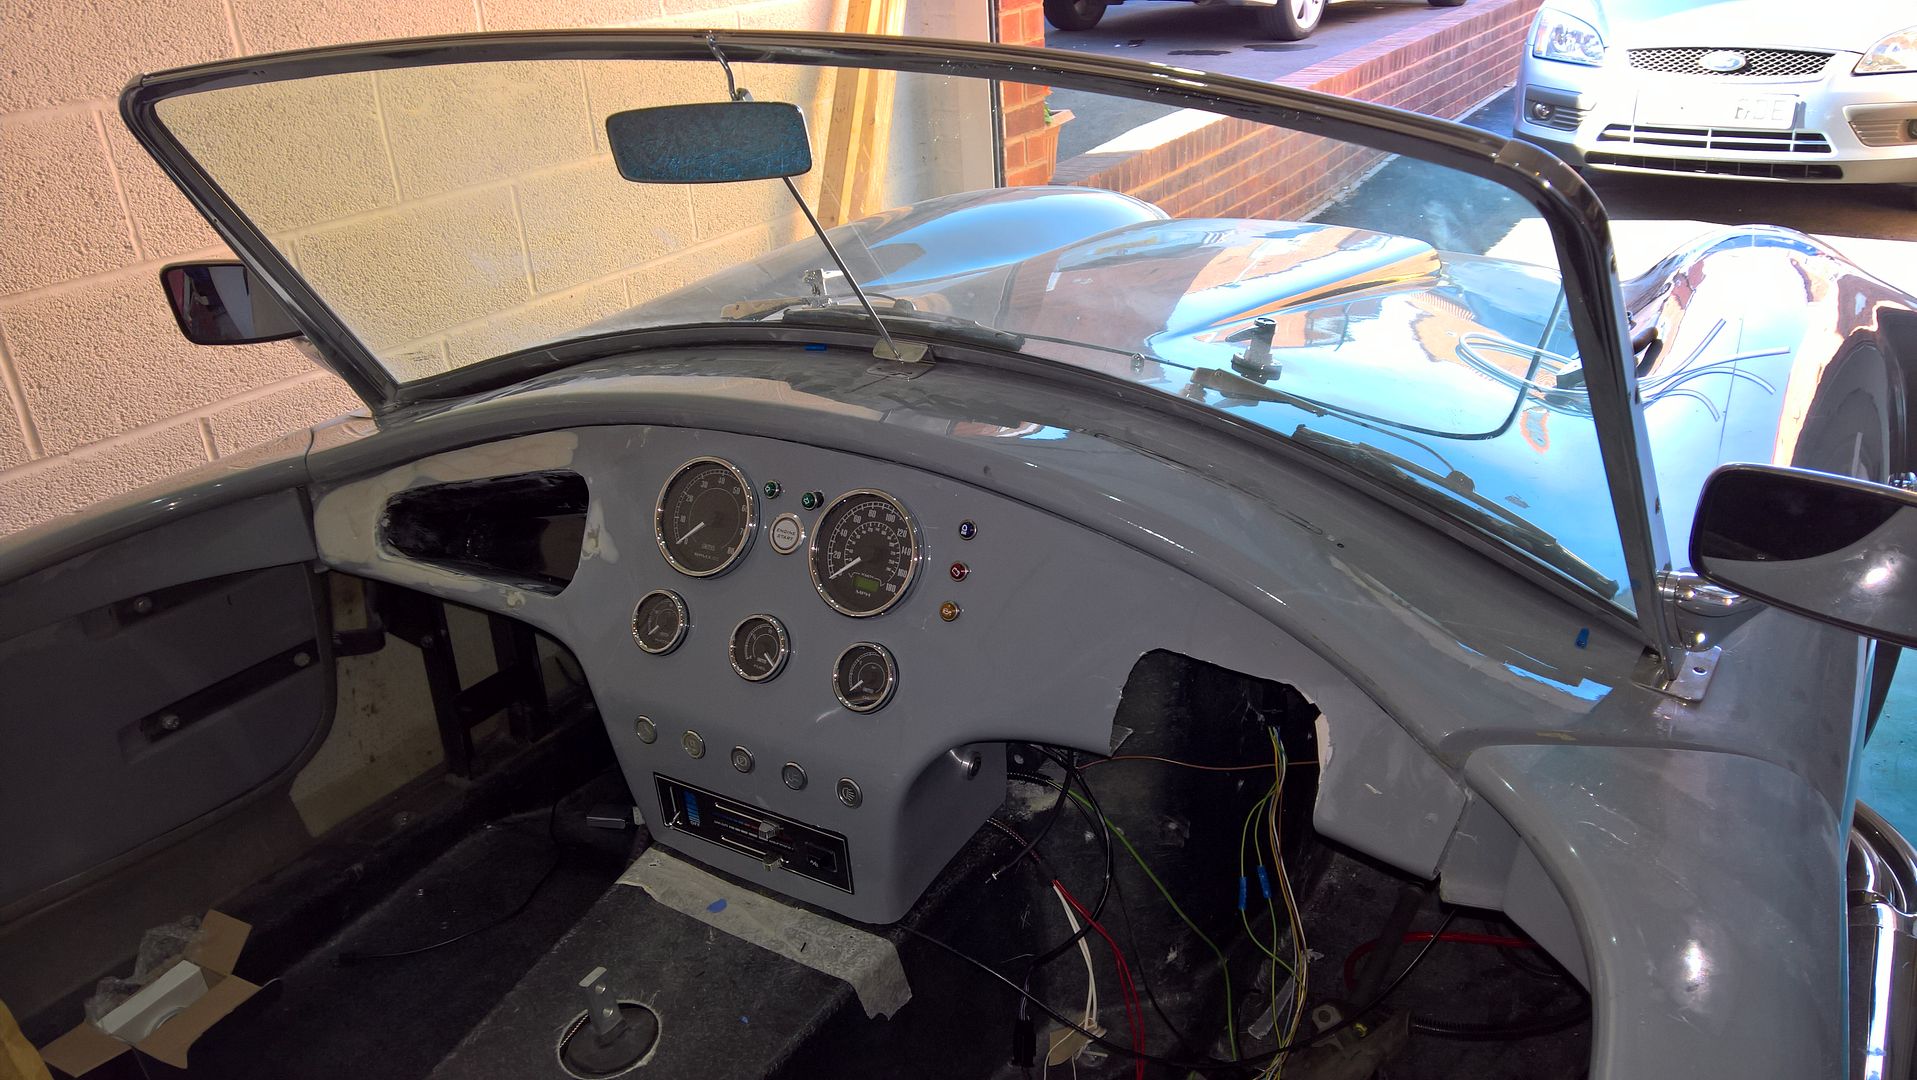
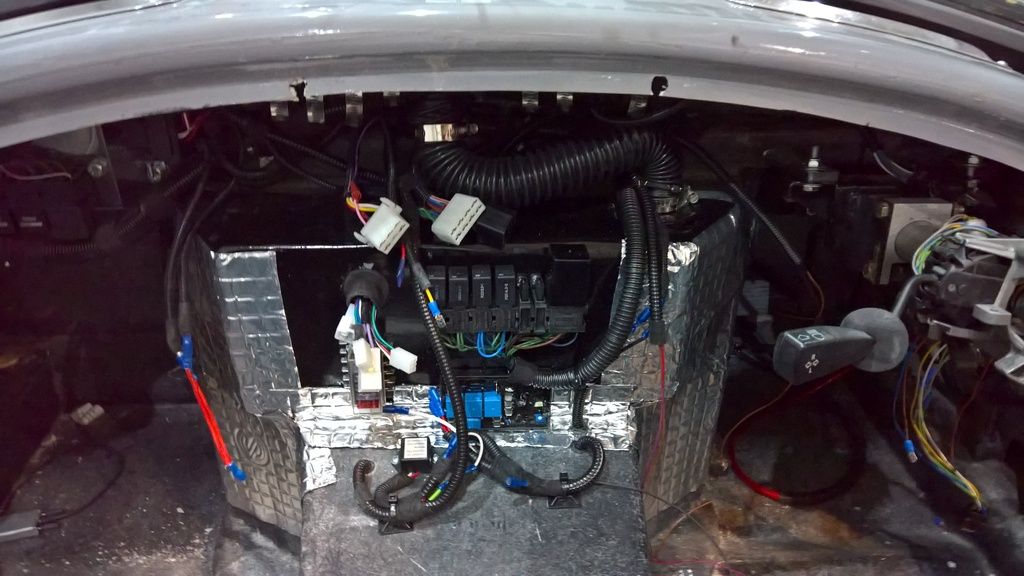
The method varies depending on the column you have but I found a relatively easy method to do this. First, remove the steering wheel. This is as easy as using a flat head screwdriver to pop the centre cap of the wheel and then using a socket to undo the nut the holds the wheel in place.

There is a trick to it though, the key must be out with the steering lock engaged undo the retaining nut but then you need to release the steering lock to actually remove the steering wheel.

Then remove the plastic casing from the column. On my version this was simply two screws underneath and two above.


This allows access to the wiring and the brackets which need to be trimmed down.

AK trim the black bracket to ensure it doesn't foul on the scuttle but they also remove the left mounting leg as its not used and removing it makes it easier to fit the carpet later.

The picture on the right shows mine after cutting the leg off and trimming the bracket.

AK also advise removing the ignition wiring. Not all of it needs removing but I'll cover this is a separate post when I write about finishing the wiring in the dash.

All I'll mention at this stage is removing the wiring on the back of the ignition barrel.

Once removed its time to remove the steering lock pin. Across the front of the pin there is a smaller round retaining pin. You can use a small punch or long nail to knock this out towards the hole towards the left of the picture then pull it out with some pliers.


The locking pin (the brass bit in the centre) will then drop out of the hole lower if you release the steering lock. You can then trim pin with a grinder and re-engage the lock. This will make the pin fall out of its retaining hole allowing you to pull the pin out of the column.

The video below shows the pin engaging.


Once complete just re-assemble the plastic casing and attach the AK loom plugs for the indicators, lights and wash/wipe.


Tuesday 30 August 2016

Windscreen Wipers Pt 1.

The windscreen wipers are available in two configurations.

1) The AK traditional 3 wiper system which the manual describes
2) The Cobra original 2 wiper system

It purely a matter of personal preference as AK advised me both options give pretty much the same visibility. I preferred the two wiper system (which incidentally is also slightly cheaper). S&J motors provided the full kit.

The main difference in fitting the two wiper system is that the wiper mechanism is fitted 250mm either side of the centre line. After marking this up drill through with a 16mm drill ensuring that you drill through on an angle. I used the chrome boss that goes on top of the rubber washer to guage the correct angle.

Place the plastic spacer onto the mechanism and then slot the mechanism through the hole. Place on the rubber gasket, then the chrome boss and finally the nut.

The wipers have a clocking block in them that needs loosening before slotting on the wiper arm. Simply slot it over mechanism and then tighten up the screw to lock it into place.

The wipers just slot on and then you see that they don't push onto the screen properly (see below).


What the manual doesn't say is there's another highly technical step in fitting the wipers.

Can you guess?

You need to bend the wiper arm....

YES you read that correctly. Simply bend the wiper arm until the wiper pushes onto the screen correctly.

Next week I'll get to fitting the main wiper mechanism and hopefully completing the washer jets but heres a picture of the installation so far.


Fitting the bonnet Pt 2.

The old man was back from holiday so I roped him into helping with the bonnet. I have learned a few things since last working on this which I recommend any other builders take into account.

AK advise you to create a small bracket for the bonnet locks to locate into. I talked to them and they confirmed that the S&J bonnet catches don't actually reach under the lip of the body and therefore the bracket has to stick out.


The more I looked at this the more I believed this was totally unacceptable and surmounted to shoddy engineering.

I spoke to S&J who advised that they produce a longer Cam/bonnet catch (its over an inch longer) and strangely Anthony at absolute horsepower is the only place that uses.


Newsflash......that probably because no-one else gets told about them....!

They allowed me to return my shorter catches and sent me the longer ones. These are so much better as the catch fits right under the lip of the body which allows the bracket to fit up against the lip and not stick out.


This is so much better and now looks the part (and seems to secure the bonnet much better).


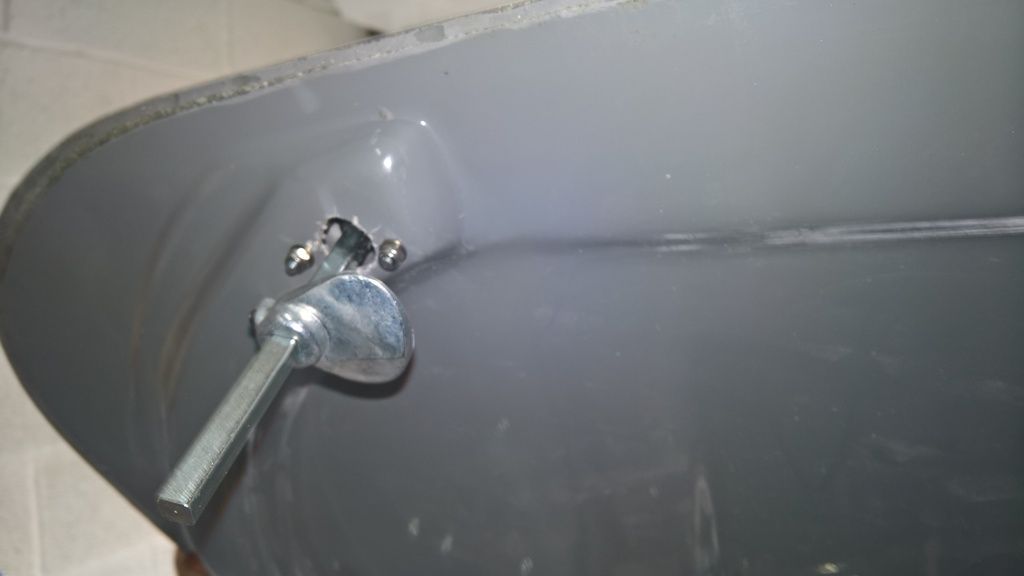
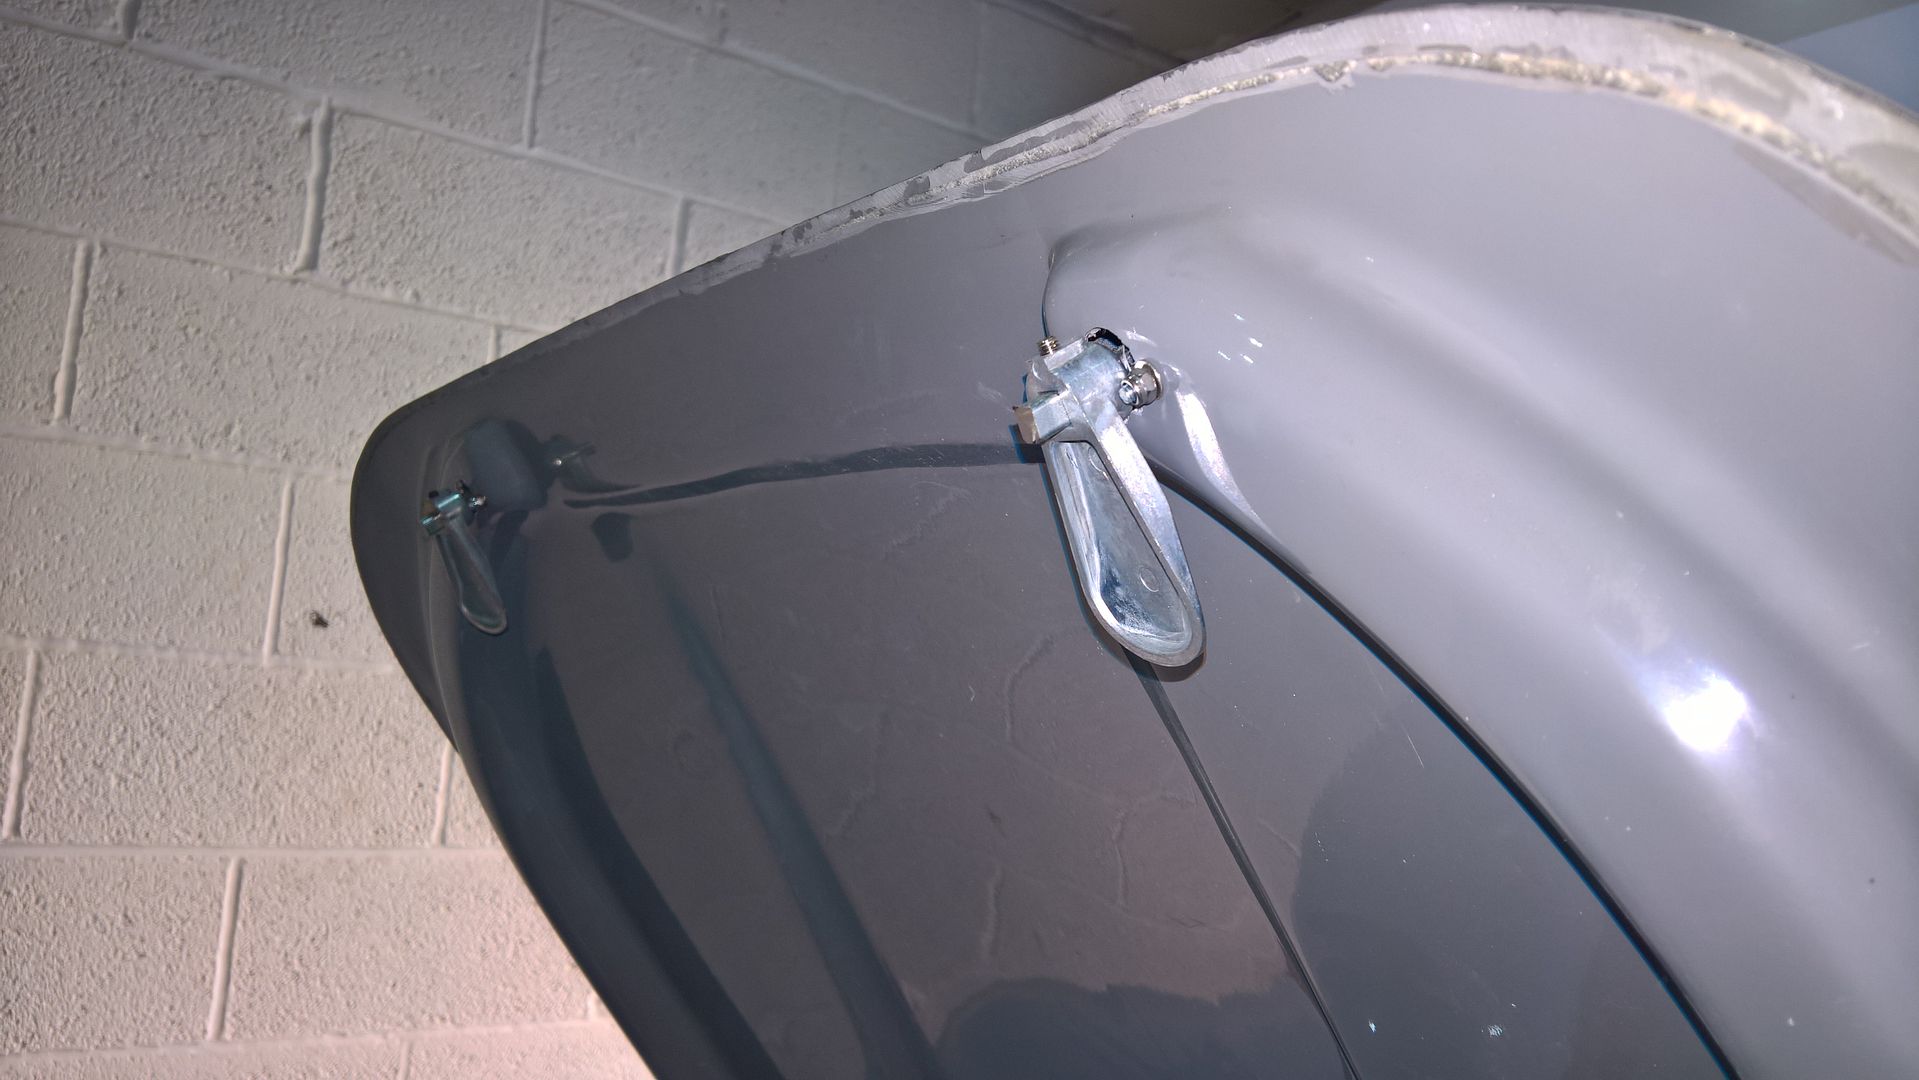
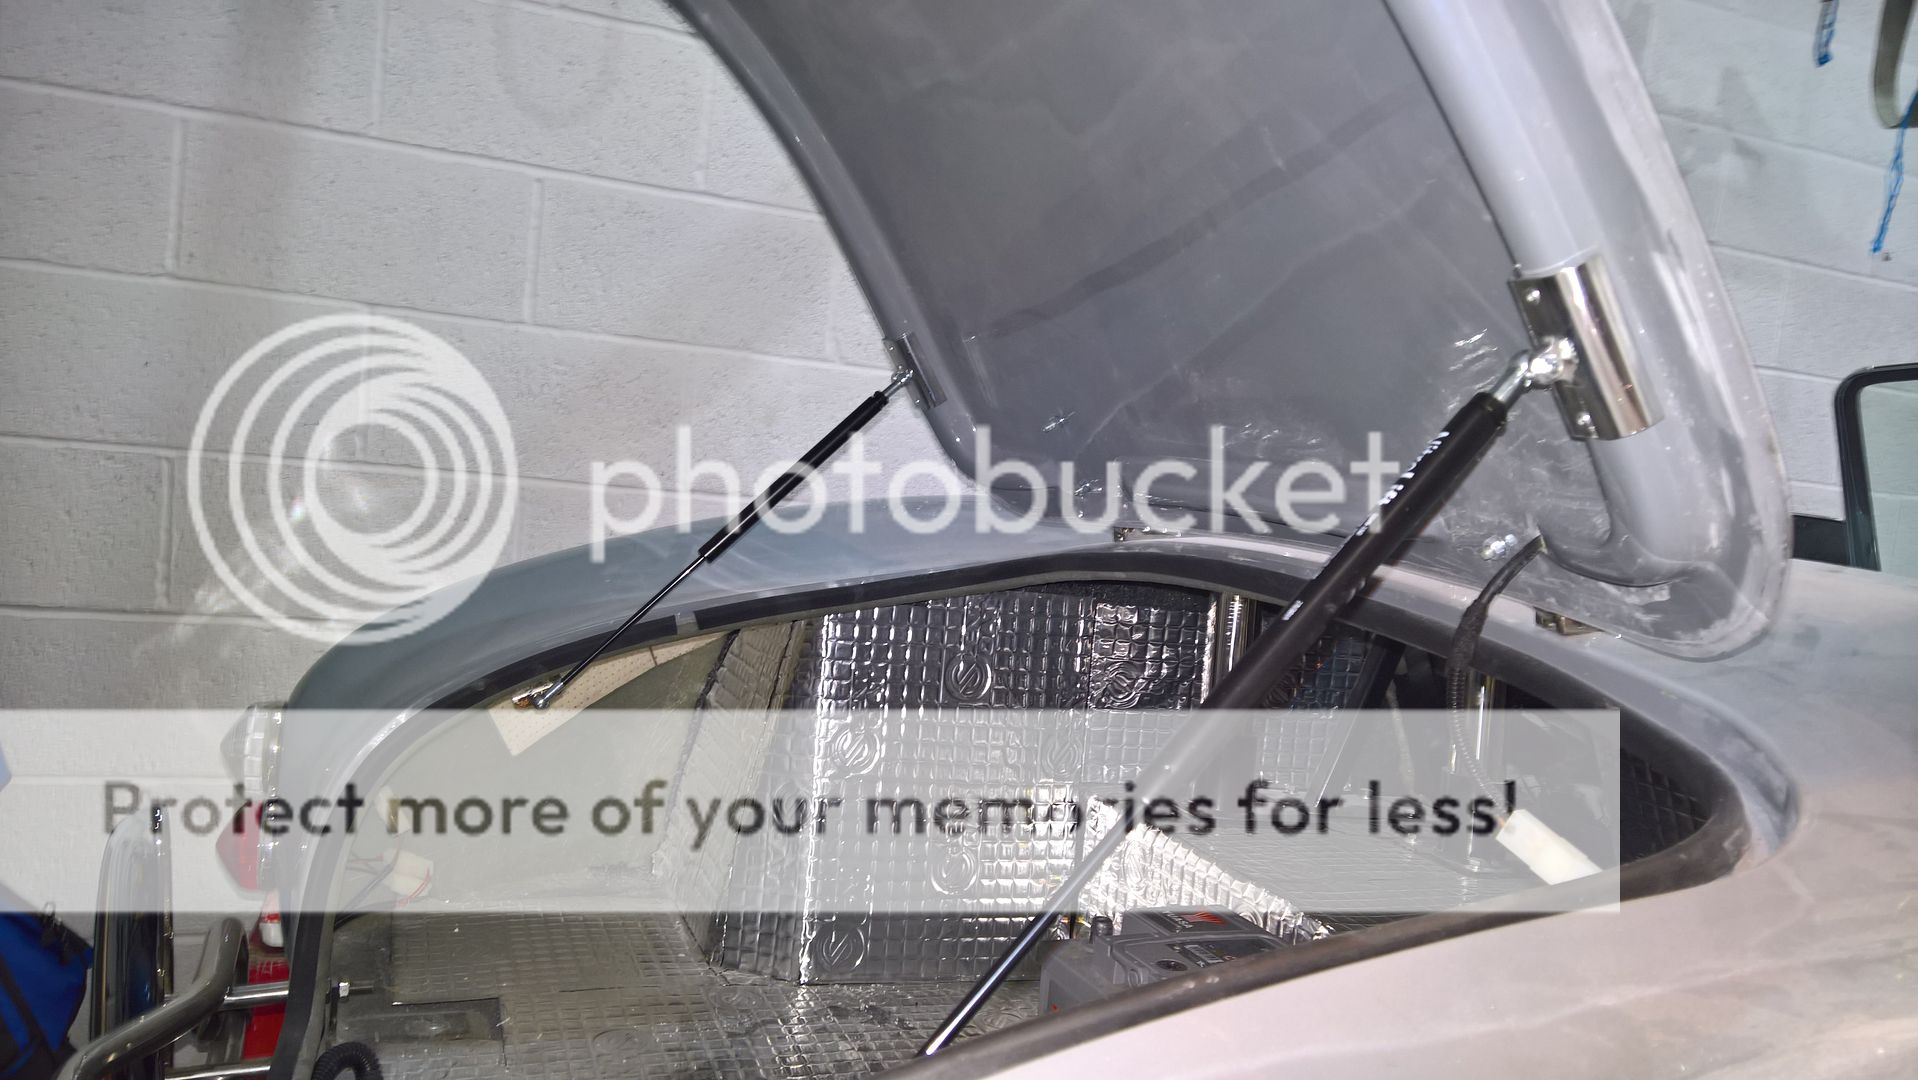
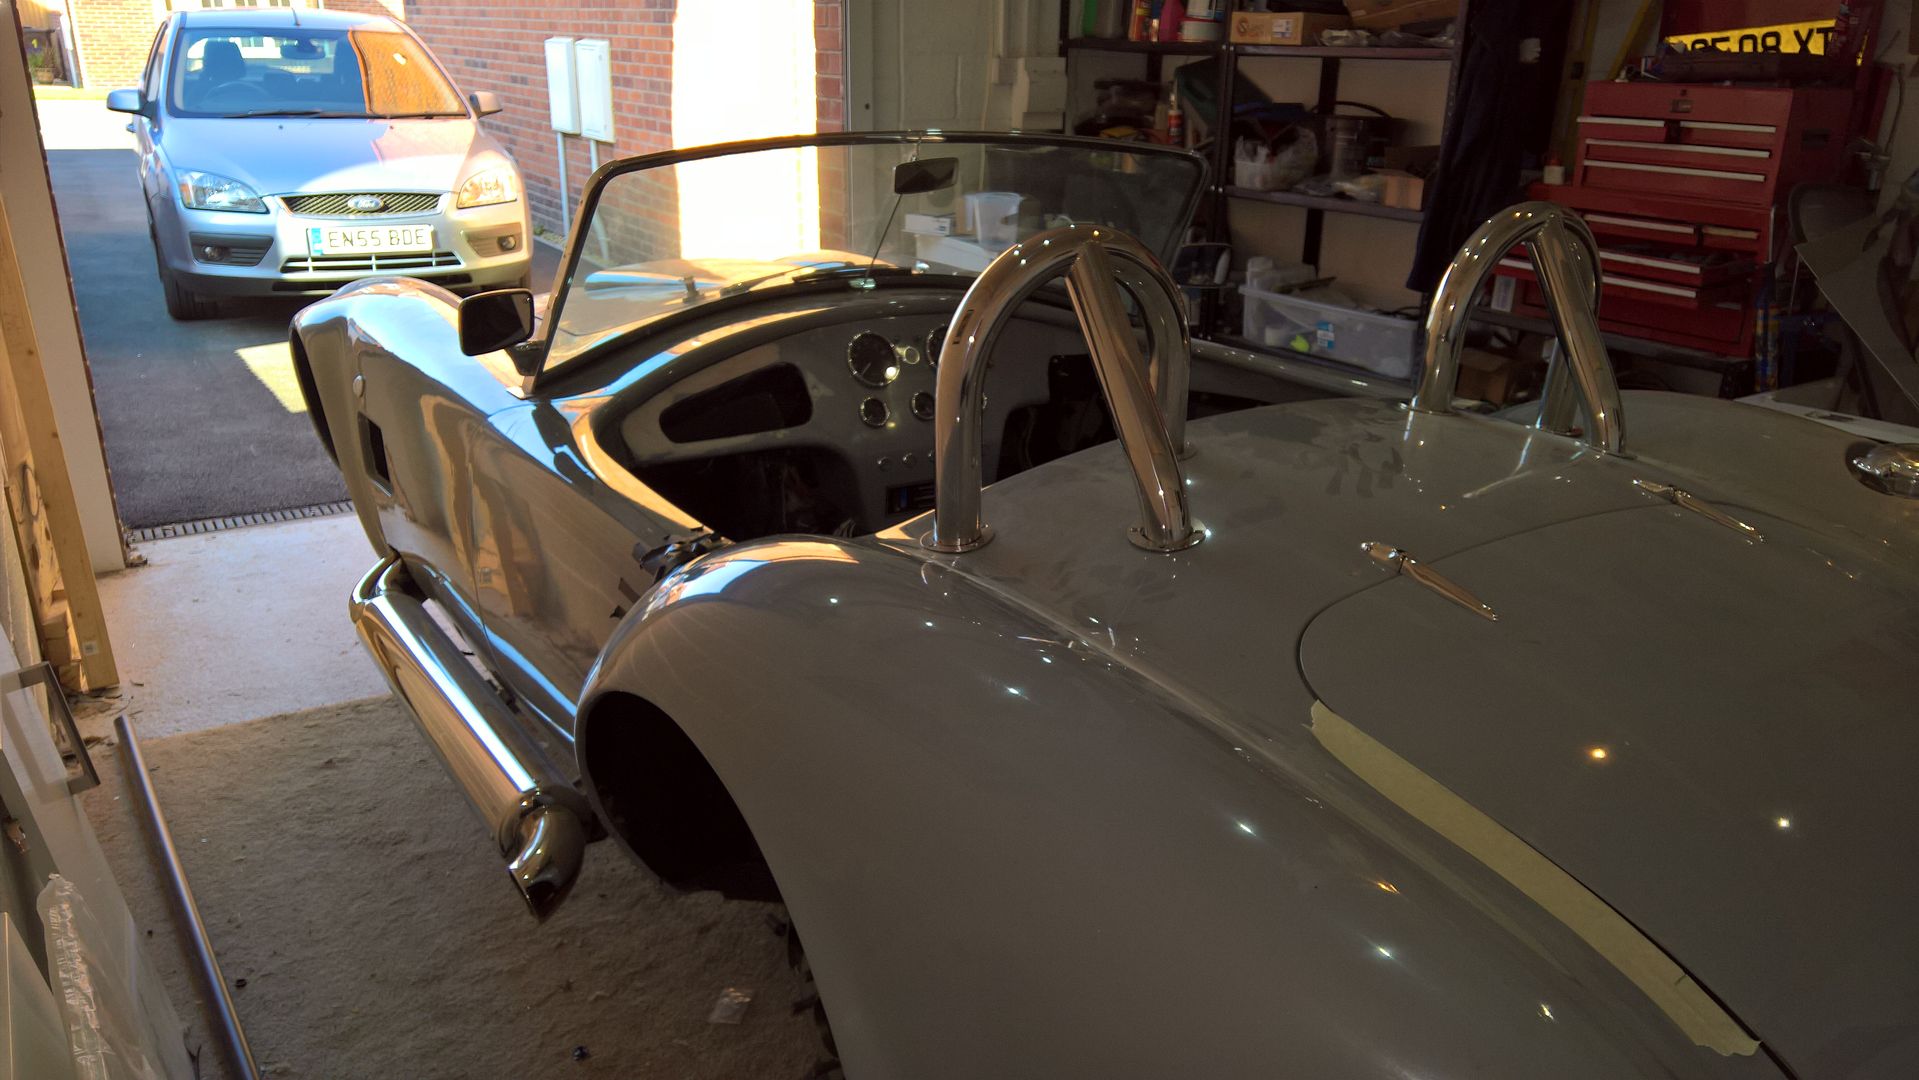
Fitting the gas struts first requires drilling the wing about an inch in front of the washer bottle cross member to the wing. Funnily enough I couldn't fit the drill into this none existent space without taking off the bottle so I decided to drill the hole 1.75 inches in front. 2 holes and M6 bolts and its fitted in place. You just have to make sure it is secure, right up to the rain valley.

The instructions tell you to drill through the rain gulley to add a bolt here too which I did.


There is one thing the instructions don't tell you to do .... surprise, surprise...

The gas struts are immovable when you first open them so you need to turn the grub screw at the top to let a little gas out. Be careful here as it comes out fast so just do a little at a time.

The strut will push in to about 10-11 inches long.


Mark the body 11 inches up from where the bracket is located and transfer this to the bonnet then just add the bonnet bracket by drilling and attaching with rivets.


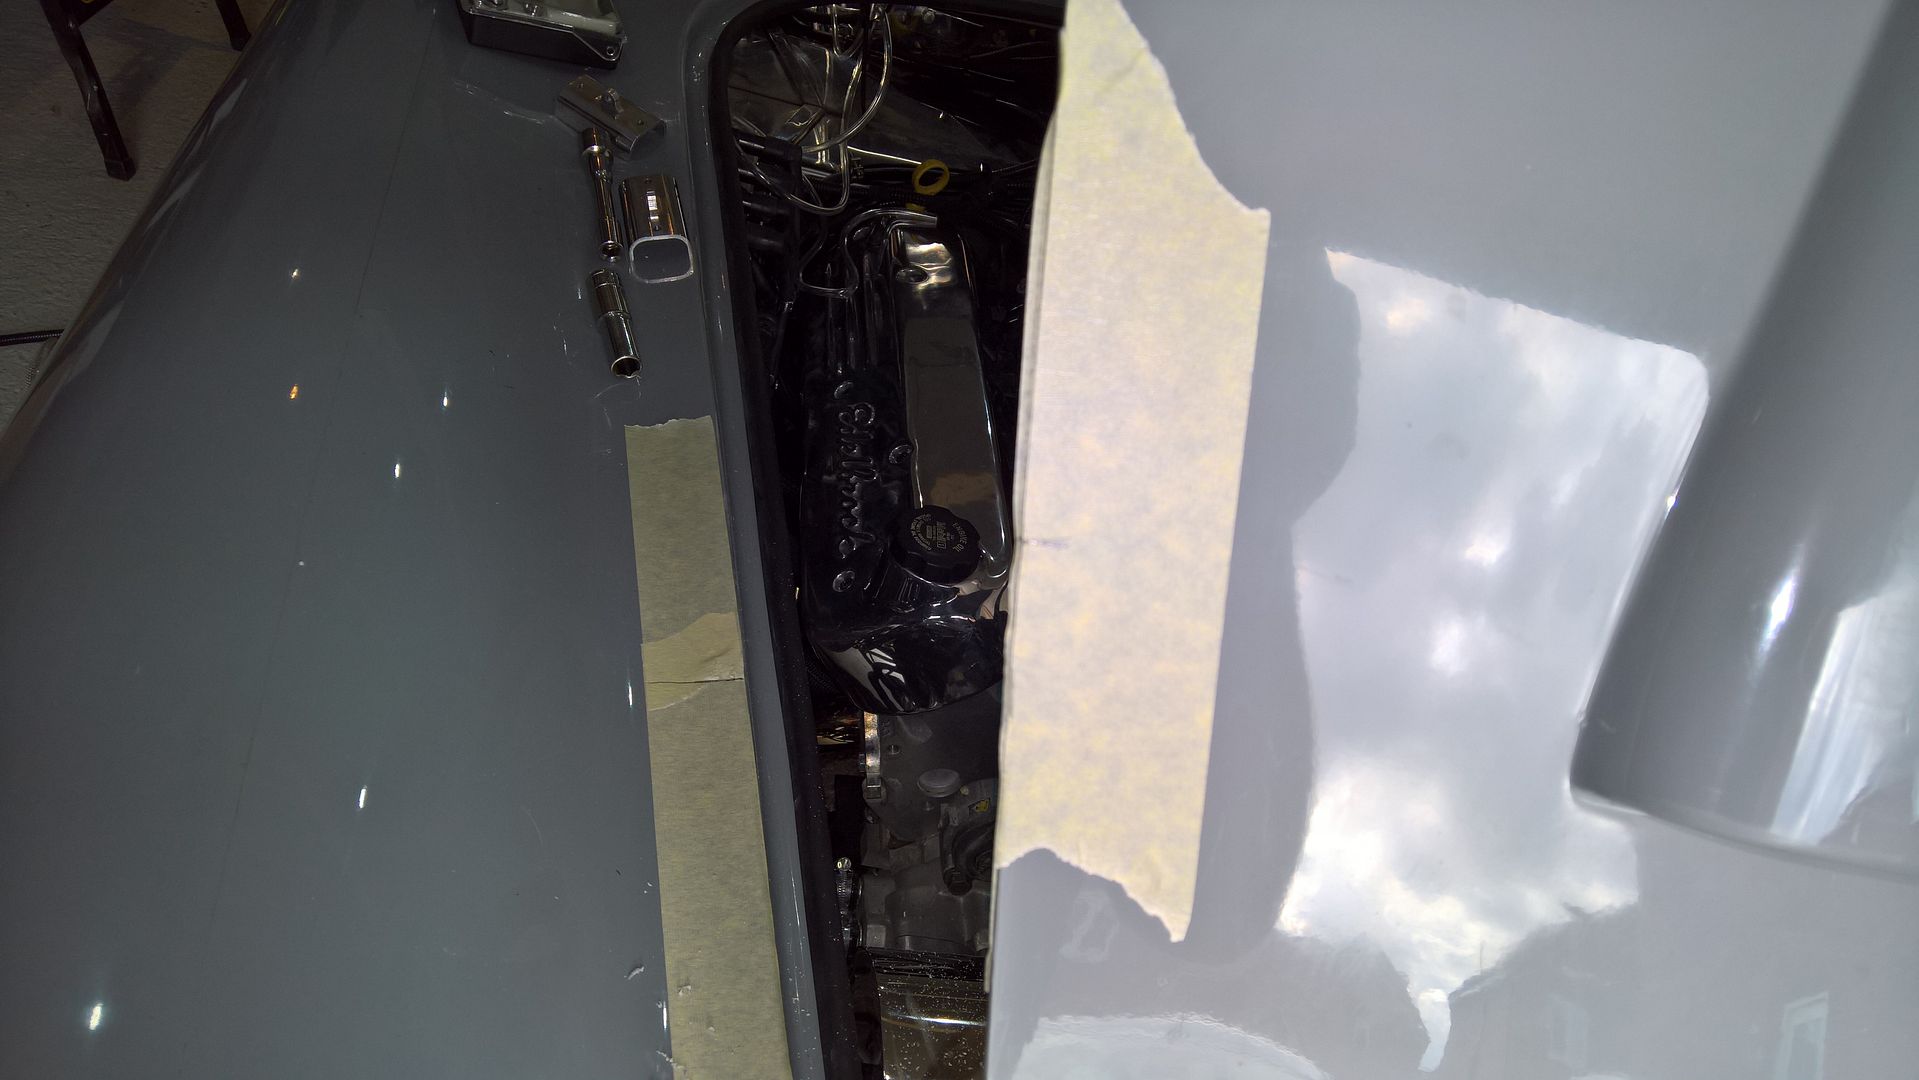
Attach one of struts and then release the gas until you can just close the bonnet and it holds itself up (just), then add just the second strut and do the same. When you add both together it will hold itself up. I found that I still had to let a little more gas out to reduce the movement on the body as they were a little stiff when added together.

I'm very pleased that I can now lift the bonnet without my makeshift wooden bonnet strut :-)