
I've slowly been working through getting the dash completed as you may have noticed from a few of the pictures posted but I thought it was about time a give it a post of its own.
The first thing you will need to do is fill around the glove box as you'll find it needs some tidying when it comes from AK. I decided not to bother with the whole printing images and moving them around and instead decided to let my creative juices flow as I did it. Also known as "winging it".
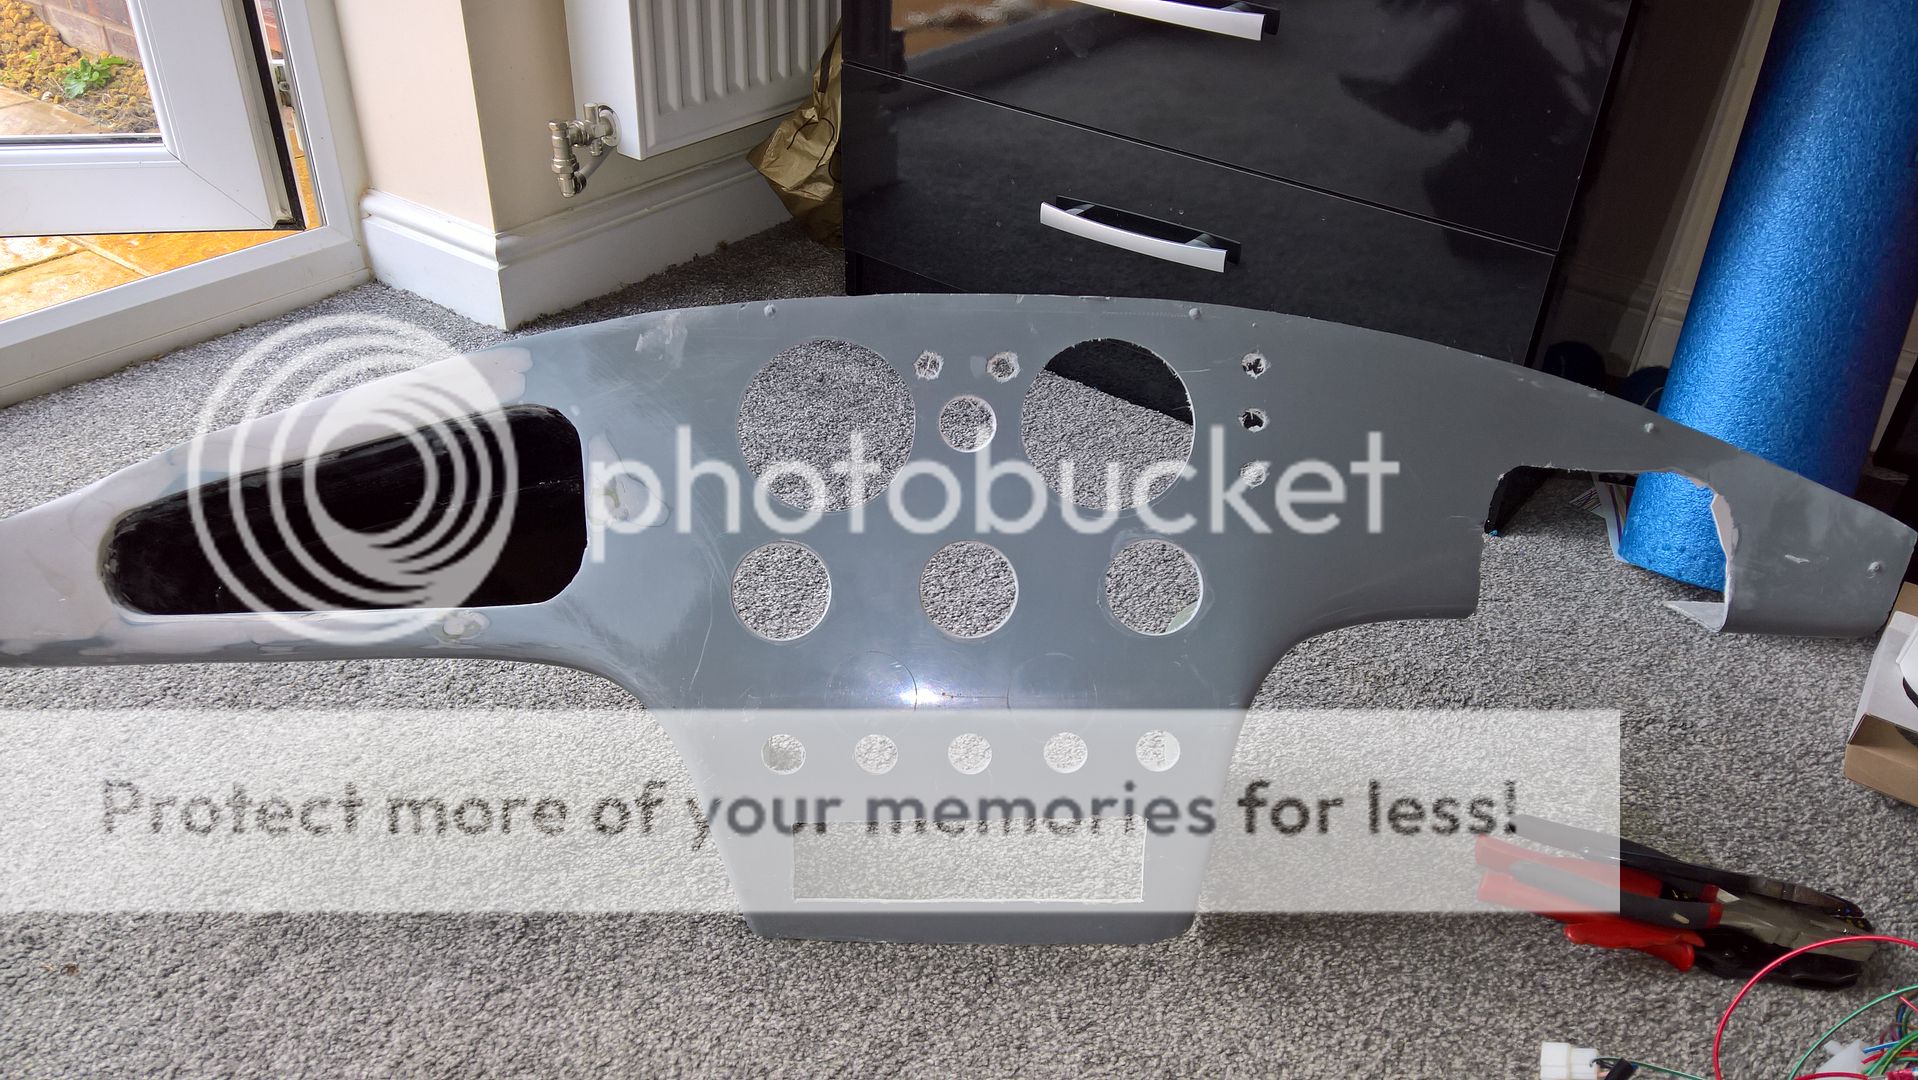
Start by fully masking the centre of the dash and then find a centre line. I put the dash into position in the car and that allowed me to mark from the centre of tunnel up to the centre stay of the windscreen. Perhaps not a perfect centre by measurement but it looks perfect by eye which is more important for something you look at every time you get in the car.
From here I cut out the tacho and speedo holes first, leaving enough room in-between for the push to start button.
Then I just worked my way down the dash, measuring and cutting as I went. I chose just three gauges. Fuel, water temp and oil pressure. I didn't bother with a clock or oil temp as I'm not going to track day it that often and I have a watch..
Next was the switches which are the billet aluminium from car builder solutions. There are five in my dash; Hazard, Rear Fog light. Electronic Handbrake (with built in warning light). Sidelights and Dipped beam.
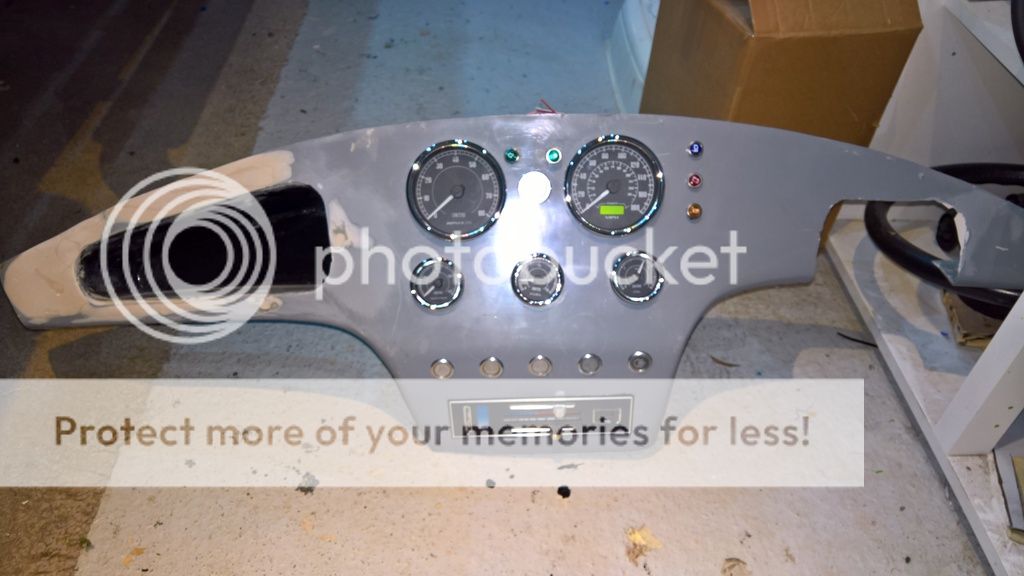
The lights are from S&J. I have chosen two indicator lights which I have fitter in the centre above the start button then the charge, oil pressure and high beam warning lights on the right of the centre of the dash.
The ignition switch hole is hidden on the side of the dash, the long gap at the bottom is for the heater controls and the hole on the right is for the steering column.
And here it is with all the gauges and controls fitted.
Wiring the dash is a long job. I recommend having at least a full day available to get on with it uninterrupted. The image below allows you to see the ignition switch.
The AK manual, as always is not as clear as it could be especially where the warning lights are concerned as some need to be earthed and others need a live feed. This caused a few calls to AK and Jon was helpful as always in figuring out the issue. What you need to ensure is:
1) Charge warning light - live
2) Main beam warning light - earth
3) Oil pressure warning light - live
4) Indicators - earth
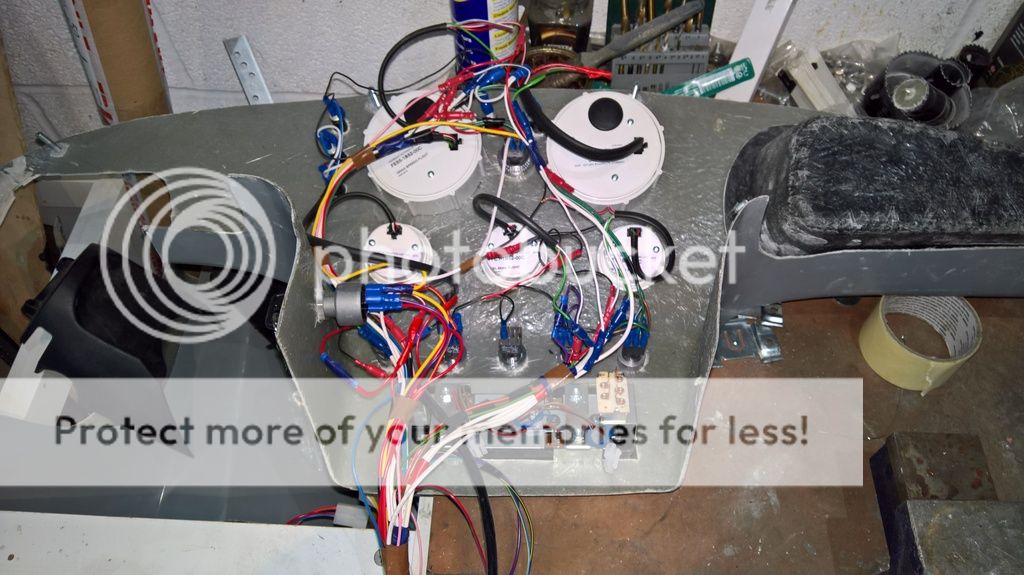
I think the above is pretty tidy compared to some that I have seen but I'll be tidying it further when I do the final fit, after the leather has been fitted in the new year. At least I know that all the gauges and switches work.
No comments:
Post a Comment