
The Mrs was out tonight so I headed into the garage to try to complete the rolling chassis; on todays list was:
1) Take the engine out again to figure out why the gearbox was leaning
2) Check I had used both a spring washer and washer on the P-clips as I had read on the forum IVA man was keen on this.
3) Connect the handbrake assembly
4) Fit the radiator
This would get me to the point where I could lower the car onto its wheels and prove it moved!
After taking the engine out I realised that I had not put a washer after the spring washer on each of my p-clips. The p-clips were metal not plastic so I figured I would be ok, but after re-thinking I came to the decision that putting them on now would save a LOT of hassle later if IVA man decided they were necessary. About an hour or so later and this was all sorted.
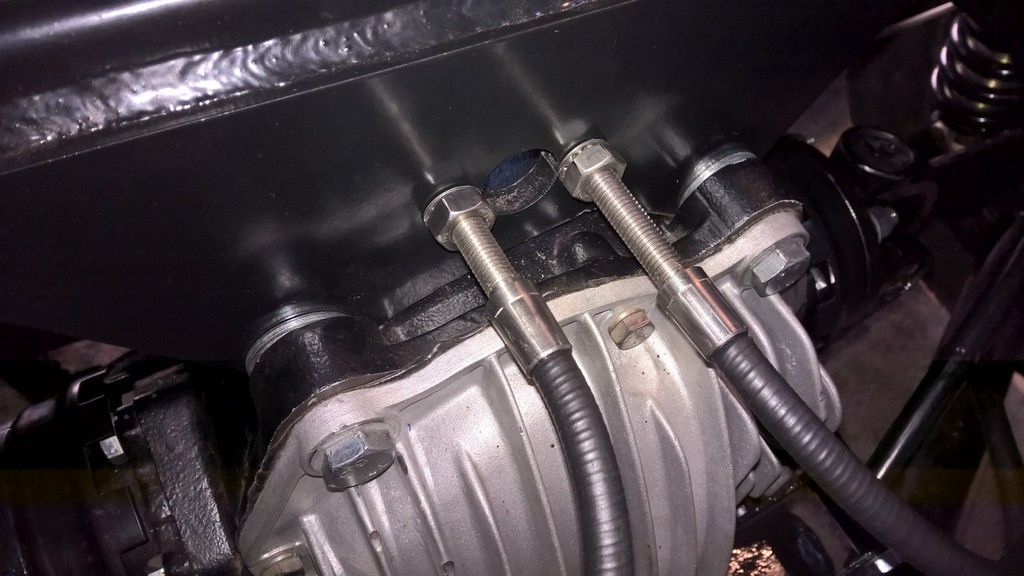
Before removing the engine my old man and I had taken a few measurements and almost come to the conclusion that the gearbox was supposed to lean slightly and that it wasn't 5mm out (see last post). Once we put the engine on the floor and noticed the engine was leaning 1 degree and the gearbox 4 degrees this confirmed it. If the gearbox was mounted correctly to the bell housing and the bell housing to the engine then it couldn't be wrong.... could it?
We agreed that it was all ok and set about re-installing the engine and fitting the gearbox bracket. (EDIT: It was later confirmed by Roadcraft that the GM Bell housings do angle the T56 gearbox)
After checking the height of the output was in line with the output on the diff (it only took 7 washers on the bracket!) then this was job done and onto the Handbrake.

First of all I would point out that the AK manual says sweet FA about the fitting of the level which makes the handbrake work. Luckily there are some pictures on various blogs which help. The two cables need to be adjusted to different lengths to get them to work at the same level so don't be afraid to play with them to get it right. My drivers side cable only has about 1cm of the threaded bar after the nut and the passenger side about 3cm. The level does not require much force to lock both wheels solid.
I didn't have any clevis pins as per the AK picture so I used M8 bolts and nylocs to connect the mechanism together. Now onto the radiator.

AK supply a couple of small M6 bolts which are perfect for the top of the radiator along with a washer before and after the bracket. They also supply two M12 bolts for the top frame and 4 M8 for the bottom. You do need to get your own radiator rubber bushes from Rimmerbros though (£1.30 each). See a previous post for the adjustments I had to make to fit this.

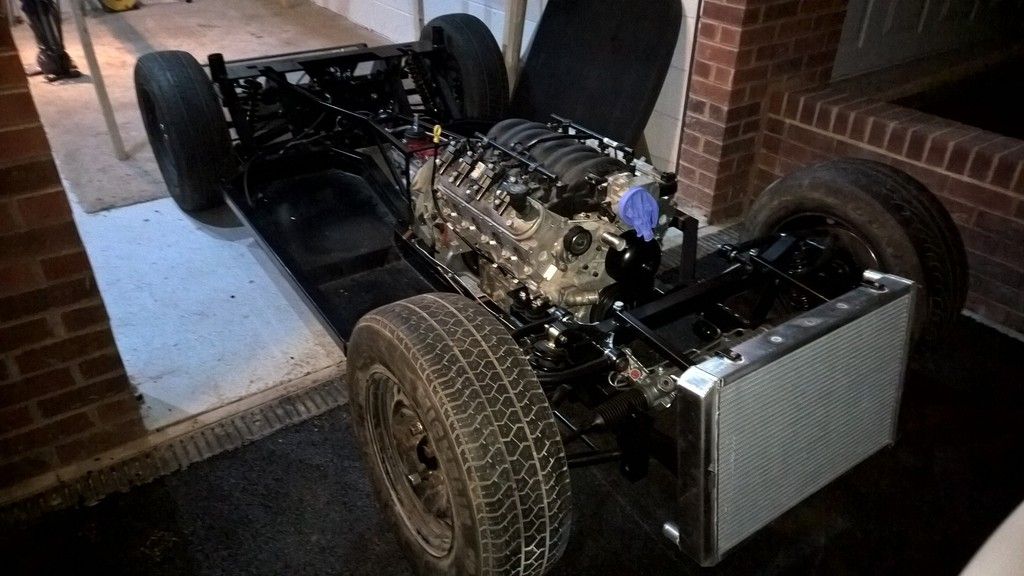
Finally I lowered it to the ground. This was such a great feeling. Almost a month after receiving the chassis I was able to push it in and out of the garage and see everything working as expected. I'll need to order the prop shaft next and I have booked it into AK to have the manifolds and side pipes made at the end of October.
No comments:
Post a Comment