
Oh, and dealing with the fact that I was promoted so had a whole heap of extra work to do.
 That's all settling down now and the great news is that my chassis has finally arrived. I have been like a kid at Christmas all week and couldn't wait to get stuck in.
 Friday 11th came around after what seemed like the longest week of my life so off I went to collect the van and trailer from a friend and then down to Peterborough, arriving at 10:30am. It took little more than half an hour to load up after a coffee with Carla and the lads at AK, back up the A1 it was.
During the week I had finally finished off the pulley system to lift the body to the ceiling. It was by no means easy work but we got there in the end. I'll put another post up showing how I made the system.
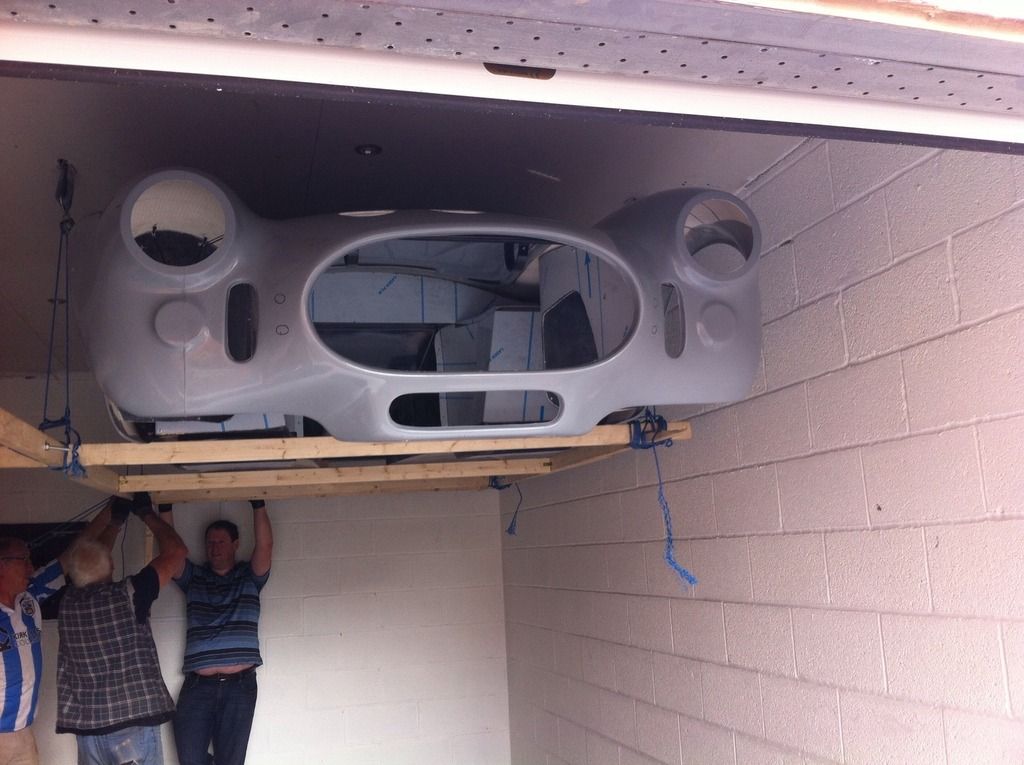
By early afternoon the body was off and lifted up to the garage ceiling.
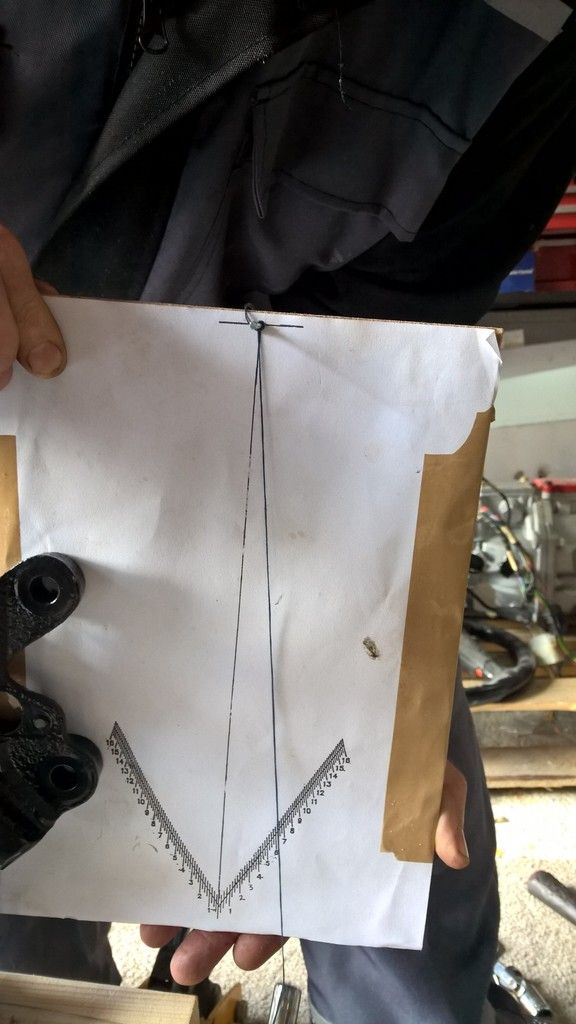
The next day was about trying to build up the front end, I had prepared my manual with the GenII word files, original manual, torque settings from the XJ40 workshop manual and part numbers/diagrams - Preparation Prevents Piss Poor Performance (or something like that)
I was all ready to get stuck in.
All went well up until I had to fit the cotter pin on the front right hand side. I had bought an aftermarket reproduction kit from SNG Barrat and it was too big but wierdly the other side was fine with the same kit ?!? I have more on order.
A little trick to rebuilding the hubs is:
A little trick to rebuilding the hubs is:
1) Put the bearing races in the freezer overnight
2) Heat the hubs with a blow torch for a couple of minutes.
3) Drop the races in and gently tap into place
 It works a treat!
Setting the caster had me most concerned as I have read numerous blogs where it has taken a whole day to get it right. Levelling the wishbones was the hardest part as it appears my garage floor is like a mini version of the Rocky mountains. No matter how hard I tried, if I had one level the other would be 0.4 degrees out on the inclinometer. The great news was that when I checked it with the gauge provided by AK it read 6.5 degrees, and 7.7 on the inclinometer. I could not (and still don't) believe that such a tricky job could be so easy.
More mistakes were made whilst rebuilding the calipers. I had seen a post on youtube showing a nice trick to getting the dust boot on using an air gun. Trust me, it did not work like it says it does - I broke two dust boots setting me back £30 for two new kits from SNG. See my later post on how to actually do this.
I now know that the correct procedure is:
1) Add the square seal covered in brake fluid
2) Press the piston fully in (covered in brake fluid) into the carrier with a clamp or similar
3) Add the dust boot and tap into place with a blunt tool (screw driver or similar)
So when the new parts arrive I'll re-attempt this.
Here's progress after day 1.

No comments:
Post a Comment