After a bit of a think I came up with the following solution.
The parts needed are:
- -6 AN fuel line (approx. 15 ft)
- Bosch 044 Fuel Pump
- Some metal strip to use as a mounting bracket
- 4x M8, 8 x M6 and 3 x M5 Riv nuts, bolts and spring washers
- 2 x AN-6 90 degree corner swivel hose fitting
- 4 x AN-6 Straight Hose Fitting
- 1 x AN-6 Quick Connect 5/16" Hose Fitting
- 1 x AN-6 Quick Connect 3/8" Hose Fitting
- 3 x AN-6 15mm Clamp Finisher Hose Fitting
- Dash -6 Bosch 044 Outlet straight fitting
- AN-6 Bosch Inlet M18x1.5 30 Micron Filter
- Standard GM Compatible 58 PSI Filter Regulator
The fuel line and regulator came from summitracing and the connectors from torque products. I used the standard GM filter regulator as it works at 58psi which is what the LS6 engine requires. In addition it is readily available at just $35 from summit racing and as it has a built in return valve it saves on additional connectors and cost.
I used AN-6 fuel line instead of the 10mm I/D hose recommeded by AK as it is slightly smaller and therefore more pliable. In addition, Tim Adams racing advised me this size could provide enough fuel for over 900BHP so there was no need to go as big as 10mm I/D.
I used AN-6 fuel line instead of the 10mm I/D hose recommeded by AK as it is slightly smaller and therefore more pliable. In addition, Tim Adams racing advised me this size could provide enough fuel for over 900BHP so there was no need to go as big as 10mm I/D.
Making the pipes is fairly straight forward. You just have to take your time, one pipe at a time attaching them into place before you move on. This means taking pipes on and off as you go but it means there is less chance for error.
To make a pipe:
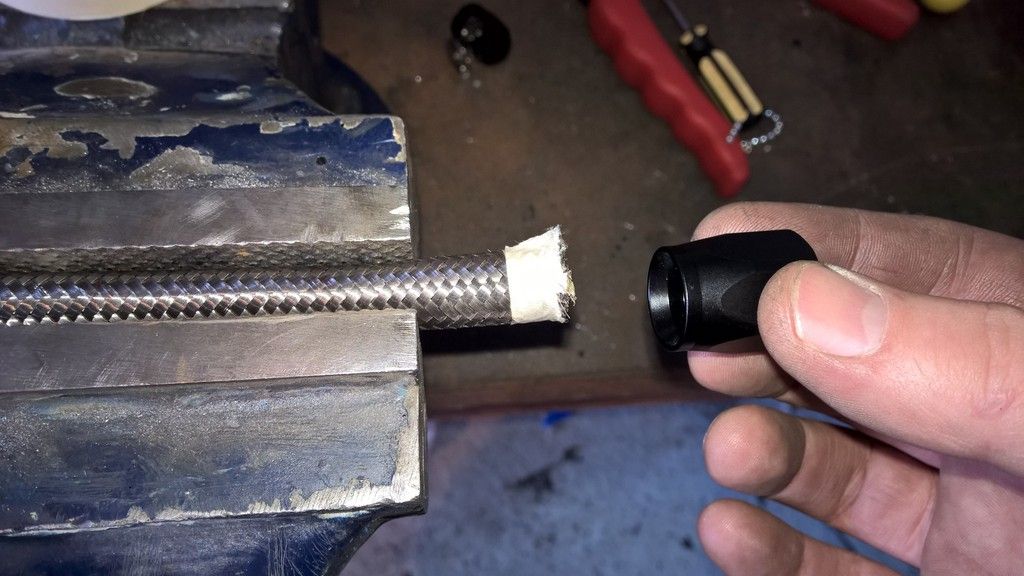
- Wrap some masking tape around the pipe and then cut with an angle grinder and cutting disc. The tape stops the pipe from falling apart.
- NOTE: if you get lots from fraying on the pipe then re-cut it as it will be more pain than its worth.
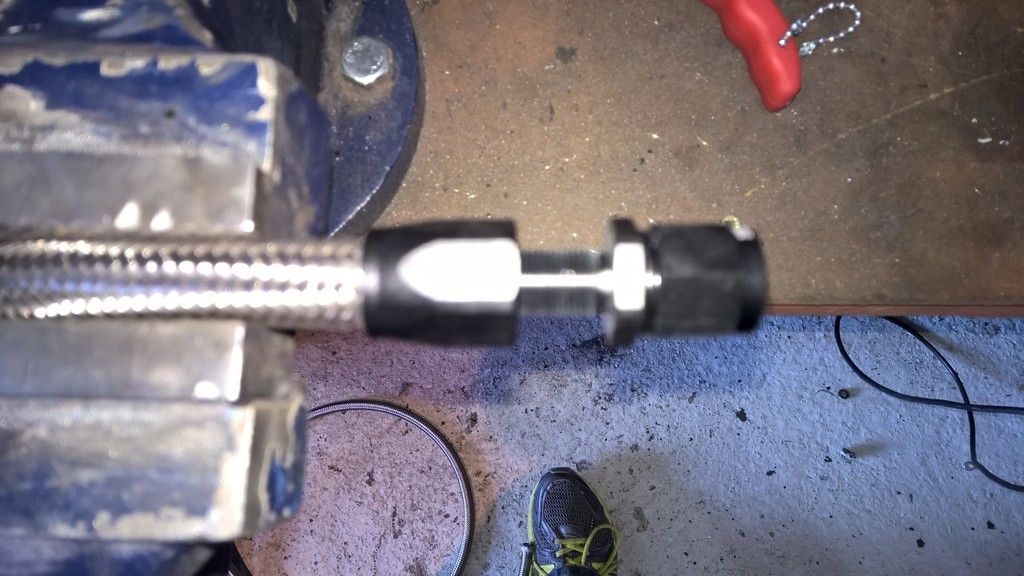
- Hold the pipe in a vice and offer up the first part of the connector. Use a small flat screw driver to work the end of the pipe into the connector. This takes a bit of effort as you push/screw the end cap onto the pipe without damaging it but its not overly difficult.
- Screw in the second part of the connector. I found a good method was to clamp one spanner in the vice with the ring end out of the vice. Place first part of the connector in the ring and then hold the pipe with one hand whilst turning the second part of the connector with another spanner until its right in.
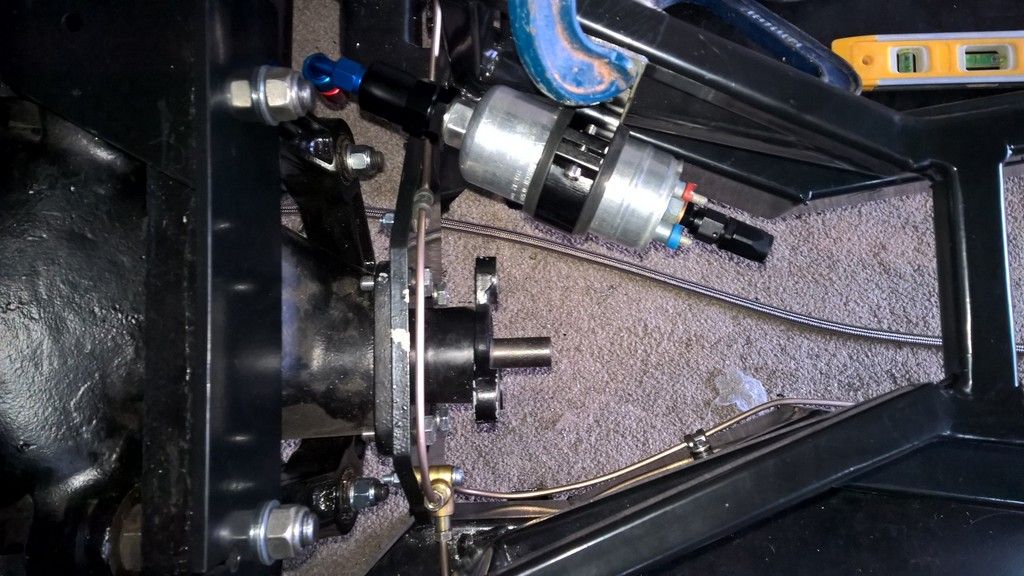
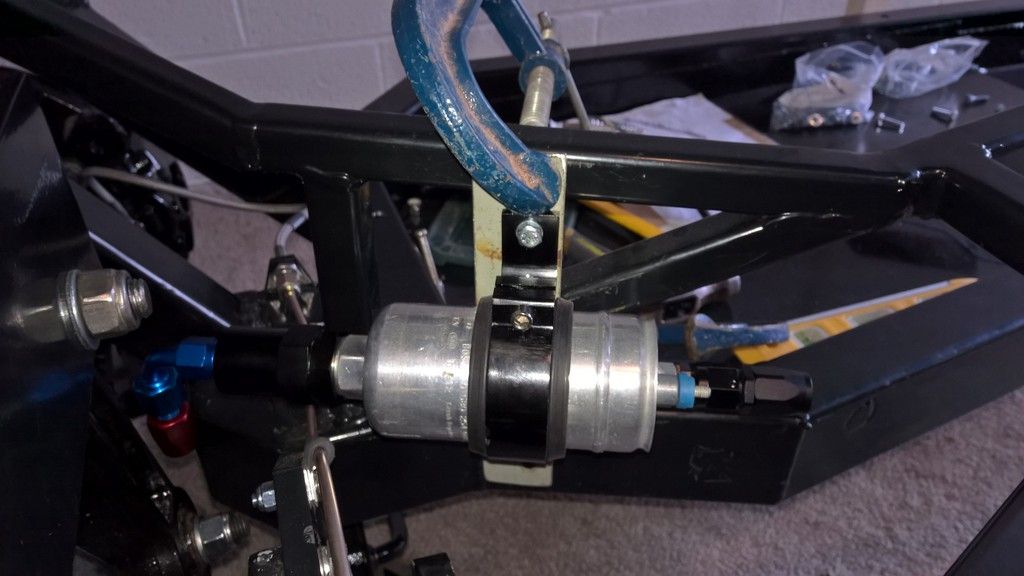
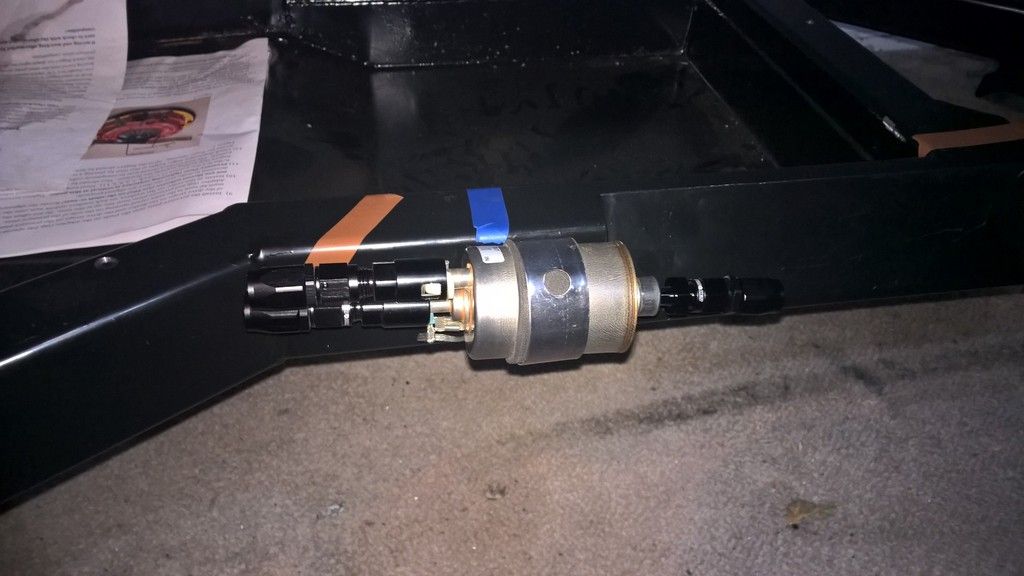
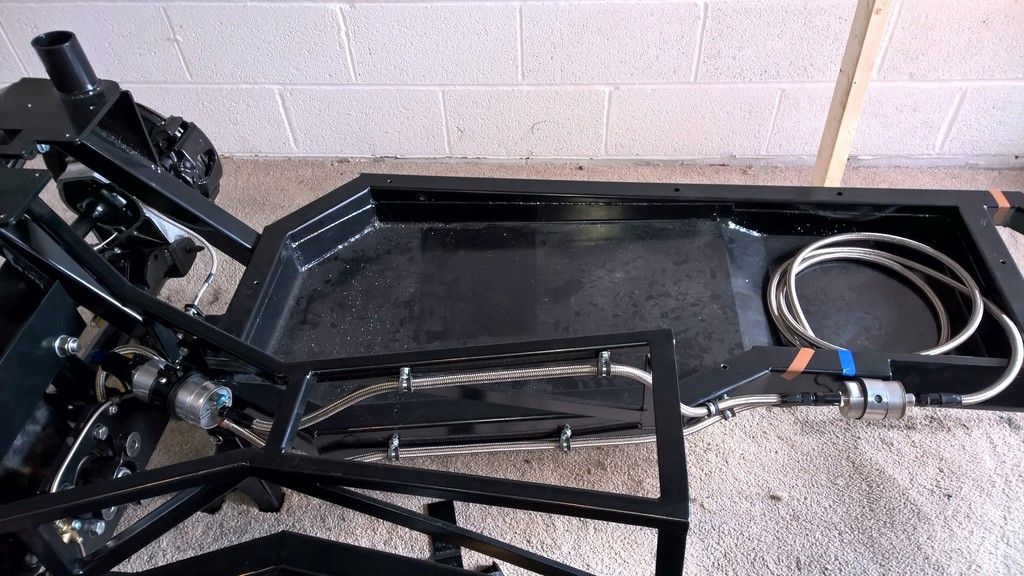
I connected the filter to the bosch pump and made a bracket to attach it to. This was so I could mount it at the back near the diff but higher up than the prop shaft so it easily cleared the brake pipes. NOTE: the bottom of the bracket needs a spacer in it as it is offset to the tunnel part of the chassis.
I used M5 Rivnuts and bolts with spring washers and threadlok in the tunnel frame and M6 Rivnuts with bolts, spring washers and threadlok in the main chassis beam. All P-clips were rubber lined and spaced 10" apart.
The standard GM filter regulator was placed towards the front of the chassis where the manual suggests putting the pump.
Pipes were then made up running from front to back.
The tanks had to be lifted into place with a jack and then the "lugs" drilled out to 7mm, then tapped at 8mm. M8 * 35mm bolts with spring washers and thread lock was then used to secure the tank. NOTE: you only drill up through the first wall of the chassis tubing. Do not go through both walls (a.k.a all the way through)
Heres the final solution.
Update 30/09/15 : I was unhappy later with the clearance from the end of the fuel regulator on the bell housing (the last connector to the right of the picture above) so I changed the connector for a 90 degree bend fitting instead. Parts list at the start of this post has been updated so is correct.

No comments:
Post a Comment