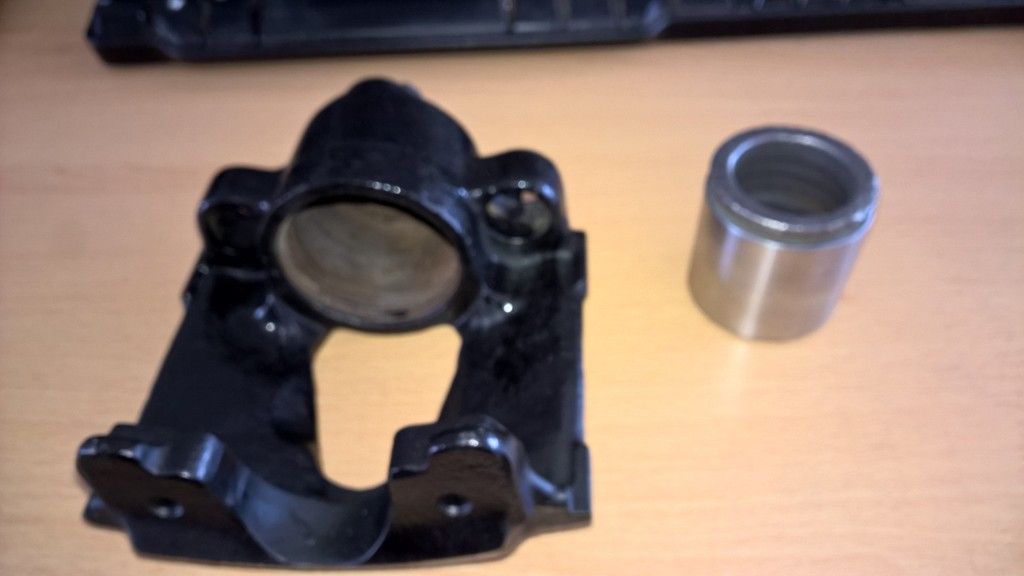
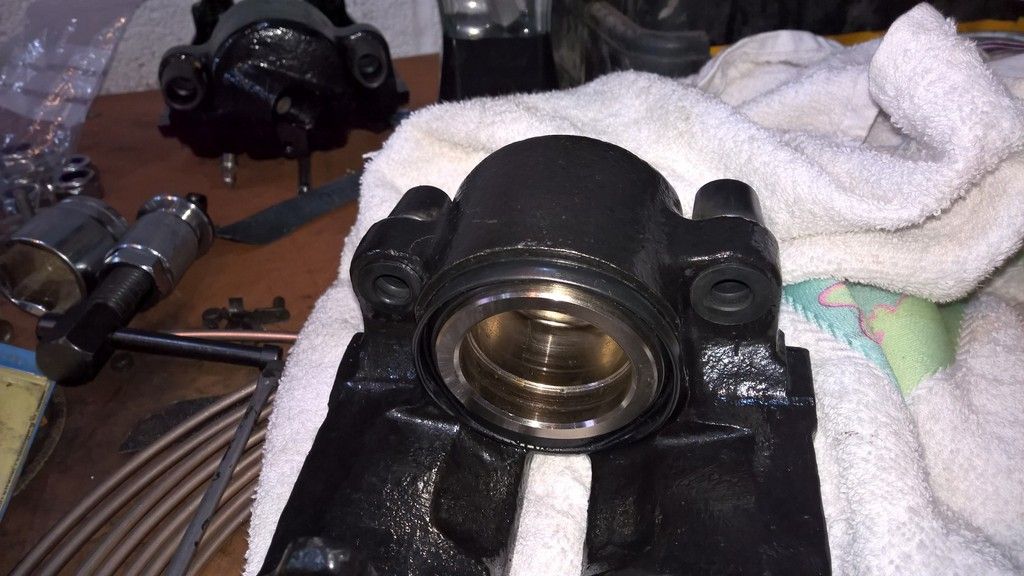
However, I wanted to rebuild as many of the donor parts as I could myself.
Calipers are fairly simple items. There is a square cut seal (the most important bit) which sits inside in the piston housing. This along with a clean piston face is the bit that really makes it work. There is a dust boot to keep the whole thing clean and functioning well; finally there are the carrier pin rubber sleeves, bleed screw and brake pipe input hole.
My rear brakes are from the Jaguar X300 range whereas the fronts are the XJ40 (newer version). For those that don't know, it is important to know this when you get your donor parts as the XJ40 has two part numbers for discs and pads (etc).
The XJ40 is commonly M10 x 1 for the input thread, However if you have the X300 variant that I have on the rear of the car, they are M10 x 1.5.
Replacement parts are available from a number of places but I chose to get mine from SNG barratt as they do both Jaguar and cheaper alternative products so you can pick and choose the best route for you.
I am assuming that you have cleaned up the calipers and painted them with something like POR-15 caliper paint (I got mine from Frost.co.uk).
First install the square cut seal into the piston housing. Lubricate it well with brake fluid and ensure that it is seated corrected. It just pushes into place.
Next there are two methods of installing the boot and piston; the first worked on three of the calipers, however the 2nd had to be used for the 4th as the boot kept jumping out.
Secondly install the new bleed screw and tighten, then:
Method 1: install the boot into the piston housing ensuring that you push the rim into of the boot into the seal groove then lubricate the boot well with brake fluid. Place the piston (also lubricated well with brake fluid) over the boot and use an air line to blow air into the brake pipe input hole. If you have created a good seal around the boot it will inflate and try to push the piston out. Allow it to do this a little and it will expand and pop around the piston, you can then just push the piston in (you may need a clamp or brake piston retraction tool). Push the piston in fully and then work into the groove in the piston.
Method 2: Place the boot onto the bottom of the piston with the seal hanging off the bottom. Place the piston over the housing and work the boot into place gently. Once the boot rim seats into the housing you can push the piston fully in so the boot seats into the piston also.
Finally, blow a little air into the brake input hole (not too much) - just enough to move the piston so you can check the boot is installed correctly and apply a little rubber grease/copper grease/Vaseline to the carrier pin holes and push through your new carrier bushes.
All done.


No comments:
Post a Comment