- Kunifer brake pipe (rather than copper as it handles newer fuels better)
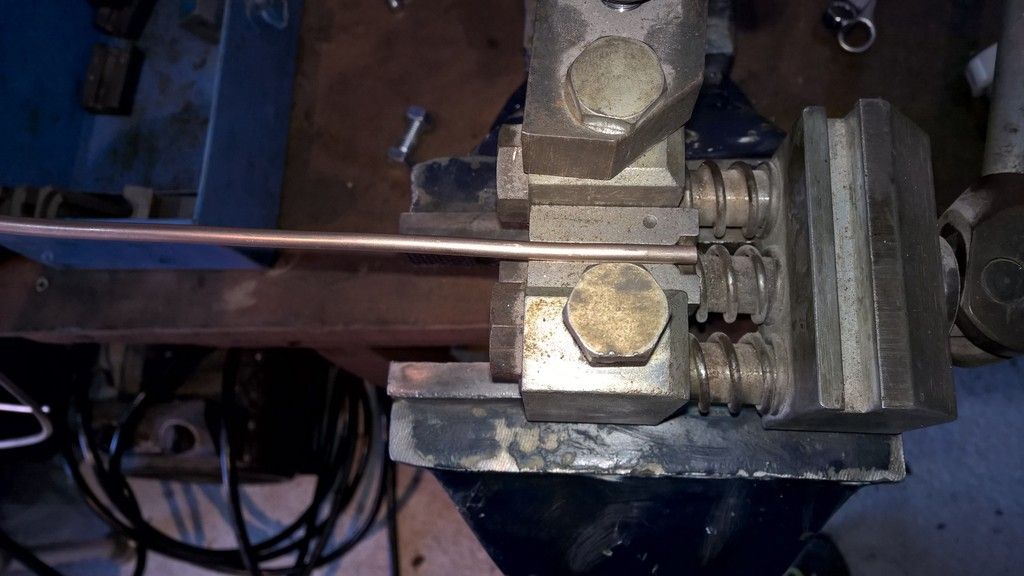
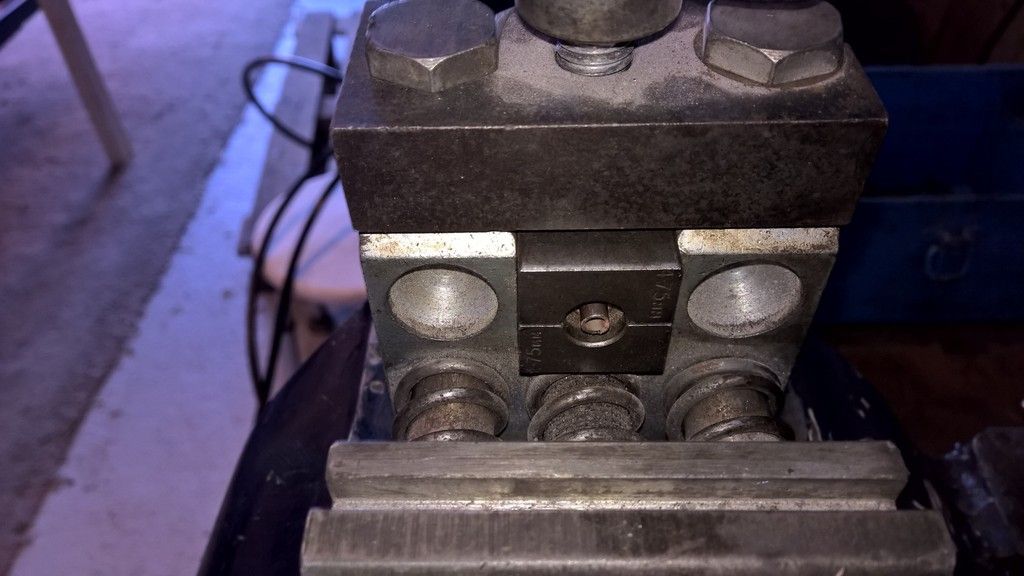
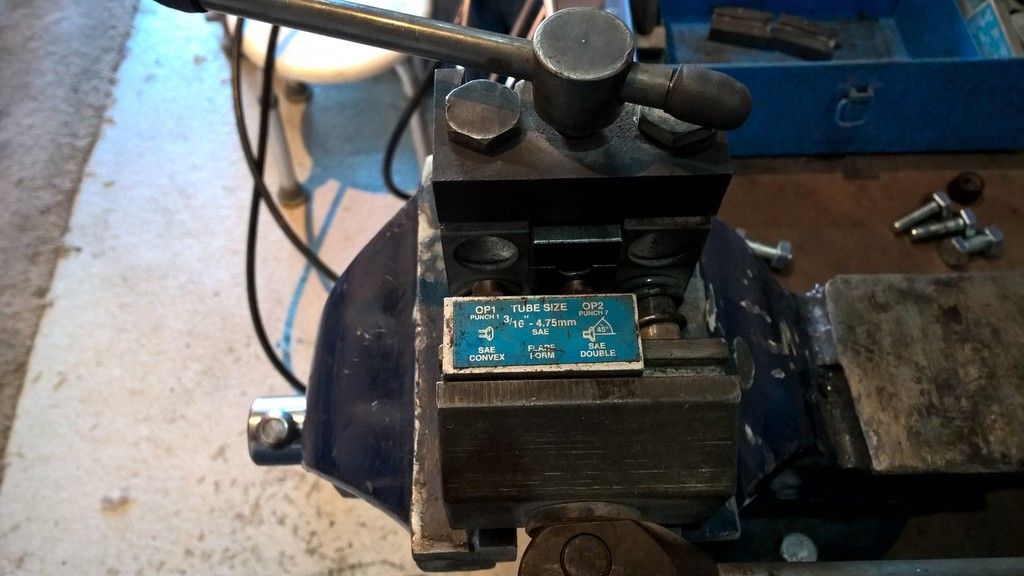
- A brake pipe flaring tool I borrowed from a mechanic I know
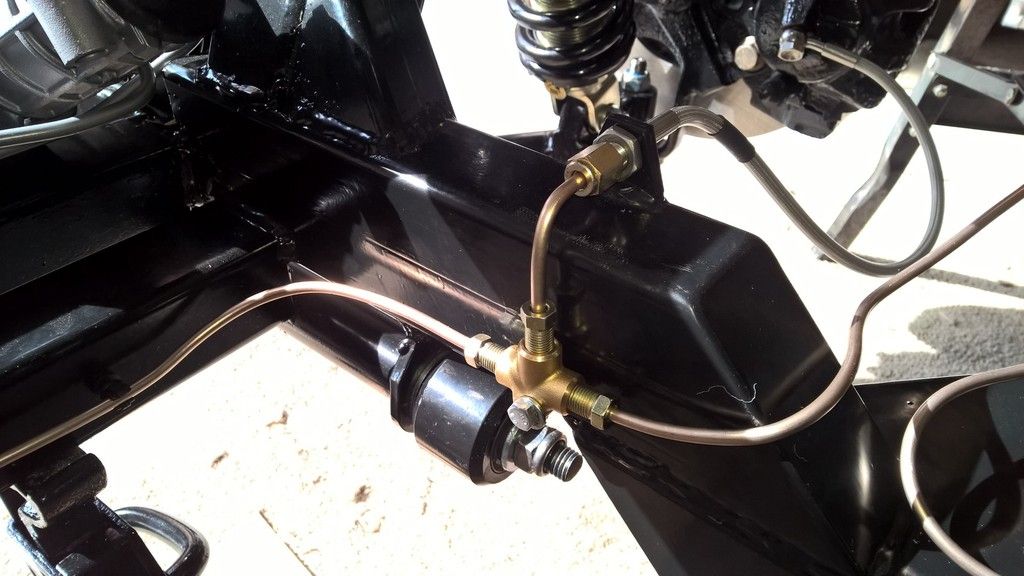
- Various unions bought from carbuildersolutions
- M5 Rivnuts, M5 bolts, Spring Washers and Thread-lok
- 3/16ths rubber lined p-clips spaced 10" apart
- A 90 degree drill chuck bought from Toolstation for about £10
- Some brake pipe clips (just to hold the cable in place until permanent fixings were added)
The key thing that I found was its all about having the right tool. The brake flaring tool I bought was very easy to use, made perfect flares straight away a every sealed up first time when I pressure tested it.
How do you flare brake pipes (using a tool similar to what I had)
1) Place the pipe in the bottom half of the mould, add the top of the half and screw the clam down ensuring the pipe is flush with the front for the mould.
2) The rule is do a single flare for a male connection and a double flare for a female connection.
3) line up the 3/16ths flare tool and pull the lever on the single flare (even if doing a double)
4) Without moving the pipe, and only if doing a double flare, move the tool across to the double and pull the level again.
6) When tightening in them up on the car do not over tighten. This is as bad as not doing them enough. They should be hand tight but without swinging off the spanner.
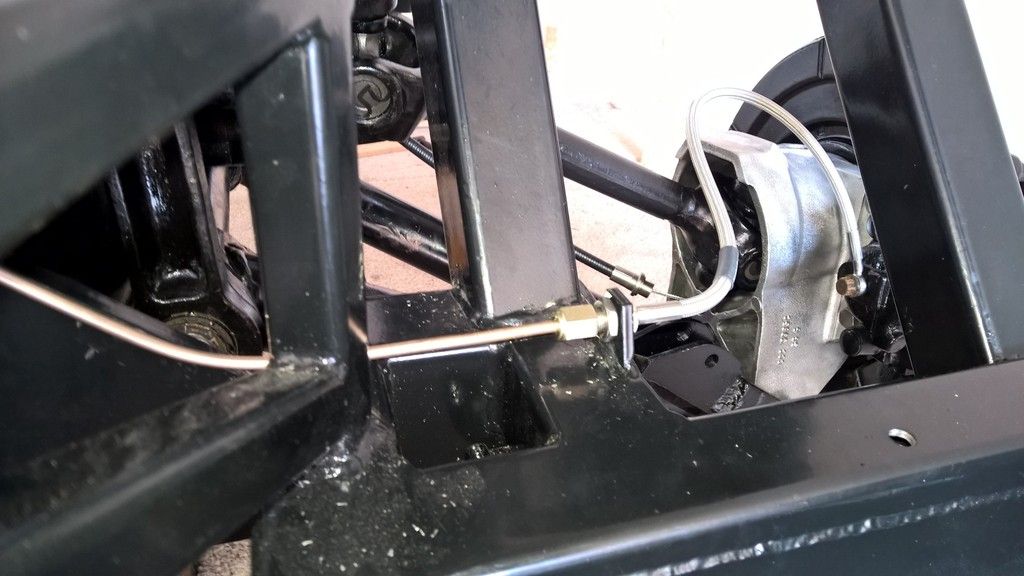
I then connected all the calipers, discs, brake flexis and pedal box so that I could pressure test the system. I left this pressurised overnight and once I was satisfied everything was ok a drilled and M5 Rivnut the chassis to fix the brake lines into place.
I then connected all the calipers, discs, brake flexis and pedal box so that I could pressure test the system. I left this pressurised overnight and once I was satisfied everything was ok a drilled and M5 Rivnut the chassis to fix the brake lines into place.



No comments:
Post a Comment