First I wanted to say that when I started writing this blog I did it both as a record of my build and as a guide to others following in my steps. I received a nice email from a reader recently letting me know they enjoyed the blog which was highly motivational for continuing so I just wanted to say thanks to all the people who come and read my articles.
I have now installed the prop shaft which means the drive train from front to back is connected. The car could, if the engine started yet move under its own power.
Alas we are some way of that milestone; I was hoping for Christmas but I now think it could be Feb when the its alive.
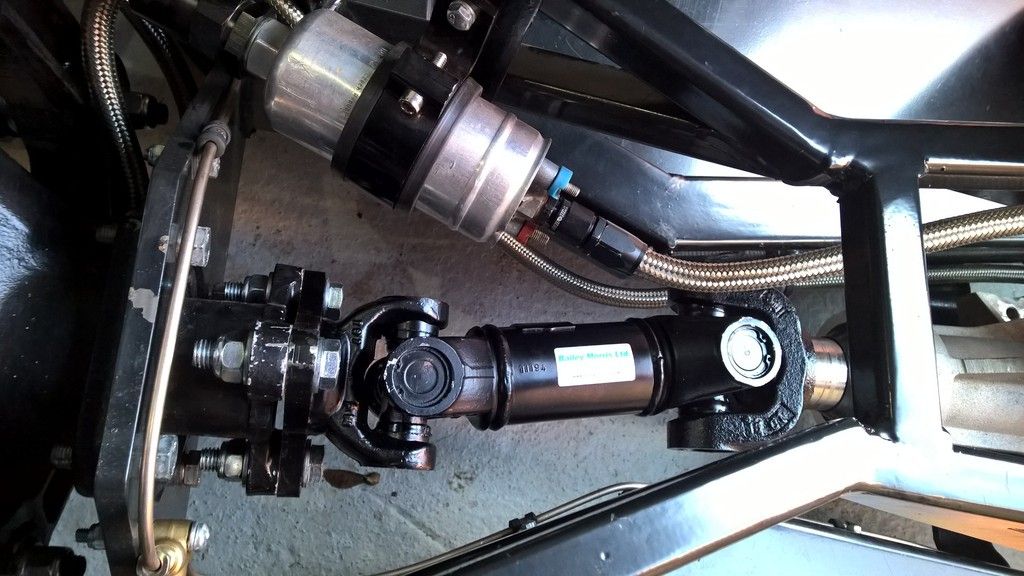
Fitting the prop shaft was fairly straight forward with the body off as I had lots of room to do it.
1) After applying a small amount of copper grease to the slide yoke splines I inserted that end into the gearbox with the rest of the prop shaft below the differential nose.
2) Insert further than it needs to go so that the flange end can be "carefully" manoeuvred onto the differential nose shaft.
Now to avoid the short interlude in the process that I went through whilst going to the hardware shop it will be helpful if you have 3 M12 * 50mm bolts with 2 washers on each and a M12 Nyloc for each. I had 35mm bolts which were not long enough. I am assuming here that you have a 3 hole diff nose.
3) I found it useful to slot the bolts through the prop flange before sliding it fully onto the diff nose as there are very specific positions where the bolts fit through. Some gentle tapping with a small tap hammer was required in my case.
4) Tighten the bolts flush (not tight) and then go around each again fully tightening. I needed two 19mm spanners for this as I could not fit a socket on the bolt head.
Don't forget to ensure your prop shaft UJ's are fully greased.
Contrary to what the picture looks like, I have good clearance to all parts; I was especially pleased that my fuel pump bracket and pipes have plenty of clearance given that this was a bit of a gamble.
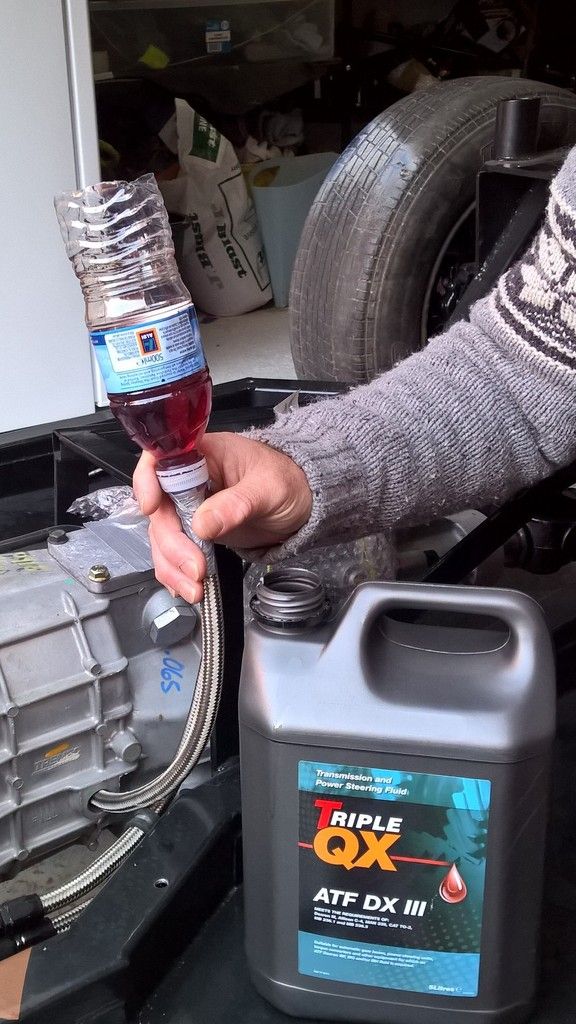 Once this was on I could move to filling the gearbox with fluid. The Tremec T56 Magnum recommended oil is Dexron III grade Automatic Transmission Fluid (at time of writing). Please check the tremec website for the latest recommendation.
 The fill point on a gearbox is on the side so unless you have bought a oil pump designed to do the job (Sealey 1L Litre Mini Pump For Engine/Brake/G
Basically just fill it until it comes out of the holes and then screw in the plug.
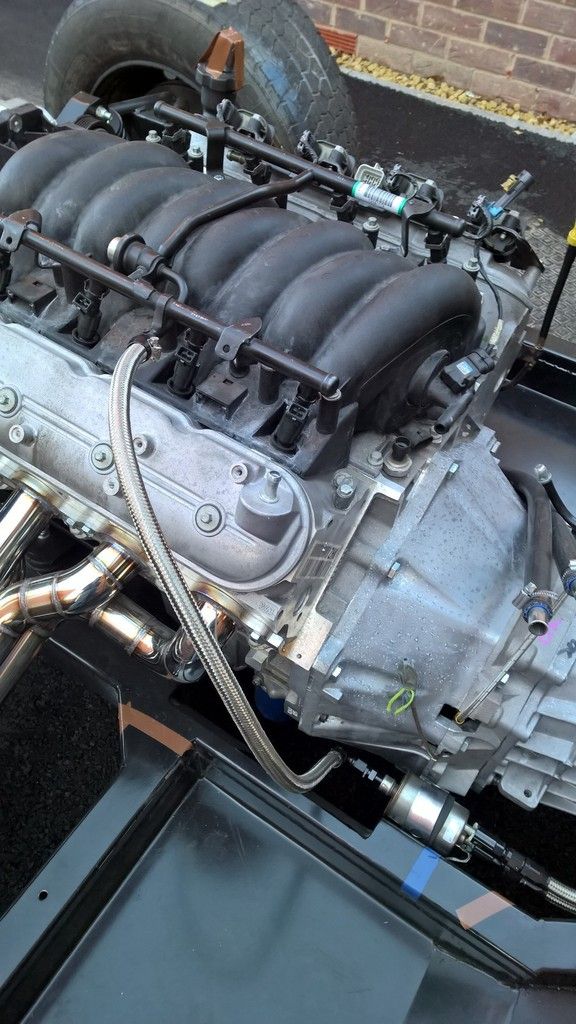 Pictured left is the device I made using a water bottle, duct tape and a bit of left over fuel hose after completing my fuel line (Pictured Right)
I have just used a Torques jubilee clip fitting for now but I am unsure if this is strong enough so I may change this in the future. I've sent an email to AK asking what they do before I decide.
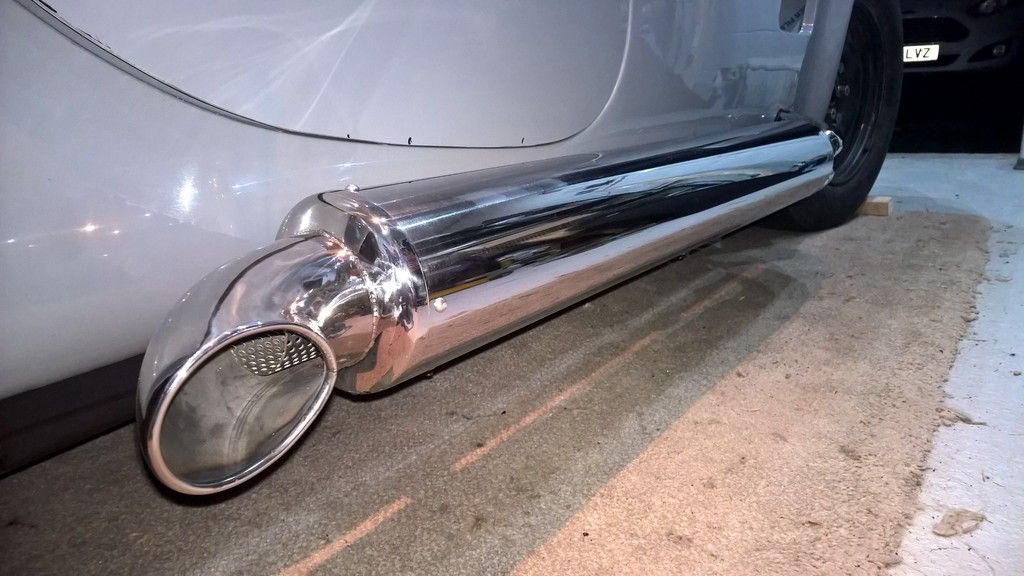
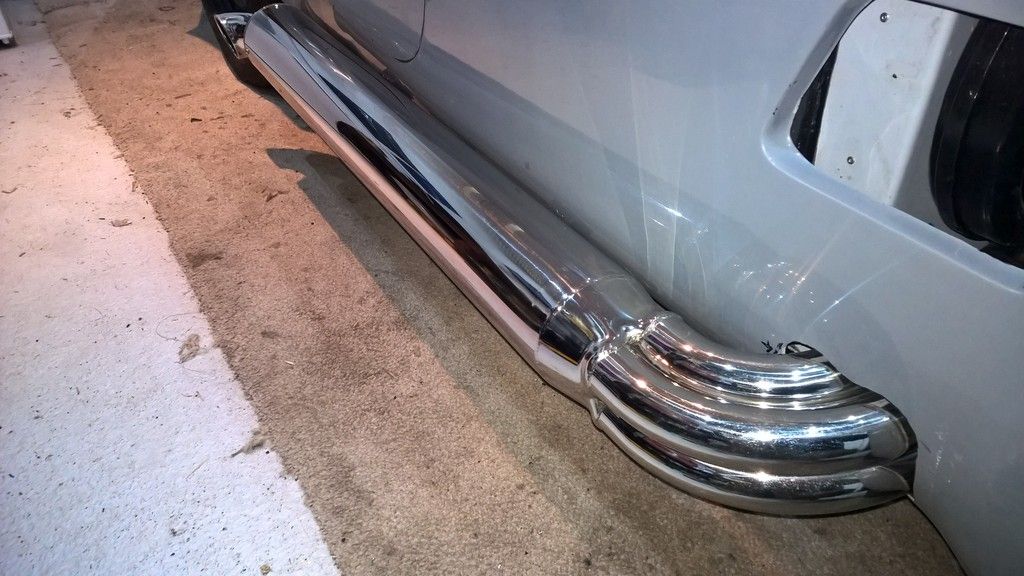
I'll be fitting the side-pipes later just to keep them safe and then I need to strip the parts off the car to polish them up.
Like I said, a few jobs to keep me busy.
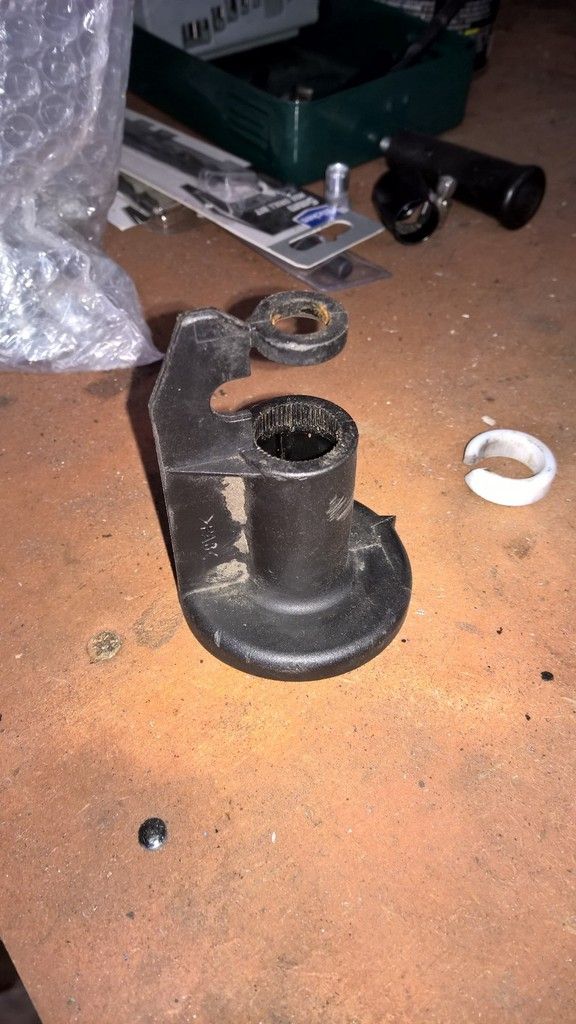
Finally - I also realised that the BMW Streering rack has a small black plastic cap on it. I have confirmed with AK that you just pull this off and dispose of it. This is pictured below:

