
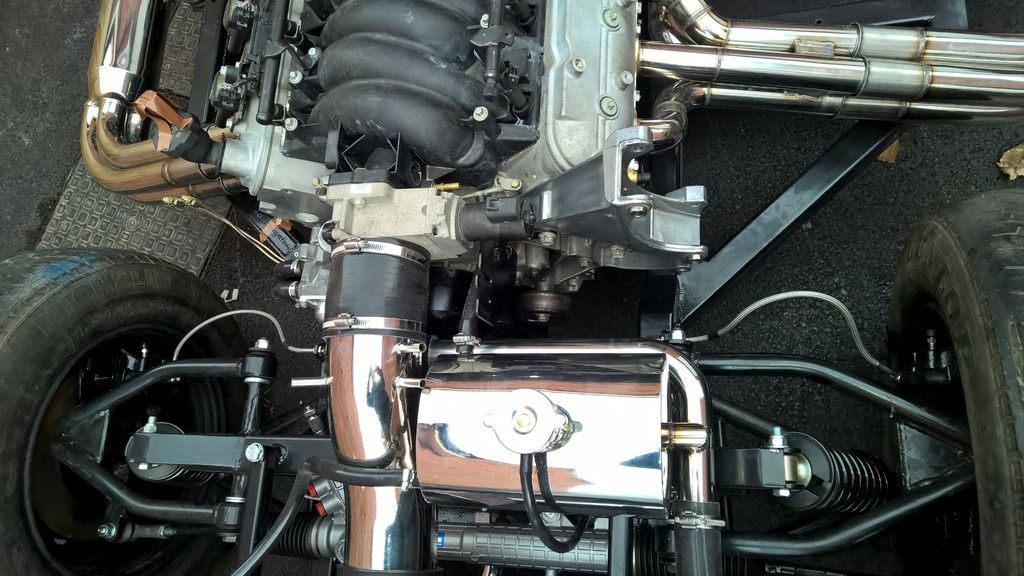
First though I had to tackle another one of those minor cock-ups which was the brake flexi pipes at the front were catching on the wheels at full lock. It appears on the rear the flexis need to point downwards towards the chassis, wheras at the front they need to be upwards. The picture below shows the correct way (right of the pic) and how I had it (left of the pic).
Easily corrected and onto the slow task of fitting the power steering pump. This job was fairly straight forward but I had to present the pump up from underneath the car as the header tank was in the way. I said in my previous post but to re-iterate; you are much better off sorting all the engine parts before fitting the cooling system as it just gets in the way.
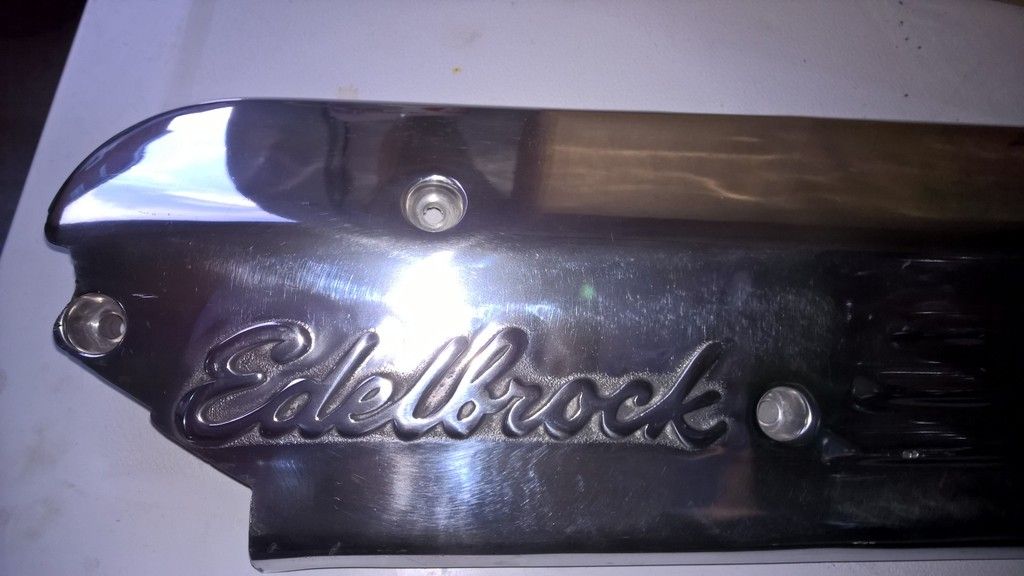
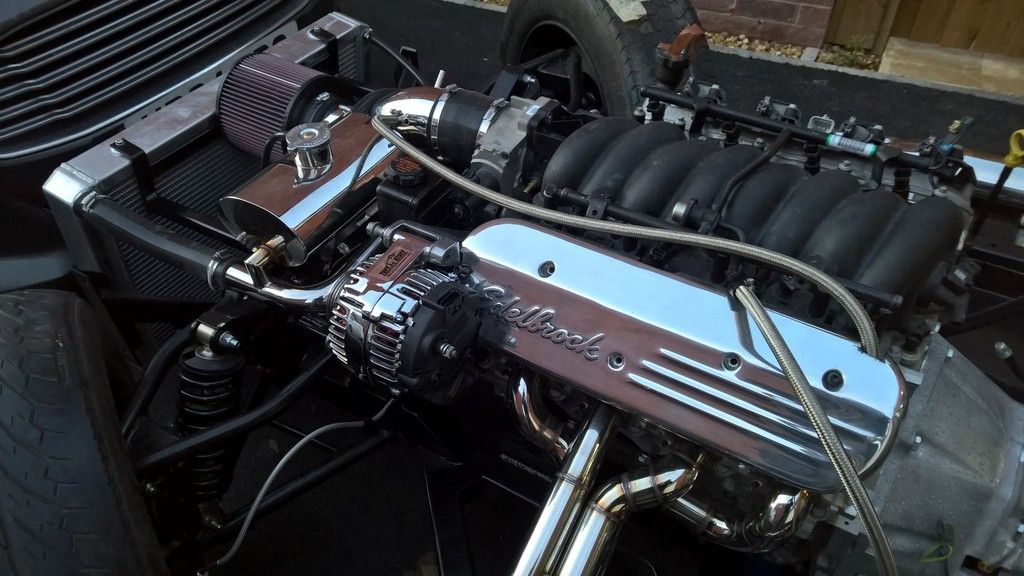
Before moving onto the alternator I decided to fit my edelbrock valve covers. These are designed to fit the coils too but in typical aftermarket style, the holes on the cover dont line up with the holes in the coils so I am going to use a coil relocation bracket instead.
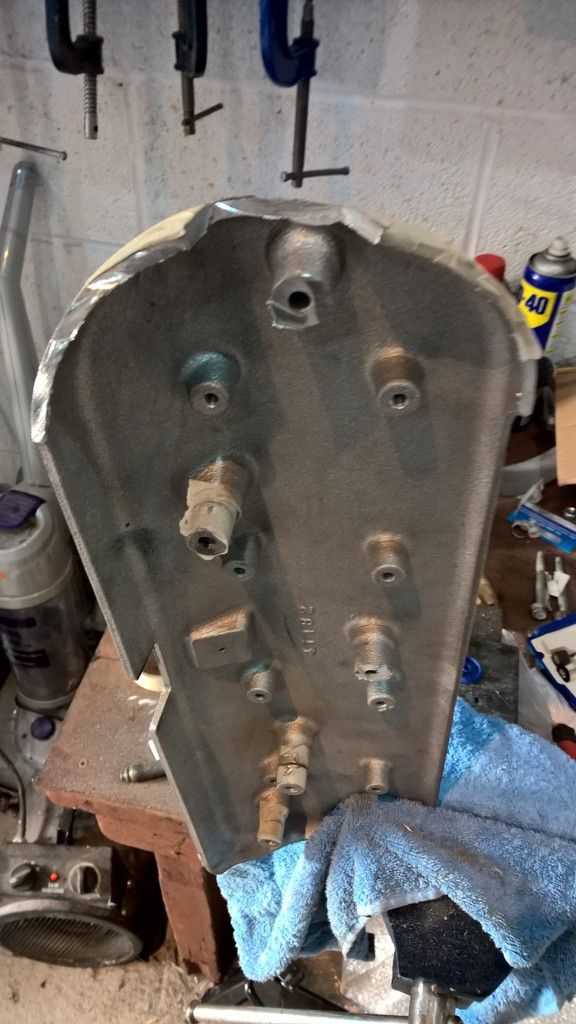
It also meant taking 15mm of each of the mounting lugs to move it closer to the valve cover and a small part removing to allow the breather pipe to pass through it. It requires M6 * 1, 35mm long cap screws to attach it.
The cover was a bit of a mess after I had finished cutting with the angle grinder but the file and polishing kit tidied it up nicely and I am very pleased with the result.
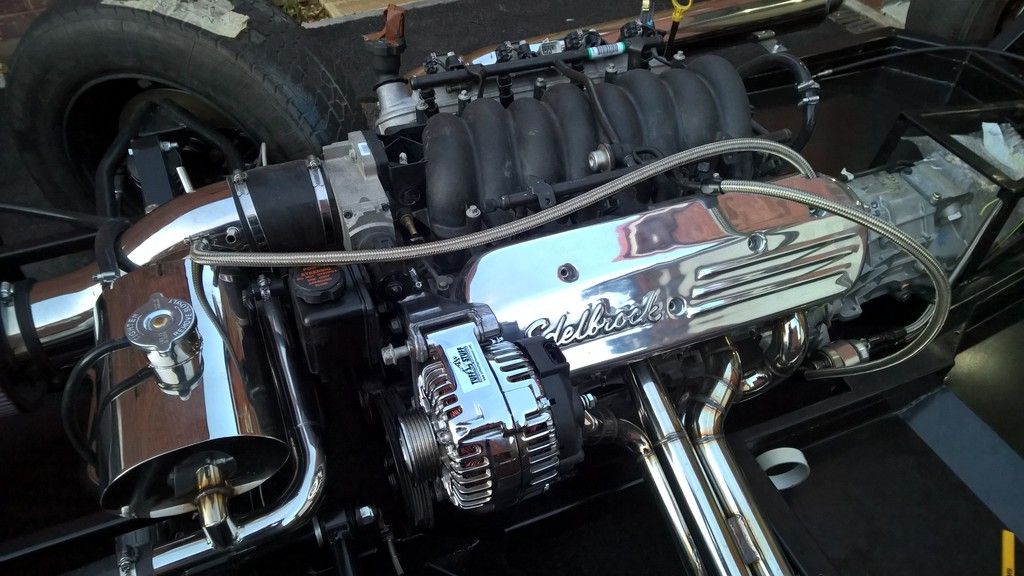
It fits quite snug into the alternator on the pic but there is actually about 2-3mm gap between the two.
I haven't completed the other side yet so that's the next task, along with measuring up for the serpentine grooved belt.
I've also picked up the battery, a Yuasa 50ah from Halfords but I am waiting for the battery wire connectors to arrive before I can jury-rig something together to test fire the engine. Hopefully just after Christmas it'll make noise for the first time since it ran on the dyno in March 15.
No comments:
Post a Comment