Friday, 26 August 2016

Lets get it started

It's alive .... again ....

But this took some troubleshooting to find out what was going on.

First of all I checked all the sensors and wiring and figured out that the ECU wasn't wired up correctly. I had not attached the white starter wire to the switched live so once I did this the ECU lit up correctly.

Still no joy on starting....

Now I had data from the laptop I cold see the ECU thought everything was working ok so I moved onto the theory that there was an ignition issue. I took off all the HT leads and checked that they were all seated correctly, which they were. Luckily I had a spare spark plug so I could attach this to each lead in turn and check I received a spark, which I did.

At this point I was thinking, "great that everything is working but what &%*^& is wrong" so a quick post on the forum for ideas and the general consensus had to be it was firing order.

Thanks go to Bob and Alan from the forum for providing the information below. Its helped me realise I had simply connected the coil wires in reverse order.

Basically the coil wires have the same 3 colours into every connection (pink, brown and black) but the fourth wire changes per coil. The number below relate to cylinder numbers shown in the picture.

1 - Purple
3 - Blue
5 - Green
7 - Red

2 - Red
4 - Green
6 - Blue
8 - Purple

One press of the button and she turned over then fired up. You can see from the smile on my face that I was pleased it started.

But there was still an issue.....

Listen carefully and you can hear a high pitch whine/whistle coming from the engine.


Back to the troubleshooting.

The first think I though of was are all the fluids where they need to be?

Low fluid can make a similar noise as the pumps work so I checked all the fluids such as power steering, brake servo and clutch servo and the only fluid which was a bit low was the power steering. Topped up .. no change.

Then I checked that nothing was rubbing on the belt and there was nothing touching the wings/vibrating....no joy.

I left it for the night and discussed it a little more on the forum and when I came back to it I first noticed a small water leak from one of the jubilee connections. Tightening this stopped the leak but not the whine.

Aaron on the forum has suggested it could be the vacuum issue and sure enough I had made a small change to were the tubes were connected. On the first fire I had capped off the valve covers as I had been advised to do that by Kyle at Tim Adams Racing however for this start I had connected all the breathers together and put them to the manifold following an article I had found on the net.

It turns out doing this creates a big whistle.

AK normally connect any valve breathers to the intake manifold but some further research shows what you are supposed to do.

1) Passenger side valve breather on rear of engine should be capped off, or you can connect to drivers side rear valve if you have one or intake manifold if you prefer (GM leave it capped from factory)
2) Drivers side breather valve connects to tube on top of throttle body (if fly by wire) or tube on intake tube (if cable throttle)
3) connect from tube on valley cover to tube on manifold (behind throttle). You can run this through a catch tank if you want. LS6 and later should have a built in PCV valve in the valley cover but otherwise you will need to add a PCV valve in line.

I'll be reconfiguring this at the weekend to get everything correct.

One last issue to figure out is why the starter motor seems to bog down on first ignition before it starts the car, again I'll look at this at the weekend.

Sunday, 21 August 2016

Internal Wiring

As the old man is away on holiday I don't have a second pair of hands to finish the bonnet so I moved onto getting the wiring finished and ECU hooked up.

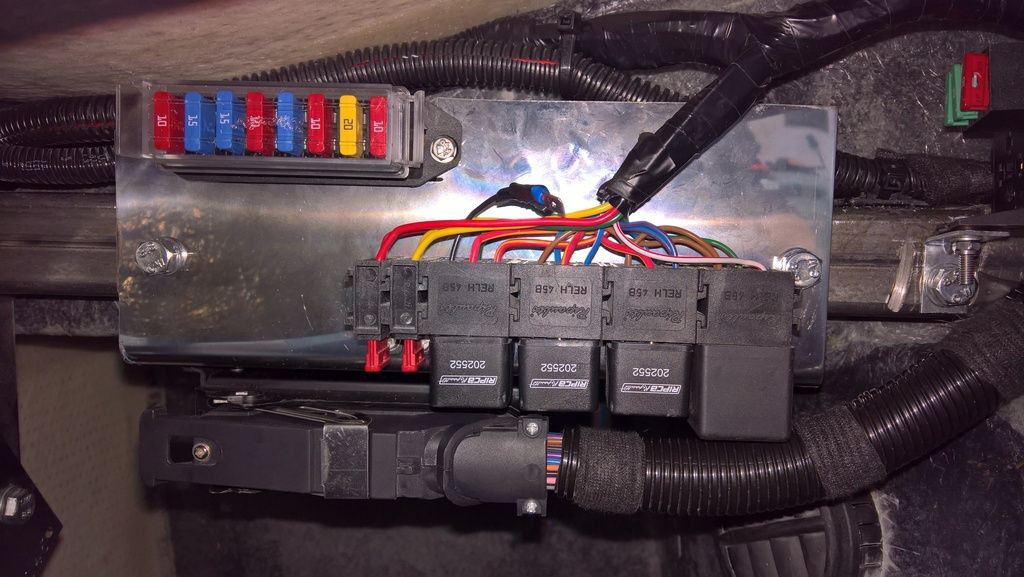
The first job was to make a mounting plate for the AK loom relays and fuses. The manual doesn't mention mounting the dash relays here so I intend to mount them later behind the dash.

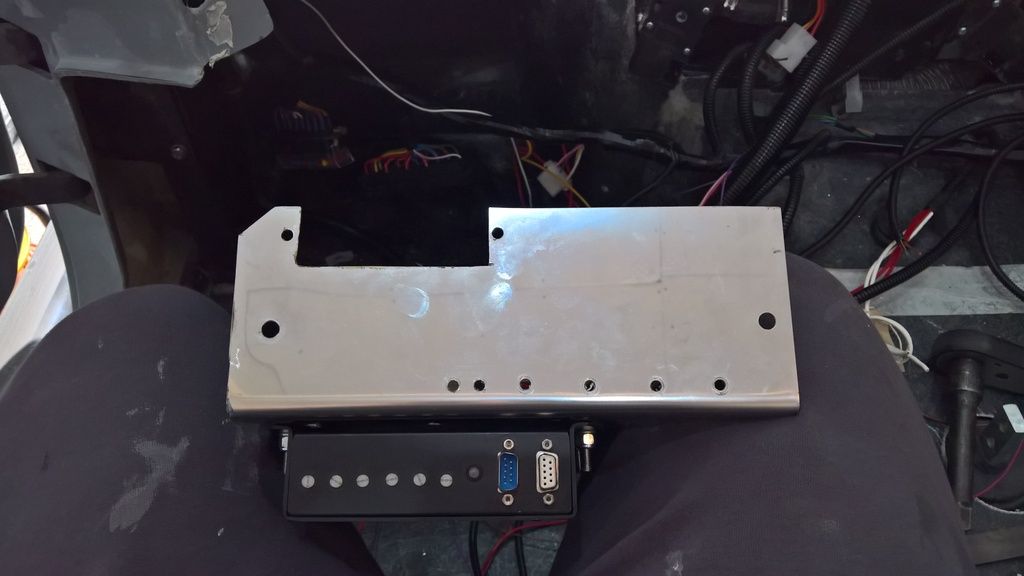
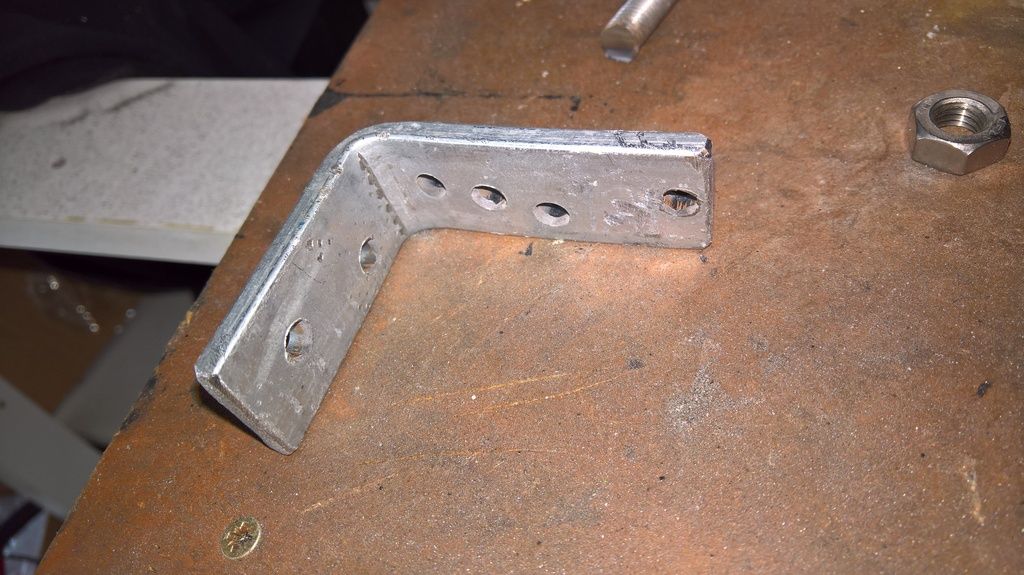
I also needed someone to mount the Canems ECU so as I had a piece of stainless steel left over from making the heater cover that was bent at 90 degrees I figured that would be perfect. Fitting was straight forward it just took some time as you need to keep trial fitting to figure out where everything needs to be fitted. The plate was mounted with two 8mm x 35mm bolts. You can tap or rivnut into the scuttle hoop to fit this.

Heres the plate with the ECU mounted (I later had to turn the ECU around to face the other way as the wires were not long enough to reach the reach of the mount)


Next, just simply mount the fuses and relays and bolt it into place.


Finally I added the fuel pump relay to the plate and attached the wires to the scuttle with zip ties attached to tie plates which were bonded onto the scuttle with Sikaflex.


To test the electrics I hooked up the key and start button and after a little troubleshooting on the ECU I managed to get action from the fuel pump and starter motor. Unfortunately the car didn't start despite popping as if it wanted to so I'll take a look at that next week.

Saturday, 13 August 2016

Fitting the bonnet Pt1

Onto fitting the bonnet - Its time to finish making the outside of the car look like a car.

The lip of the bonnet generally needs to be sanded a little to allow the bonnet to sit flush, however, don't forget to check each time with the bonnet rubber added. Once you have this flush you can attach the hinge bolt brackets and set the gaps to where you would like them.

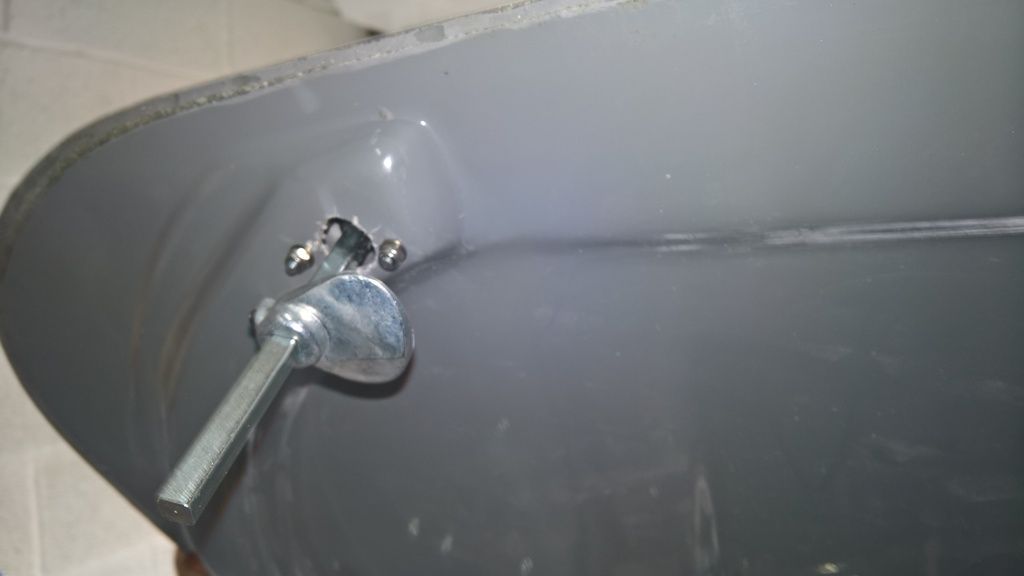
The bonnet latches require a little time to fit as the AK manual says fit them approx 10" either side of the centre line, fitting one side then making a temple to transfer it to the other side. There is a bulged part of the bonnet that its supposed to go through underneath and I found it was easiest to drill through a small pilot hole from underneath.

Following this I used a 20mm hole cutter and the dremel to open up the hole. M4 x 40mm countersunk bolts were used to attach the latch handles.


You need to make two stainless steel brackets for the locating plates to attach to. It not great that these need to stick out further than the bonnet lip but I suppose it is what it is. One problem I have yet to solve is that the bracket has a little too much flexibility in it so I'll need to find a way to secure it a little better.


And here it looks from the outside - its really getting there now.


HT Leads

Royal mail has totally let me down this week taking forever to deliver the parts I needed, however, I have managed to receive a few parts to work on the fitting bonnet and making the HT leads.

The HT leads are really easy to make, just put the rubber boots on first and then trim about 1.5 cm of outer cable (including the plastic). The inner core is bent back around the cable and then you crimp the terminal. You can just use needle nose pliers to do this which the youtube video below shows:


I have added Thermal Velocity boot protectors to the spark plug ends of the wires which will ensure that the heat from the manifold doesn't melt the lead. Here is the drivers side installation.


The engine is now fully wired up but I'm not yet in a position to test start it. I guess that's something to look forward to later. 


Sunday, 7 August 2016

More Engine Wiring / Plumming

A few smaller jobs were on the list this week and I was hoping to get through them all but time and parts were against me. Nevertheless I managed to get through a few bits on the list.

Job No 1) Make and fit a coil relocation bracket

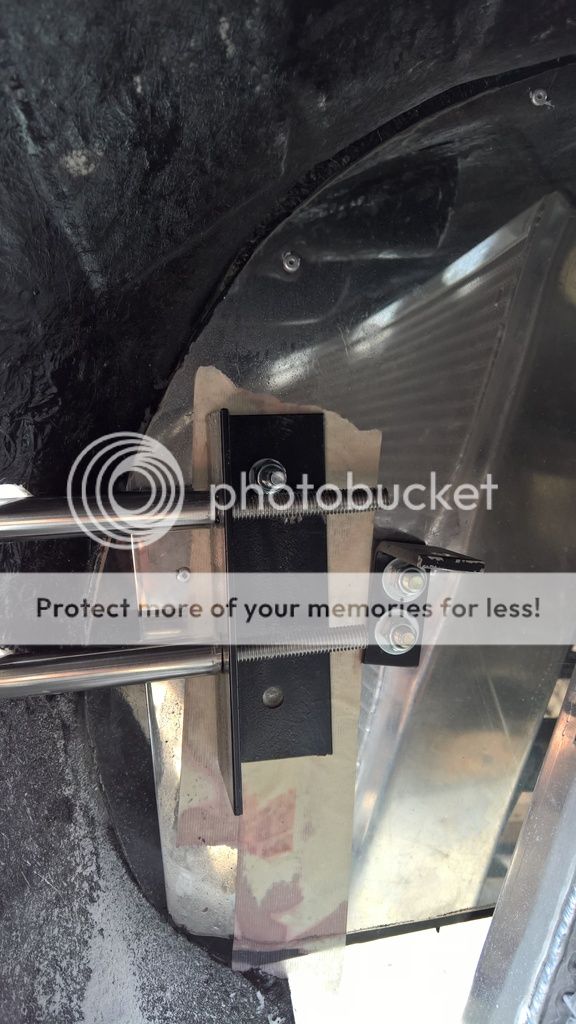
I while back I had purchased a coil relocation bracket from eBay (a USA seller) but when it came it didn't fit the couls I had (it wasn't wide enough). I had therefore planned to make a new bracket which included a stainless cover, however this proved harder to fabricate than I  originally thought so a rethink was required. In the end I just cut out the middle section of the bracket I had purchased, extended them with longer lengths of threaded bar and then bolted them to the top of the footwells. 


This approach works well as the majority of the coil is hidden underneath the bodywork however it is well placed for running the wires to the engine. 

Due to having a few other jobs to complete I'll come back to making the wires later. 

Job No 3) Extend the lambda sensor wires

This job was fairly straight forward just very time consuming. Essentially I had to add a 6 inch section of wire into the Canems ECU lambda wires on the drivers side. Luckily I had similar coloured wires and a soldering kit to get on with it, but it could have easily been done by adding in another 4 way connector or even using crimp terminals.

Job No 4) Attach the water pump hoses to the heater & 5) Clamp the heater wires in place

This sounds straight forward but actually it took some doing. The T7 heater setup with electronic controls for old air products that I have require a valve to be inserted into the water pipes, something which I intended to do just inside the engine bay but I didnt have room between the engine and footwell. I have managed to install this in the cockpit/dash area by cutting more of the fibreglass away - something which I may have to customise later. 

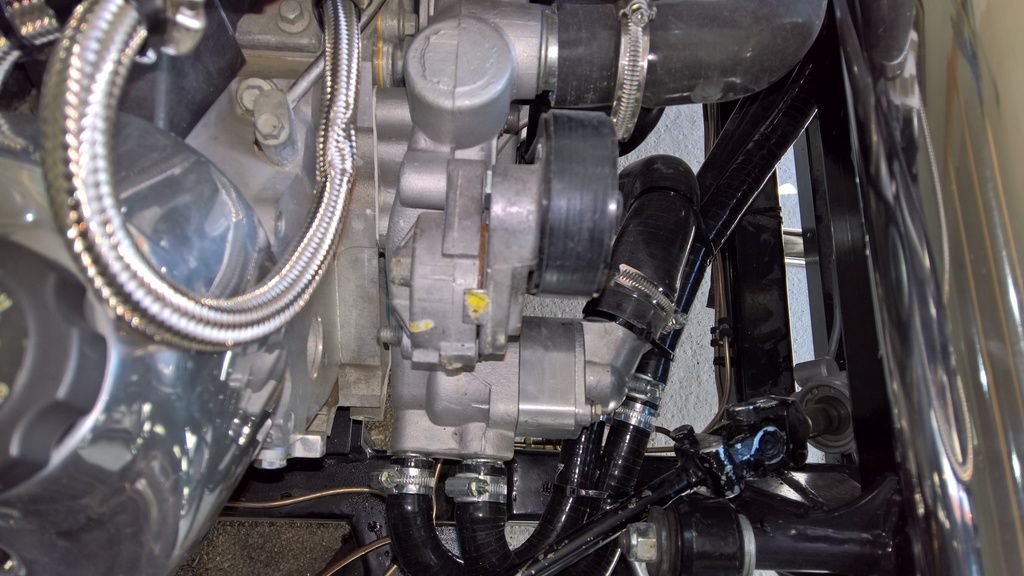
Once this was done I ran the tubes, connecting to the wing, then the cross member (under the radiator water bottle, onto the lower radiator hose then onto two U bend tubes onto the water heater. A mixture of zip ties and P-clips were used as appropriate. 


Job No 9) Bleed brake and clutch lines

Whilst bleeding the brake and clutch lines I noticed something weird. The clutch pedal would only move about 3 inches and was sat lower than the brake pedal. Rather than guess the problem I asked on the cobra forum and a member (zaidesmail) advised to try just simply pulling the pedal out to its correct height then pushing it back in again. This resolved the problem and the pedal now works as expected. 

The new brake light switch that I had inserted into the lines was a bit problematic and refused to stop leaking until I reworked the connections. That teaches me for buying cheap connections from stoneleigh instead of the ones I knew worked just fine from CBS. 

This just leaves the last few jobs to complete the engine bay:


1) Make and fit a coil relocation bracket
2) Make and fit the HT leads
3) Extend the lamda sensor wires as my cable route means they are a little short
4) Attached the water pump hoses to the heater
5) Clamp the heater wires in place
6) Attached the steering column
7) Fit the bonnet

Plus a couple I hadn't thought of :-) ......typical of the build I suppose

8) Fit the brake and clutch lines to the wing
9) Bleed brake and clutch lines

Monday, 1 August 2016

Engine Loom Pt. 2

Sometimes you work for hours but see very little visible progress at the end of it and that describes my weekend perfectly despite putting at least 12 man hours into the build.

As the LS engine has a sensor behind the starter motor I had to finish drilling the hole in the bulkhead to pass the wiring through for the ECU. A simple 35mm hole and the lots of careful/forcing of the wires to get them through the hole followed.

Once they were all in the engine bay and the cam sensor was connected it was time to move onto batter wires.


This included the battery positive, earth cable and AK loom to the starter motor and what become obvious very quickly is that I needed to make additional holes through the body (near where AK put their 1 inch hole). This was not easy as you have to kneel in the drivers seat area and crawl into the footwell then drill sideways on. This is a manoeuvre even a contortionist might struggle with and being a man of larger proportions made this even more difficult. Once complete it was easy enough to connect the wires as follows:

1) White AK loom wire to starter solenoid
2) Red AK loom wire to main starter connection
3) Red thick battery positive wire to starter main connection
4) Earth thick battery wire to engine block

Some of you may be asking why I haven't run a second battery wire from the alternator in this stage. This is because I am mounting my battery cut-off switch near the drivers side scuttle bars. The wires will therefore go:

Battery      >
                      Cut Off Switch   >  Starter Motor & Powered Accessories (e.g. ECU)
Alternator  > 

This design does two things; first if you have an accident and cut the power it will cut the engine. The standard AK design (where you put it on the negative) could allow the car to earth out (on another car for instance) and it would carry on running.

The second thing this does is that it addresses a problem I was advised about by Dave from Canems ECU who advised that in many of the car electrical issues he is asked to diagnose, the problem is typically a bad earth caused by these cut-off switches, whereas when they are on the positive feed the car seems to be much better.

This is also the reason I have run a main earth wire the length of the car to attach to the block as it will guarantee a good earth connection. The wire attaches to the block with a smaller wire also to the chassis to aid earth of anything that is attached to the chassis at the front of the car.

Once the starter motor was bolted into place it was time to move back to the top of the engine. It didn't take too long to connect all the sensors back into place following which what seemed like an age to clamp it all into place and loom conduit and tape where necessary to tidy it all up. As with anything a job can be done quickly but attention to detail makes all the difference in the end result.

I got lucky and the Edelbrock cover fitted perfectly with no fettling required - it's nice to have at least one easy bit of the build :-)

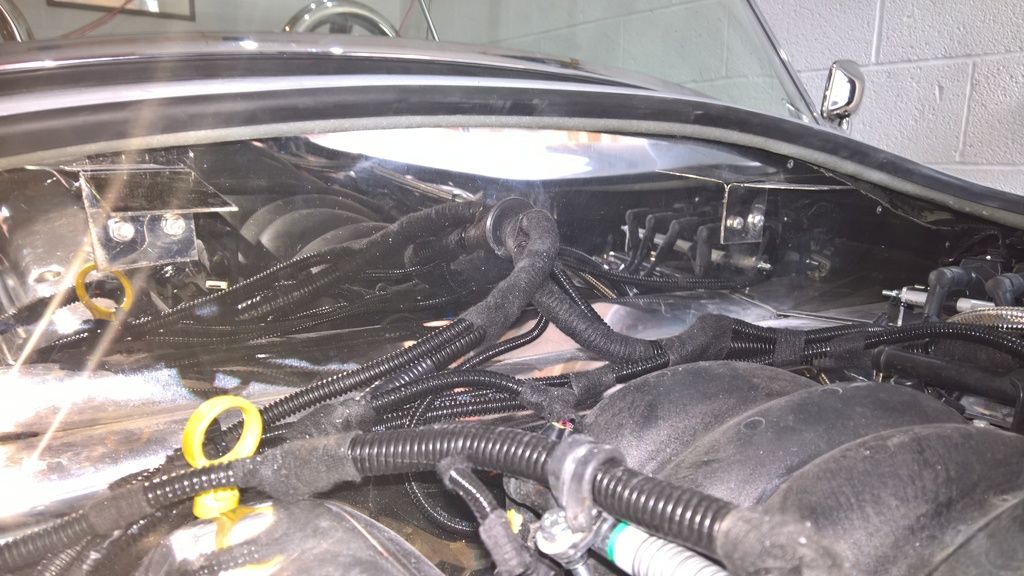
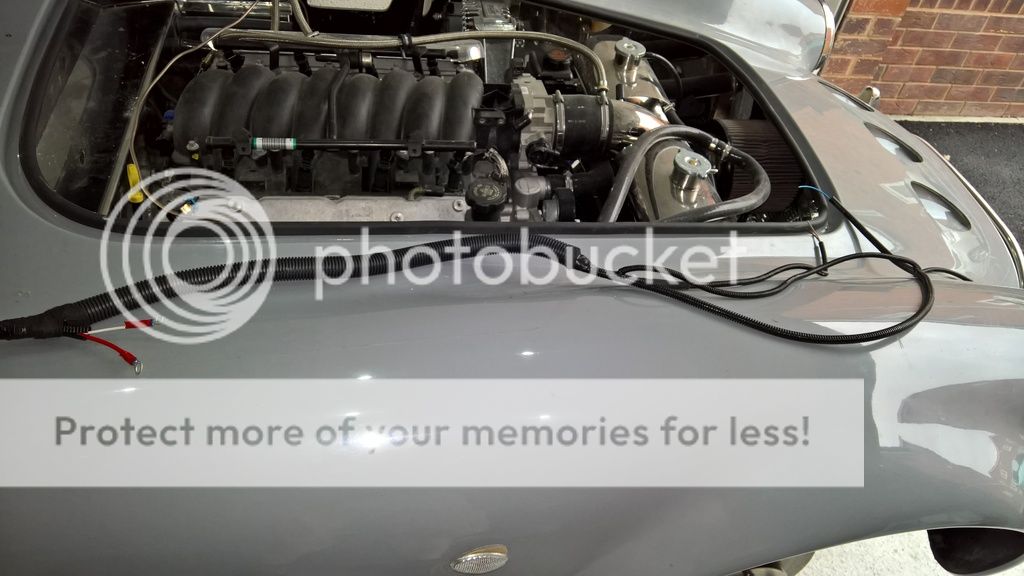
The last job I managed to achieve was running the breather pipes for the valve covers. The LS engine has enough breathers to connect them with a small 4 way adaptor to the air intake without using the AK inlets so I have just capped them off with rubber caps.

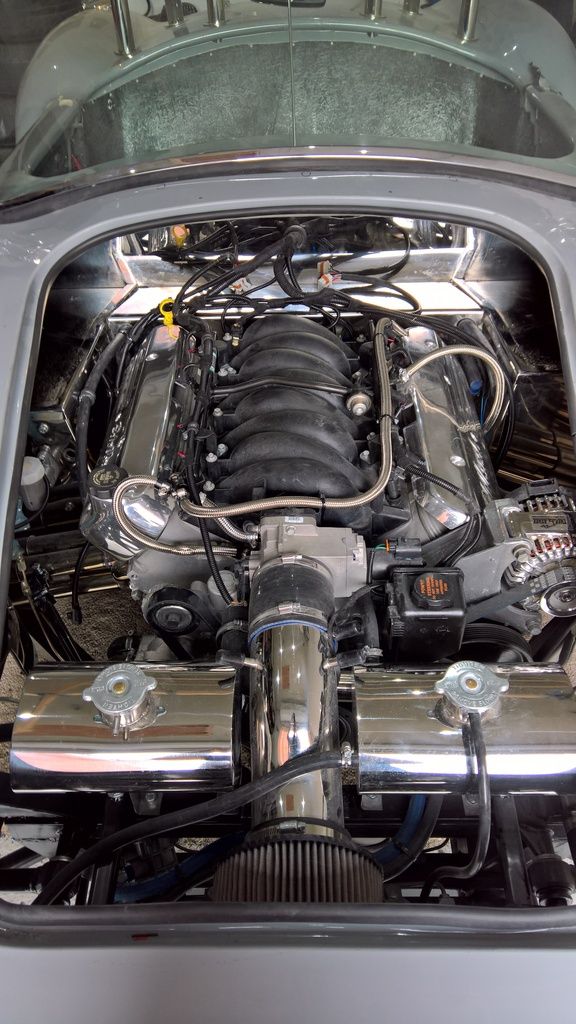
Like I said earlier - there's no much to show that can easily be pictured but here's a picture from the top of the engine.

There is still a few jobs left to do in the engine bay such as:

1) Make and fit a coil relocation bracket
2) Make and fit the HT leads
3) Extend the lamda sensor wires as my cable route means they are a little short
4) Attached the water pump hoses to the heater
5) Clamp the heater wires in place
6) Attached the steering column
7) Fit the bonnet

I have a couple of days off working coming up next week so hopefully I'll make good progress then.


Sunday, 24 July 2016

Customising the AK Loom

Now I need to move onto re-wiring the engine bay and the first job is to customise the AK loom.

This is for two reasons;

First of all I am just not happy with the alternator charging wire that AK provide. Its a thick red wire which runs from the alternator (along with the blue wire) down the loom conduit to the starter motor (where there is two red wires and a white wire). This is not because its substandard in any way but I have installed a high rated polished alternator that outputs 150 amps (typically these run at 110 - 130amp) therefore I wanted to use proper battery wire rated to 170 amp. Removing this wire is fairly easy, you just need to remove some of the insulation tape on the loom and pull the wire out then re-tape the loom.

The next change is to cut off the branch of the loom that goes to the tacho as I have installed an electronic vehicle speed sensor (VSS) on the T56 gearbox. I haven't removed these wires entirely, I've just taped them up and put them into the main loom conduit, just in case they were ever needed in the future.

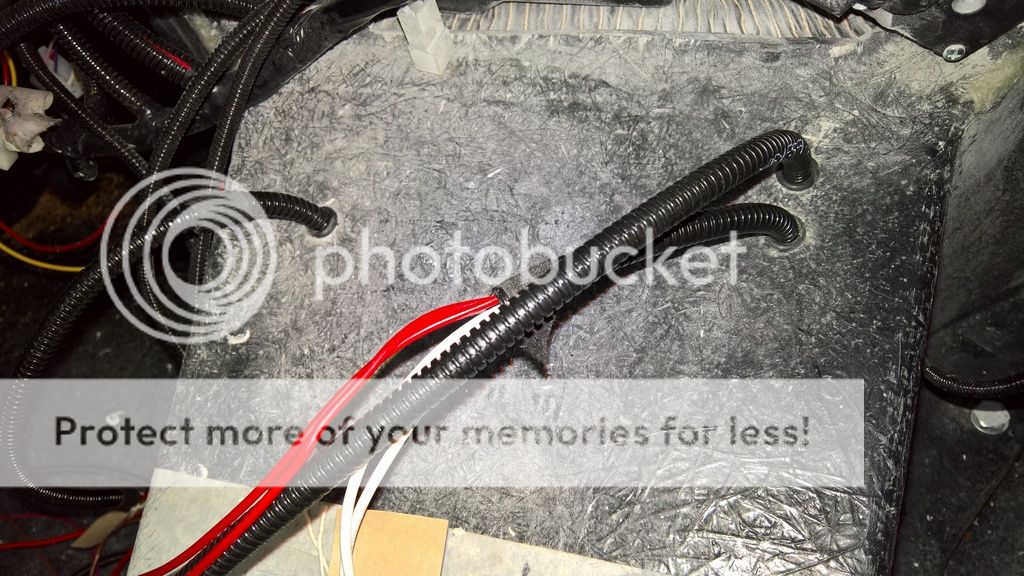
The picture below shows the VSS wire, along with the reverse lockout wires, reverse light wires and fuel pump positive wire which I have fed through the tunnel to behind where the dash will sit. These will be wired in at a later date. 


Finally, I added a bit of thicker conduit on one section of the loom. This is simply to make it easier to attach to the engine bay as it goes up the side of the engine block. 


Next weekend will be working on routing the battery wires into the engine bay and from the alternator to the starter motor. 

Diff Plate

Its funny how when you order the right parts jobs seem to get done :-)

It turns out the diff bolts I needed were M12 x 50mm x 1.25 thread (extra fine thread) so once these arrived I could get on with the job. 

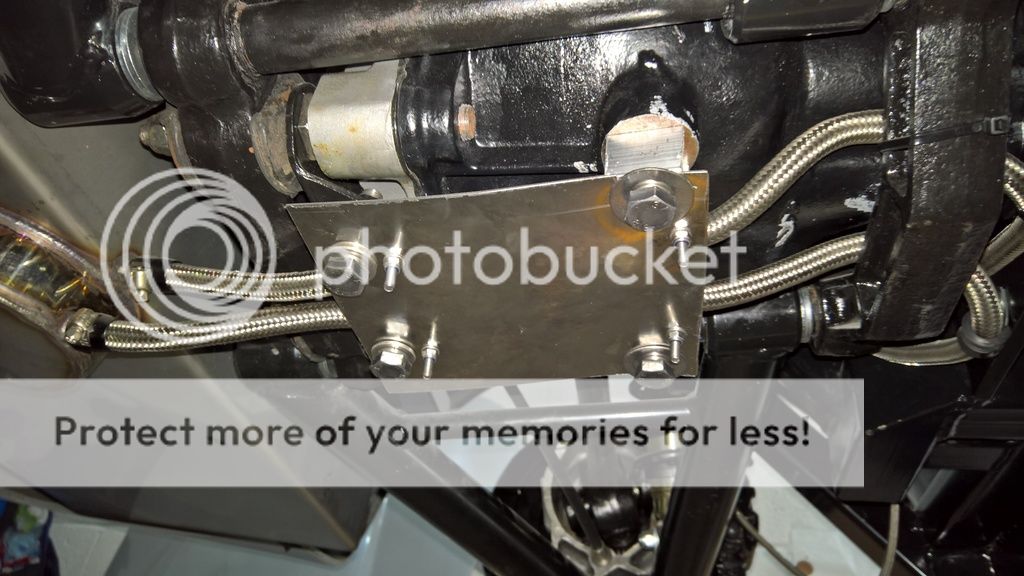
AK put a swirl pot on the tank so even with the diff plate there is some of the fuel line below the protection of this plate although I am not too concerned as I have used braided hose which will offer some protection. 

The plate has three functions.

1) To offer some protection to the fuel lines in case the car grounds out on speed bumbs etc.
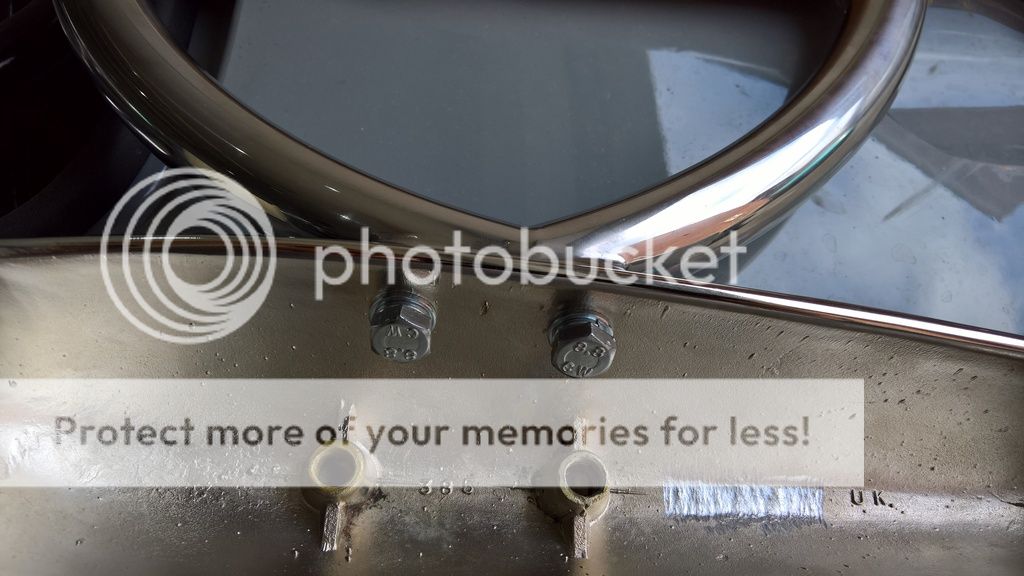
2) To give me another place to be able to secure the fuel lines so it meets the IVA requirement for distance between fixings (the small 5mm bolts you can see are securing 4 p-clips).
3) To be able to secure the lines far enough away from the diff so that I don't get too much heat from the diff into the fuel lines. 

It looks like its rusty in the picture but its not. its actually stainless steel.


The regular followers of the blog will know this was my last job on the rear of the car........although I forgot to include the gas struts, which I have now received from AK. 

I intend to fit them once I am in a position to fit the bonnet so for now I am going to tell myself the rear of the car is done as it makes me feel happier about progress :-)


Saturday, 23 July 2016

Front Nudge Bar & Splitter Wing

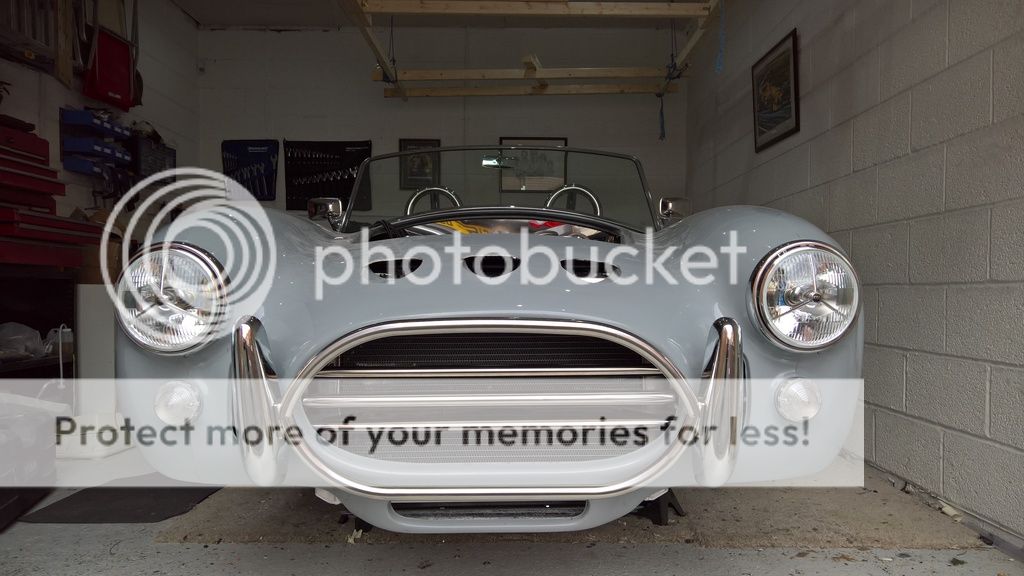
Fitting the front nudge bar and splitter wing is one of those tasks that requires a fair bit of adjustment and to make it worse the manual states that you must fit this only by eye as the measurements are likely to be out due to the body not being symmetrical.

If you order the nudge bar and over-riders they come as separate parts and need to fitted together. This requires 4 x M8 bolts with spring washers and normal washers. I had 35mm bolts so I needed to trim these down to 25mm as the fitting is quite short.

The parts you need are:

2 x Over-riders
1 x Nudge Bar
1m of 10mm threaded bar
1m of chromed tubing to place over the bar
12 - 16 half nuts

Cut the threaded bar into 4x 25cm lengths and then cut the chrome tubing making 4 x 17cm lengths.

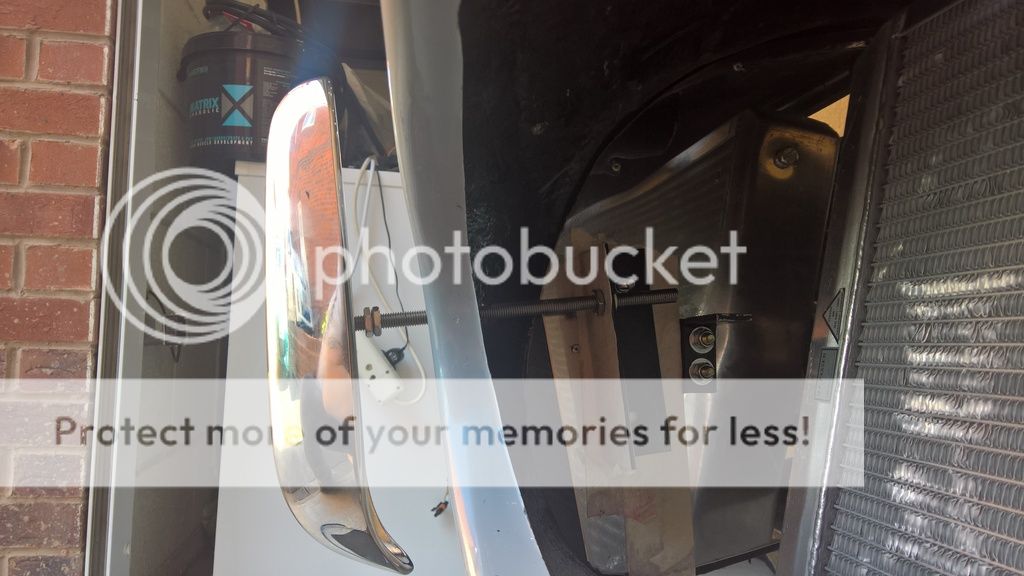
I drilled the top left hole roughly where AK had marked on the bodywork and then placed the over-rider in position. This allowed me to put into place one of the brackets that come with the AK kit so it could be marked out. For ease of adjustment I only drilled the top hole in the wing and made an elongated hole in the bracket for the threaded bar. This was then attached with an M8 bolt and nyloc.


The next task was to make a paper template of the fitting and then mark and drill two holes in the first over-rider so that the nudge bar could be bolted together.


Connecting the two parts together is again a mixture of measurements and by eye, but its fairly straight forward. Just take your time.


Once you have the nudge bar bolted together, offer it up to the car with just the top threaded bar attached in both over-riders and repeat the process of attaching the top bolt in the bracket.

Then put into place the bottom threaded bars, mark out the holes on the bracket and align the nudge bar how you want it. I have done mine about an inch away from the car but some people prefer it much closer.

Now comes the fettling bit which frankly takes some time and involves taking the bar on and off a few more times.

You need to sand/file the holes and add the chromed tubing ensuring nothing catches on the bodywork when its fitted. I chose to add a half nut onto the threaded bar before adding the tubing, then to put another on after the tubing to hold everything in place. I then placed another half nut either side of the bracket.

I checked with AK and they drill the holes and leave a small gap around the chrome tubing for paint but they don't use grommets.

The picture on the right also shows the splitter wing bracket. This is simple an angle bracket with two M8 bolts through, again purely fitted by eye to make the splitter wing look level.

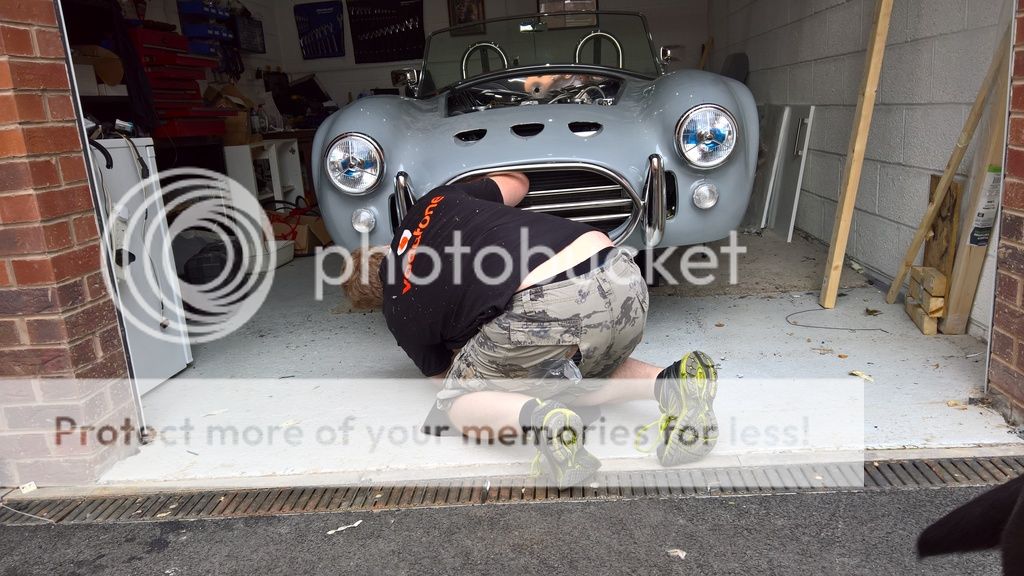
As it was warm today I decided to work in my shorts rather than the overalls something that caught me out when I ripped them on the grate at the front of the garage. The Mrs wasted no time in picturing me with the duck tape trying to hold the shorts together.


Anywho.... once everything aligns how you want it just add the final nuts, tighten everything up and job done.


Friday, 15 July 2016

Side Repeaters

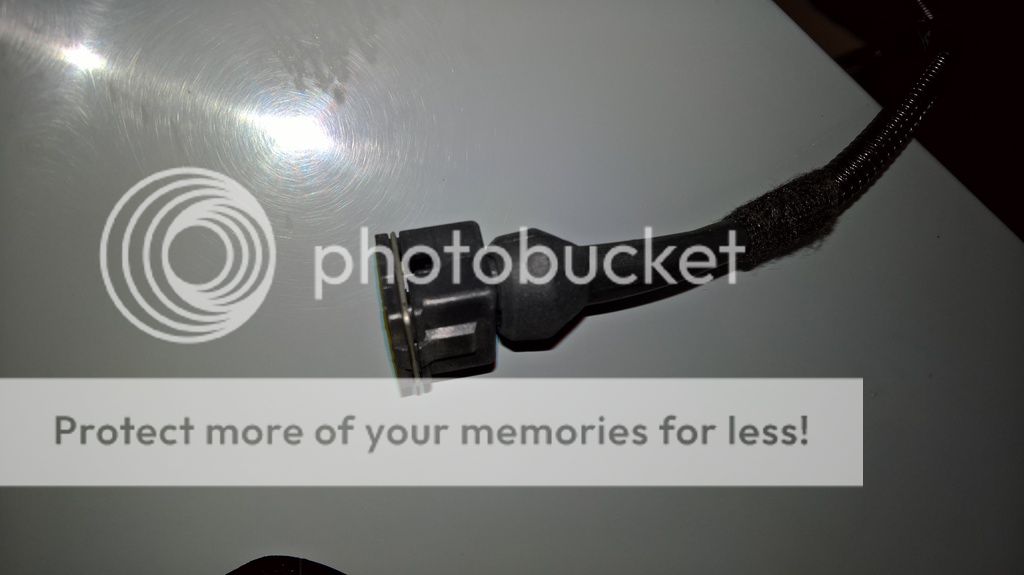
I was caught out last week when I came to wire the side repeaters as I realised you need a specific electrical connector for them. I had bought the repeaters from S&J Motors but luckily CBS (Car Builder Solutions) provides connectors for them for about £7.

They arrived today so I spent a few minutes wiring them up.

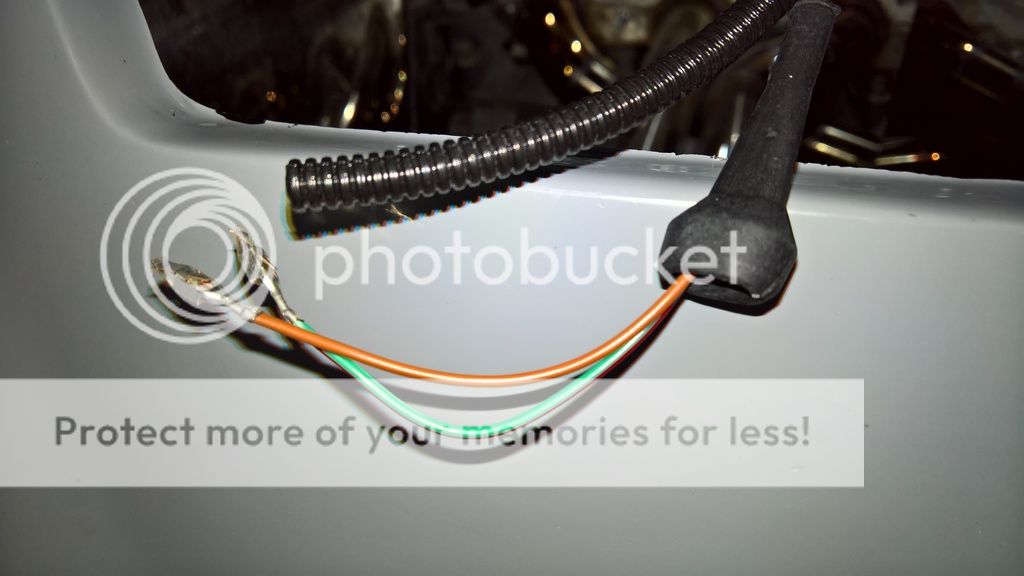
One thing to note is that you need to wire in the lights from the engine bay or through the side louvre holes. Do not put the wire through the hole for the lights as the connector wont fit back through!

Simply put the rubber sleeve onto the wires, crimp on the two metal contacts and slot them into the connector block.


Fan Wiring

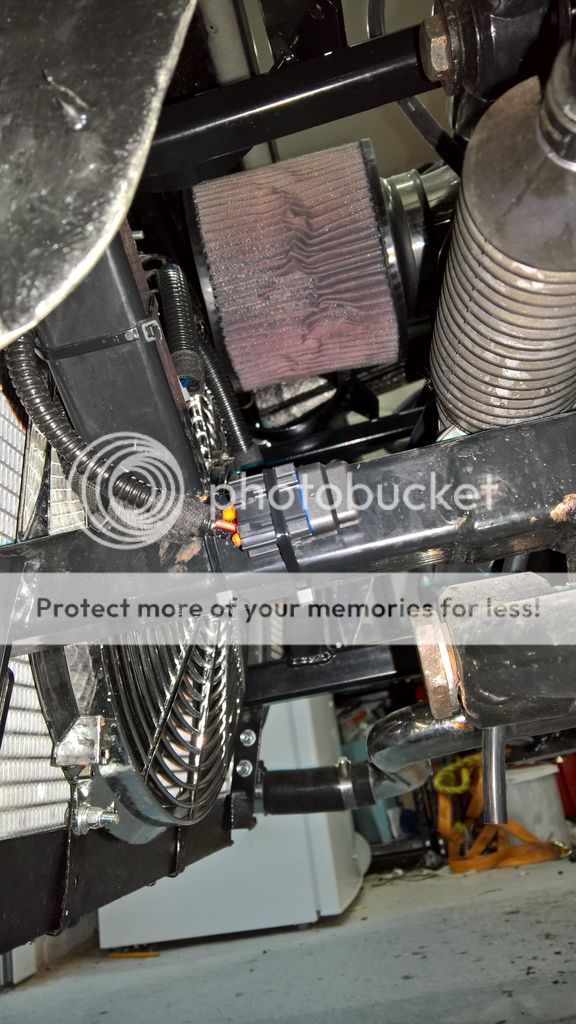
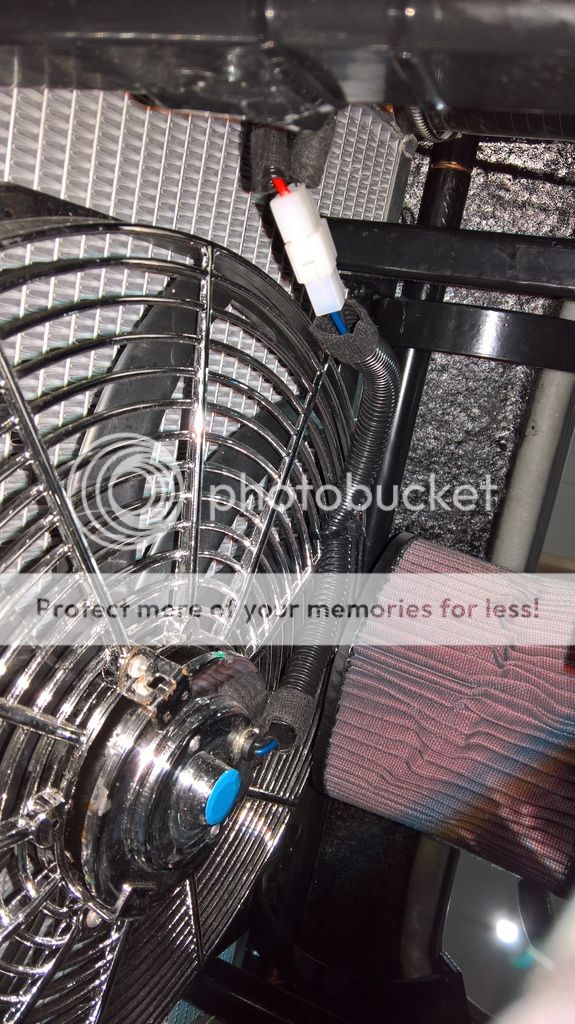
The AK loom comes with wires for the fan; 1 wire for to go through the supplied in line fuse and onto the blue connector of the fan and two others to go to the temperature sensor. The black earth from the fan can just be earthed out on the wing mounts.

As I am using the Canems ECU, which comes with a switched earth for the fan I don't need to use both the wires at the fan end, just the one with the inline fuse so my first job was to tape off the unrequired wires and hide them in the loom conduit.

Next job was to fit the inline fuse and earth to the wing mount chassis bolt. Add a bit of conduit and then time to zip tie into place.

I have ensured the inline fuse is down at the bottom of the chassis near the wishbone in the wheel arch so I can change the fuse easily if it breaks.

In order to make the fan work at the right temperature all I need to do when I do the dash
wiring is find the black wire from the fan relay, cut it and attach it to the Canems ECU fan output.

This guarantees the fan will kick in at the right temperature as the Canems ECU uses the GM temperature sensor on the LS6 block. It also saves a lot of hassle trying to use the AK method of inserting a probe into the radiator coolant tubes or fitting a boss to the radiator.

Sunday, 10 July 2016

Front loom legs & Horn

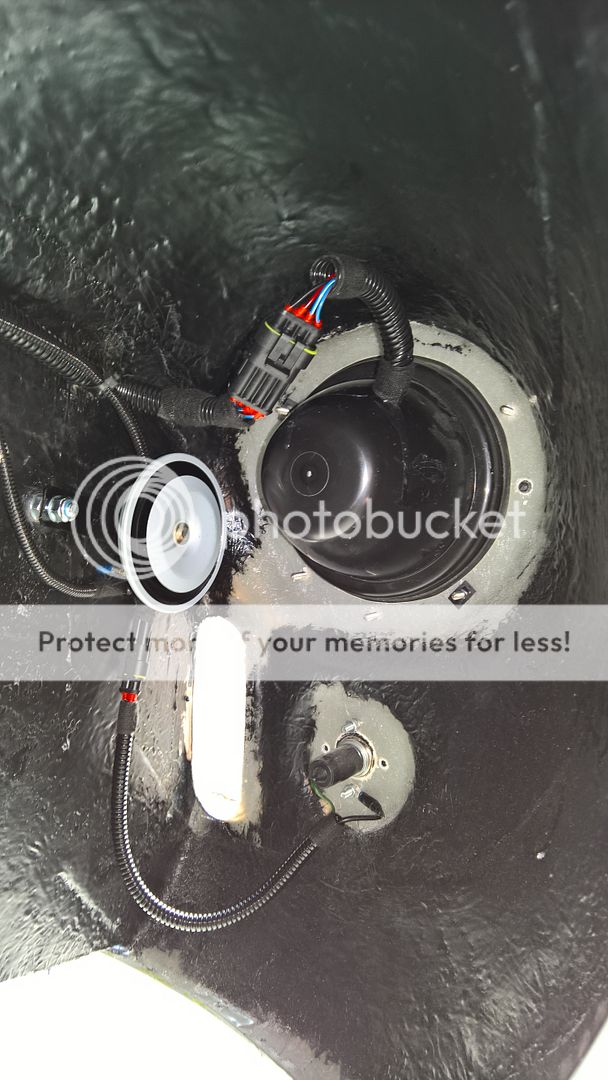
Whilst I await the bolts I have ordered to fit the diff plate I am making I decided I would tackle fitting the loom into the front wings and hooking them up to the headlights and sidelights.

Starting with the offside (drivers) wing I fed through the loom leg and then fitted AMP Weather proof connectors to the headlight and sidelight wires on the loom. Cue a visit from Mr Cockup, something I would not notice until later down the line.

I proceeded to add AMP Weatherproof connectors to the headlight and sidelight, making an earth wire for the sidelight which fitted with an M5 insulated ring connector.

The horn, which is just a simple low tone, twin terminal universal horn from e-bay (cost
about £7) just has two 6mm spade connectors which connect to two 6mm female spade connectors which you fit onto the wires on the loom. Fitting the horn itself is very easy as you can just drill an 8mm hole in the wing and put a bolt through.

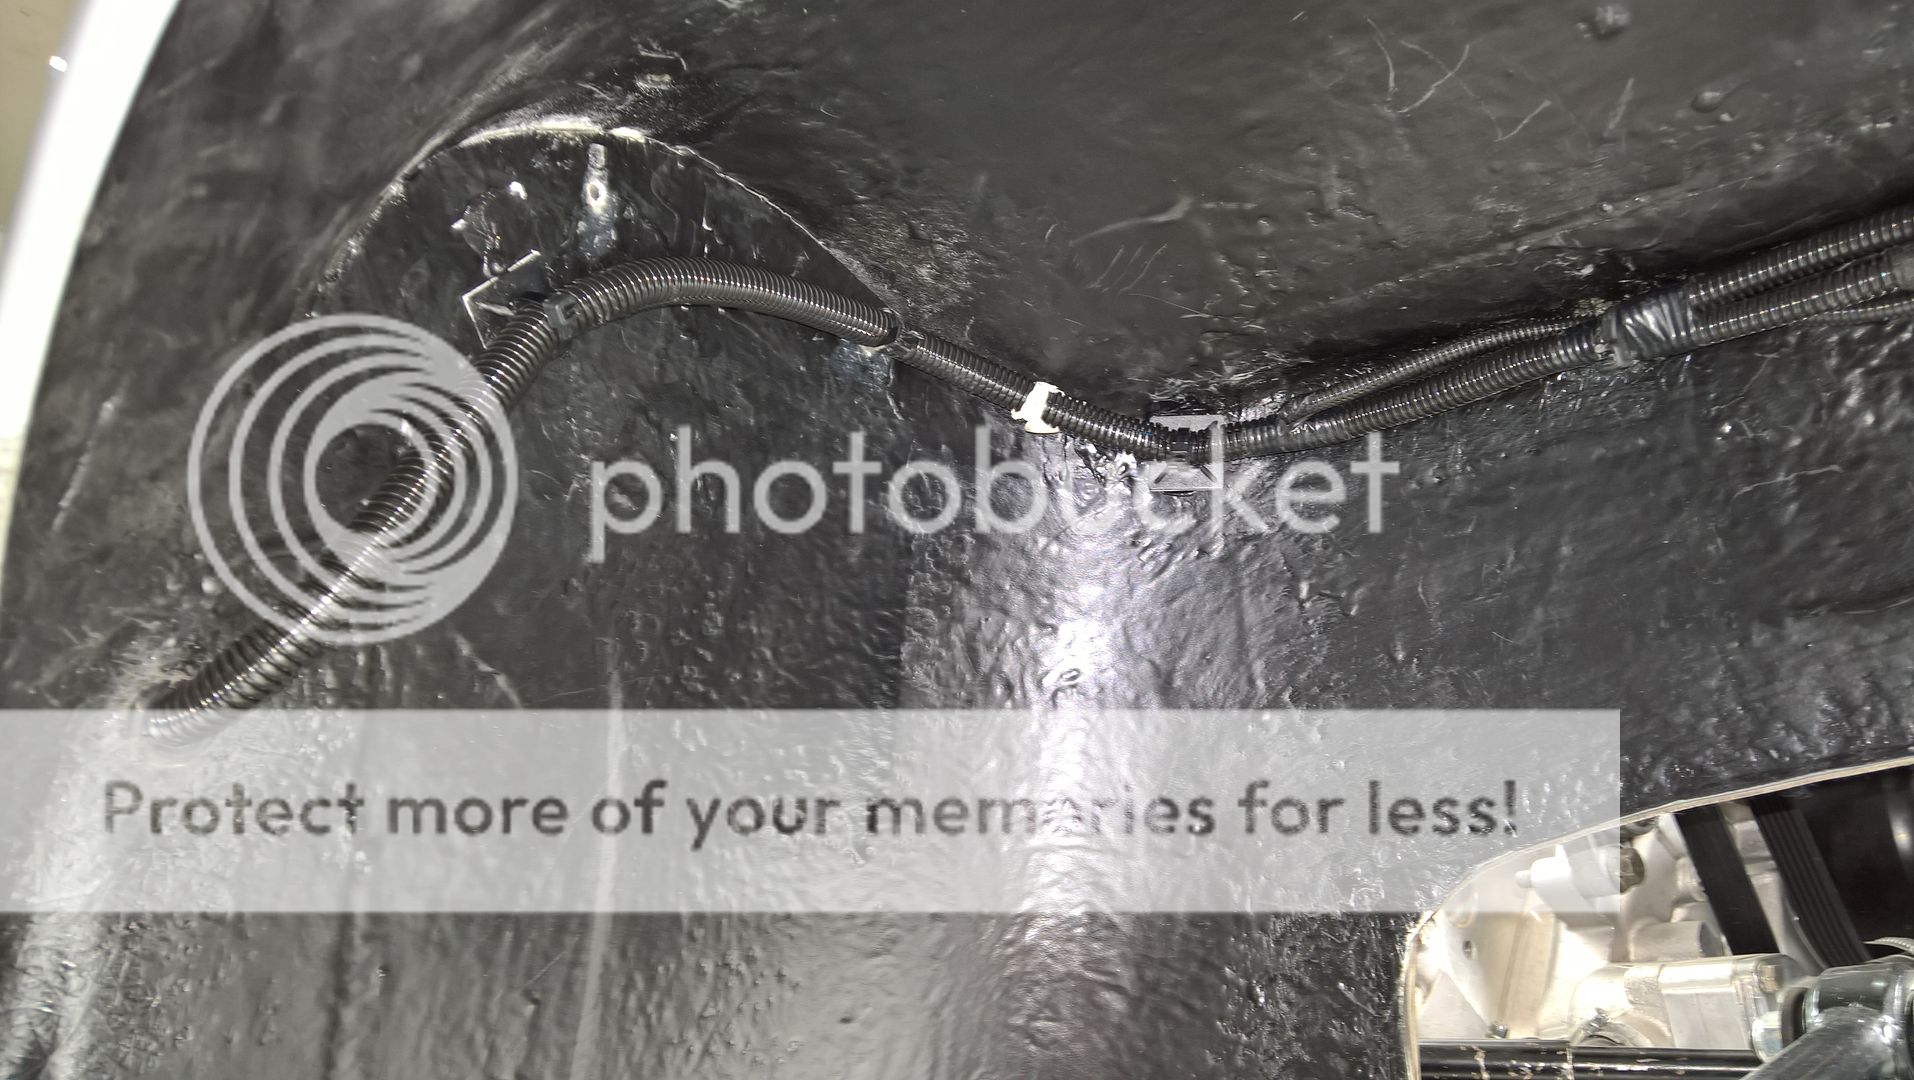
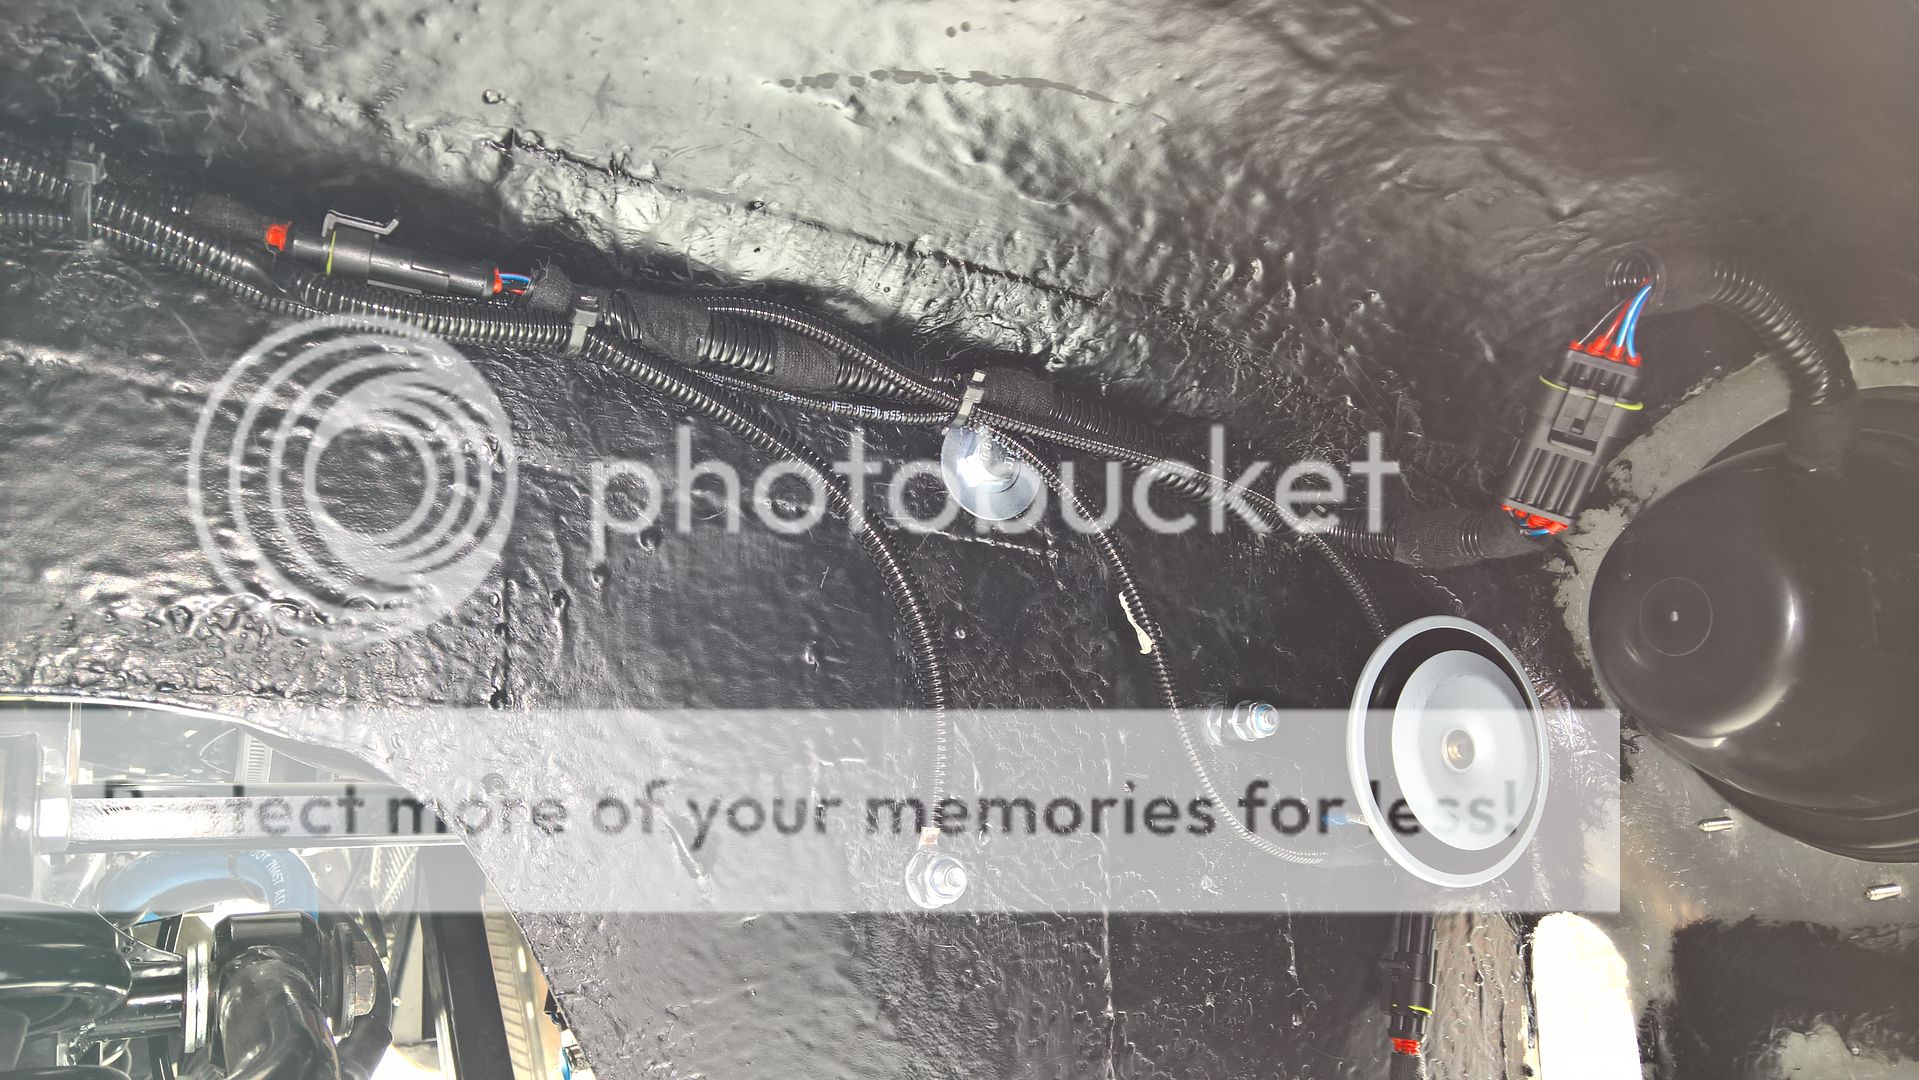
Then it was time to push all the wires into place and tighten up the zip ties.

And there I was all pleased with myself for a job well done.


But hang on.....

Suddenly it dawned on me that I needed to disconnect the headlight for the paint job, but the AMP connector was half way down the wing zip tied into position onto the lengthy wires from the headlight loom.

Why I hear you ask?

Well, in order to ensure that the earth wire is in the right position and that the horn wires fit without too much excess that's simply where the wires ended up.

What I hadn't realised is that I needed to extend the loom wires using the long loom from the headlight and then fit the removable AMP connector much nearer the headlight. So another hour was spent cutting the loom nearer the lamp and fitting another connector there so the headlight could be removed for paint.


Suffice to say I didn't make the same mistake in the other wing, instead I extended the wires using crimp connectors and then fitted the AMP connector next to the headlight.

I will post pictures of the other wing once done as I still need to fit the fan wire and finish tidying up around where you need to cut a slot for the alternator.

For the regular readers - I have now received the quick connect battery terminals and fitted them too so the last jobs on the back end of the car are the diff cover and gas struts (I forgot to add gas struts to the list before). I'm just awaiting the struts from AK but I'll wait to fit them until I am ready to fit the bonnet which will be a few weeks yet.

Sunday, 3 July 2016

P700 headlights & Sidelights

This is just a quick post to talk about the P700 headlights as someone posted on the Cobra forum saying these didn't come with sidelights.

This may be true from where-ever they got theirs from but I wanted to clear the record for my readers by stating that if you buy them from S&J they do come with sidelights pre-fitted.


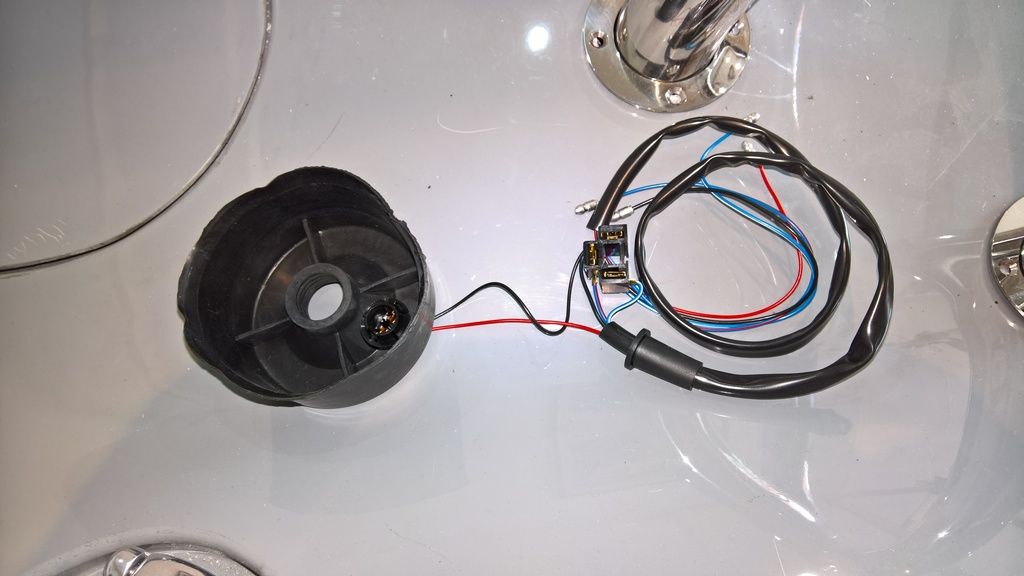
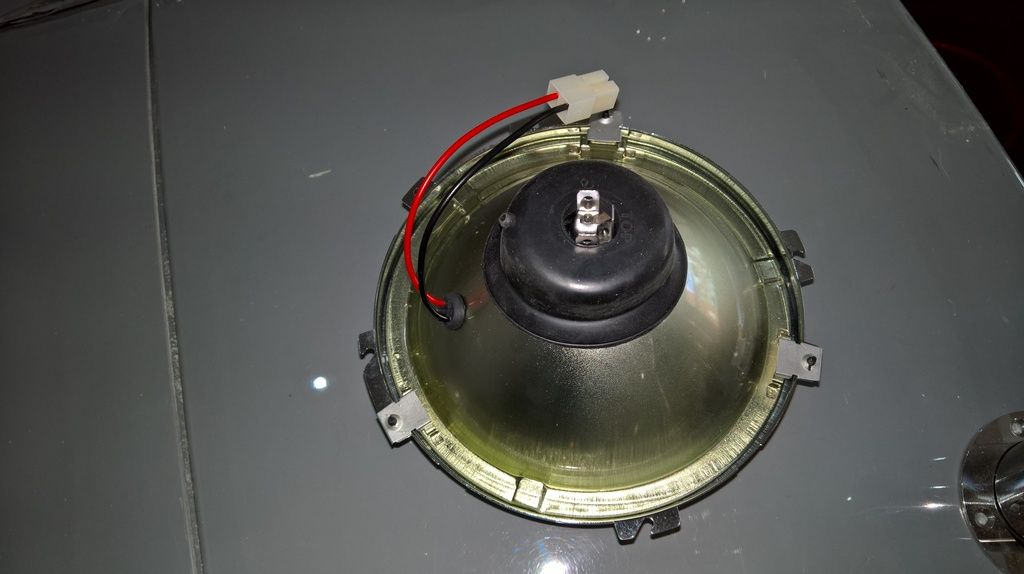
S&J provide the headlamp unit and a separate wiring/light loom as shown in the picture below.


All you need to do is cut off the round rubber bit (you can discard this), attach the red and black wires to the red and black wires on the sidelight bulb with a connector of your preference and then assemble the headlight as normal.

I haven't wired them onto the loom yet but I hope to get to this during the week or next weekend.

Saturday, 2 July 2016

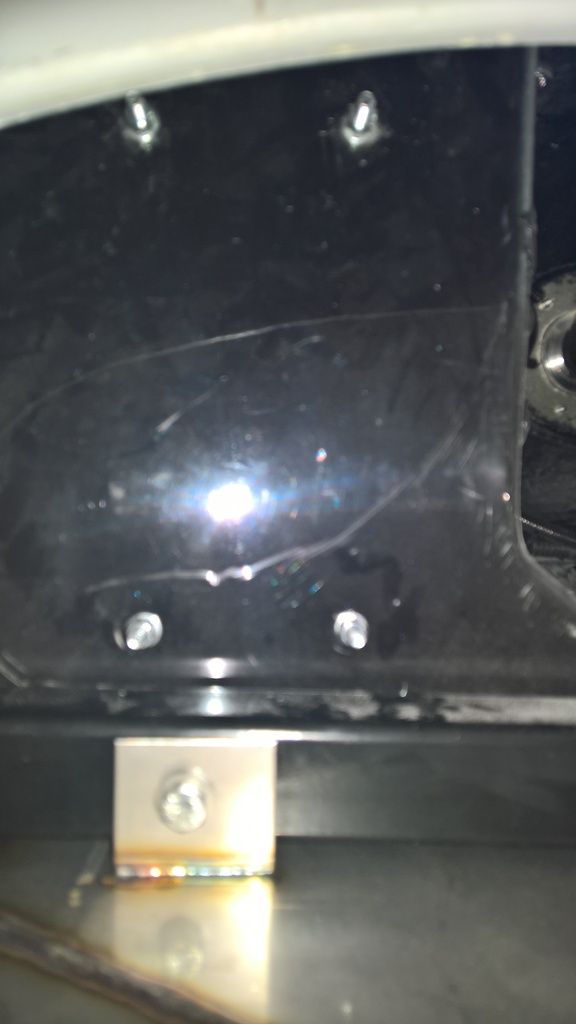
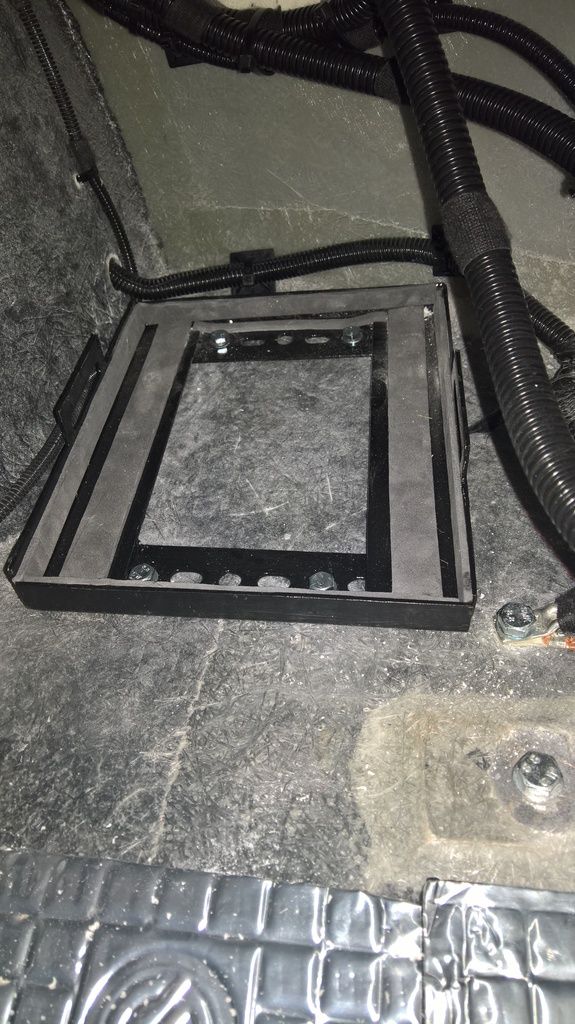
Battery Tray Under a Tenner

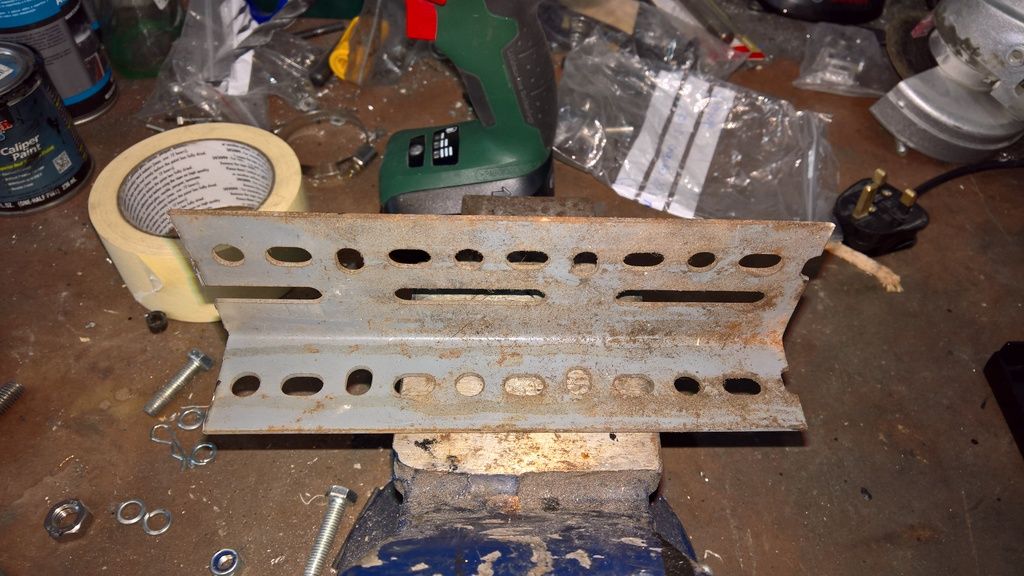
It never ceases to frustrate me how much some very simple parts are for the car. The battery tray is one of these items as AK will happily charge you £40 for a tray, which is nothing more than a bit of welded angle iron which is painted black.

So I decided I wasn't going to go down this route and instead asked around my friends and luckily someone came up with some spare angle iron.

Basically the tray can fit any battery you wish to put in it as you just need to cut the iron into lengths that suit your battery size.


Then, place the lengths into a square (ideally using a set square to get the corners right) and check your battery fits. If so, use Sikaflex to glue the square together holding in place with G-clamps or similar.

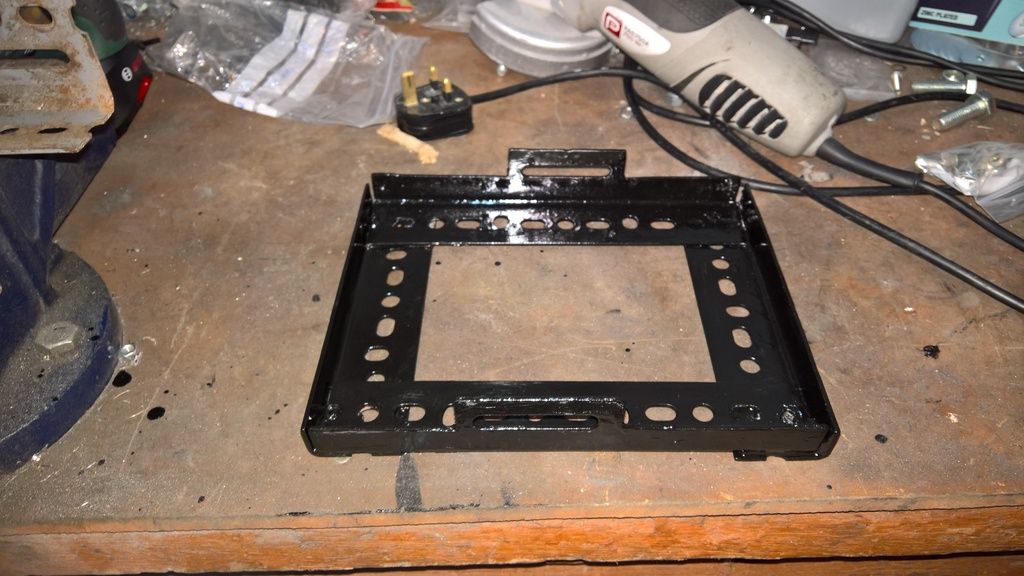
Once set, wire brush down if its old angle iron and treat with POR-15. I used some left over caliper paint that I had.
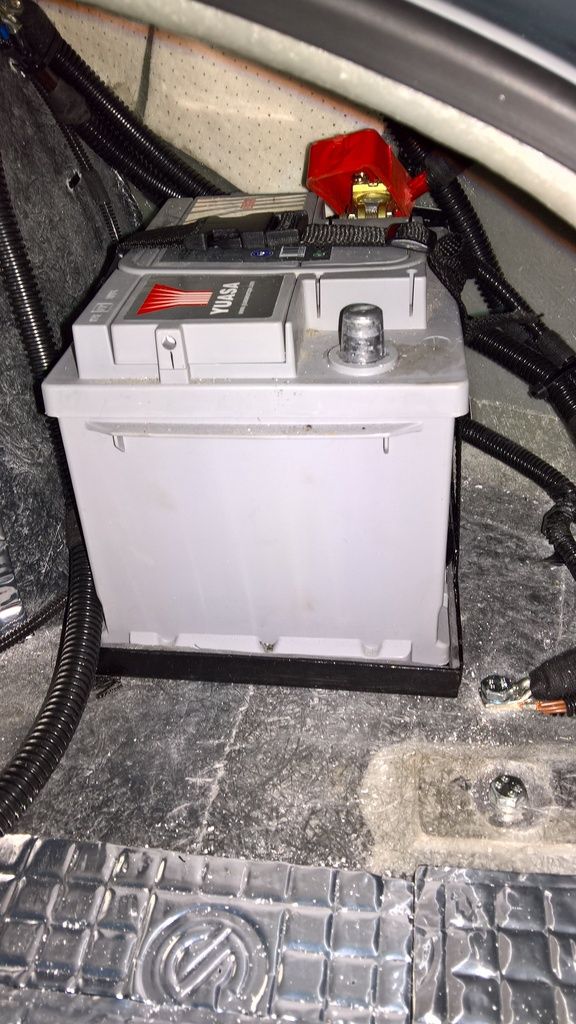


You'll notice that I have trimmed the iron to leave to slots raised up from the rest of the tray so I can feed the battery strap through.

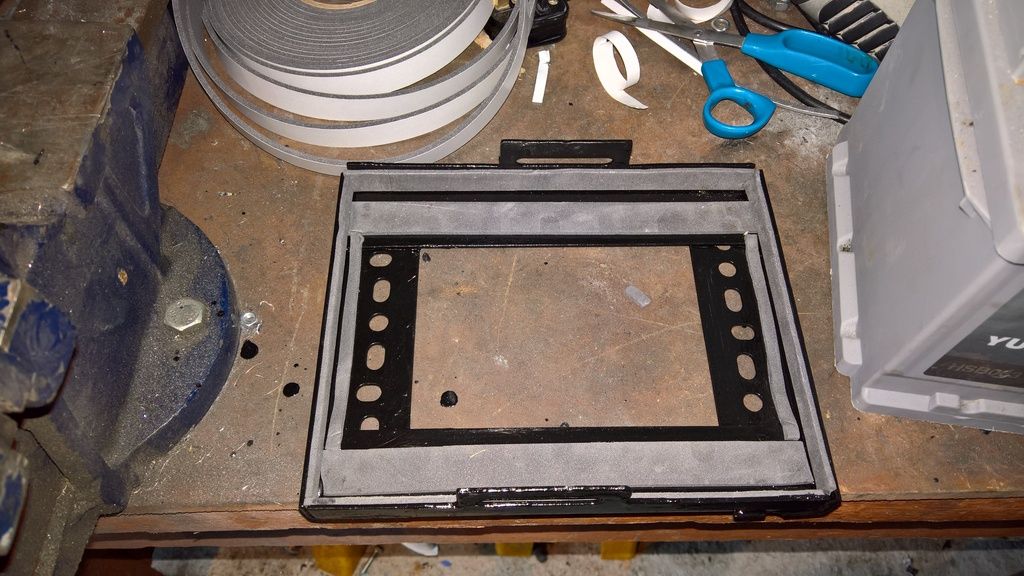
I have also added some foam tape to ensure the battery has a snug fit and no vibration.

Fitting in place was just a case of drilling 4 x 6mm holes in the boot floor. As the angle iron has pre-drilled holes it made the job a little easier.

The strap came from e-bay for a few quid and just needed feeding through and adjusting to the right length.

The last job in the boot now is to fit the battery terminals. The ones I have don't fit the insulated terminal covers so I have had to order some more.


Fog and Reverse Lights

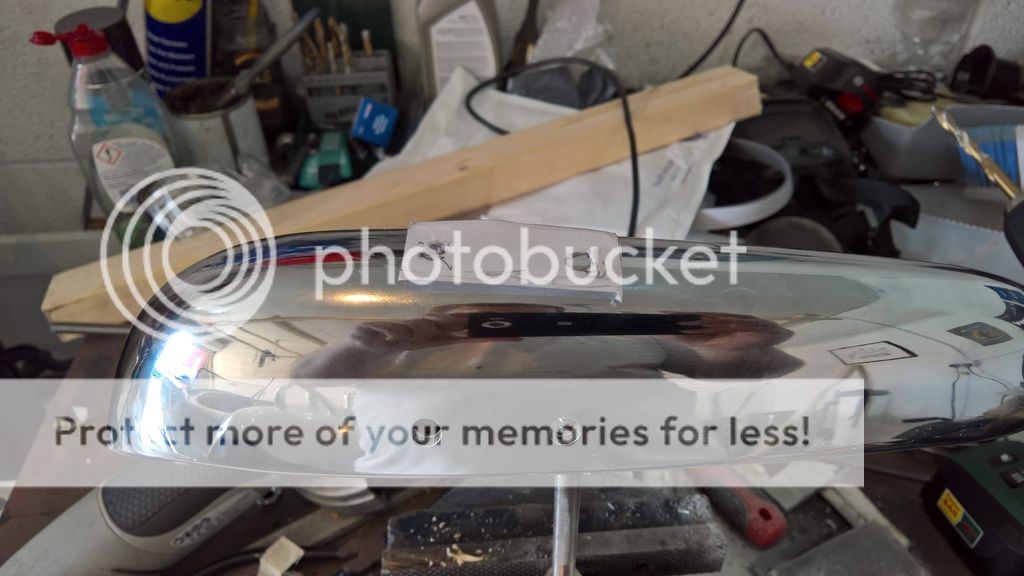
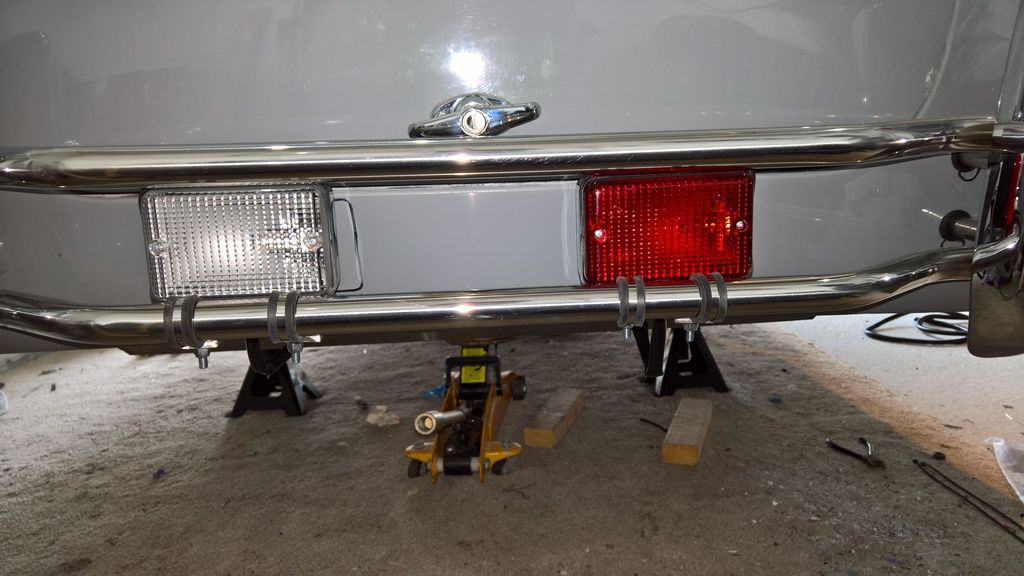
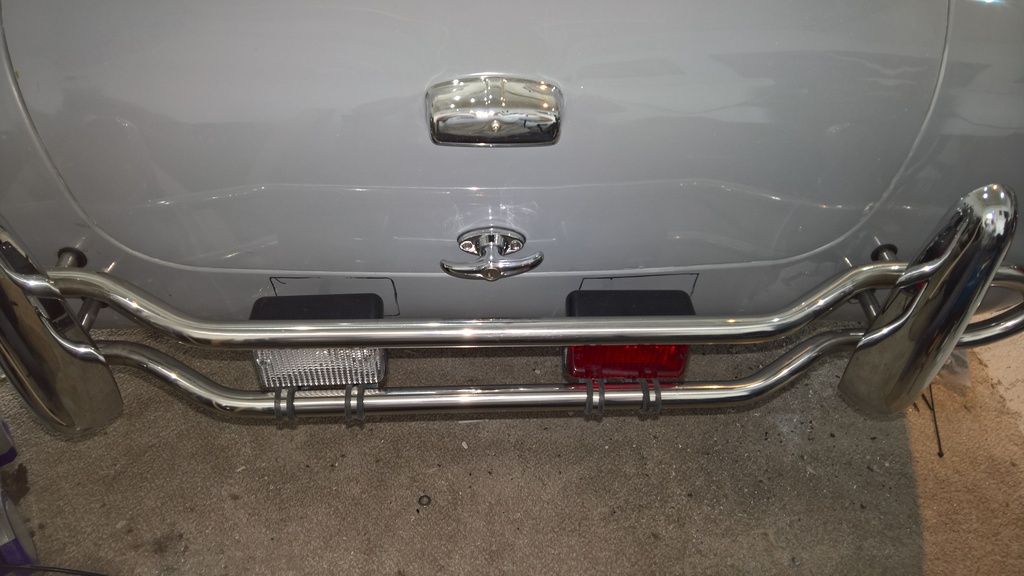
I managed to get around to mounting the reverse and fog lights onto the nudge bar. I'll improve this following IVA but I don't want big square holes in the body.

This was an easy job, just take 4 1" rubber lined P-clips and some 5mm aluminium flat bar. Bend the bar and use the pre-drilled holes to mount the lights.

The lights use 5mm hex bolts with nylocs and the P-clips 6mm with nylocs.


A little conduit to protect the wires going underneath the bodywork and all done. To say how ugly these lights are I can live with how this looks for now.

Weirdly in the photo to the right it looks like the lights are in the body - how strange!