Sunday, 22 November 2015

Prop Me Up

Here comes a milestone moment in the build! 

First I wanted to say that when I started writing this blog I did it both as a record of my build and as a guide to others following in my steps. I received a nice email from a reader recently letting me know they enjoyed the blog which was highly motivational for continuing so I just wanted to say thanks to all the people who come and read my articles. 

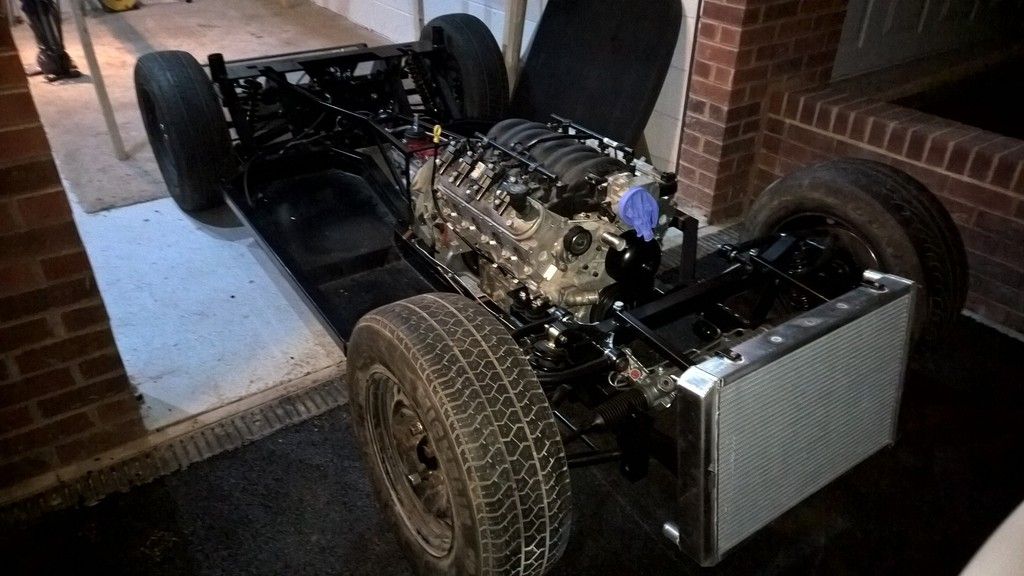
I have now installed the prop shaft which means the drive train from front to back is connected. The car could, if the engine started yet move under its own power.

Alas we are some way of that milestone; I was hoping for Christmas but I now think it could be Feb when the its alive.

Fitting the prop shaft was fairly straight forward with the body off as I had lots of room to do it. 

1) After applying a small amount of copper grease to the slide yoke splines I inserted that end into the gearbox with the rest of the prop shaft below the differential nose. 
2) Insert further than it needs to go so that the flange end can be "carefully" manoeuvred onto the differential nose shaft.

Now to avoid the short interlude in the process that I went through whilst going to the hardware shop it will be helpful if you have 3 M12 * 50mm bolts with 2 washers on each and a M12 Nyloc for each. I had 35mm bolts which were not long enough. I am assuming here that you have a 3 hole diff nose.

3) I found it useful to slot the bolts through the prop flange before sliding it fully onto the diff nose as there are very specific positions where the bolts fit through. Some gentle tapping with a small tap hammer was required in my case. 

4) Tighten the bolts flush (not tight) and then go around each again fully tightening. I needed two 19mm spanners for this as I could not fit a socket on the bolt head.

Don't forget to ensure your prop shaft UJ's are fully greased.
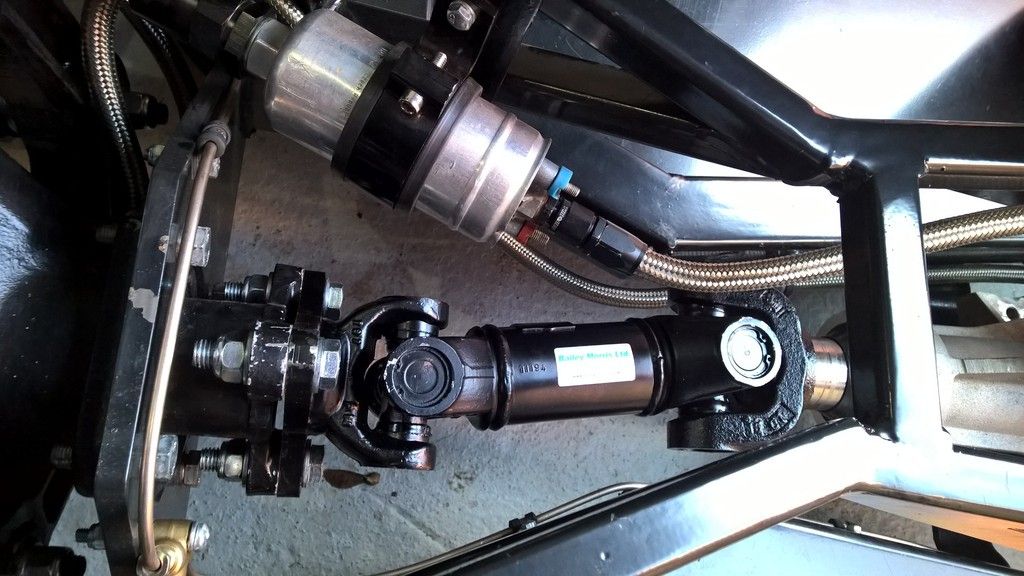

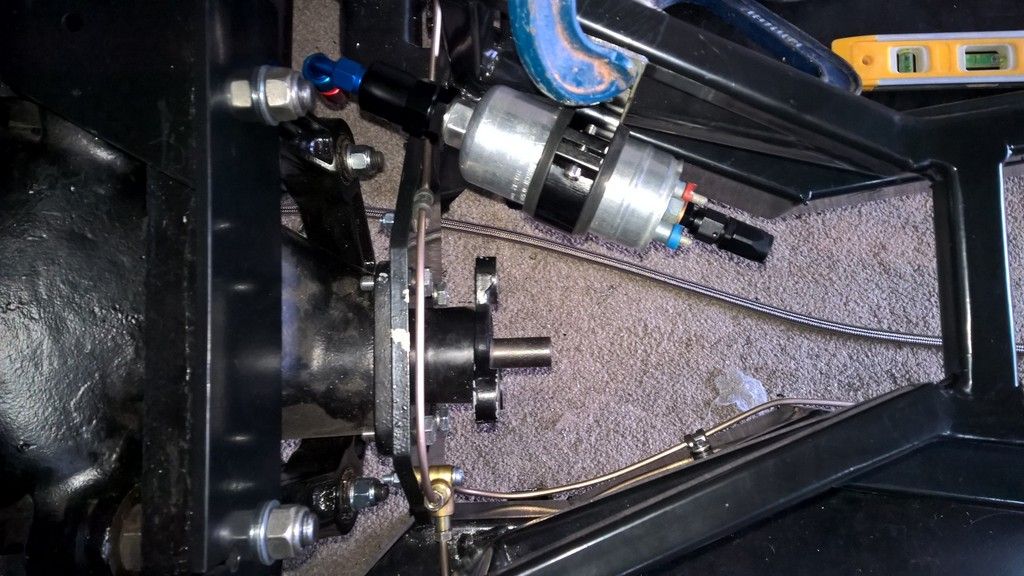
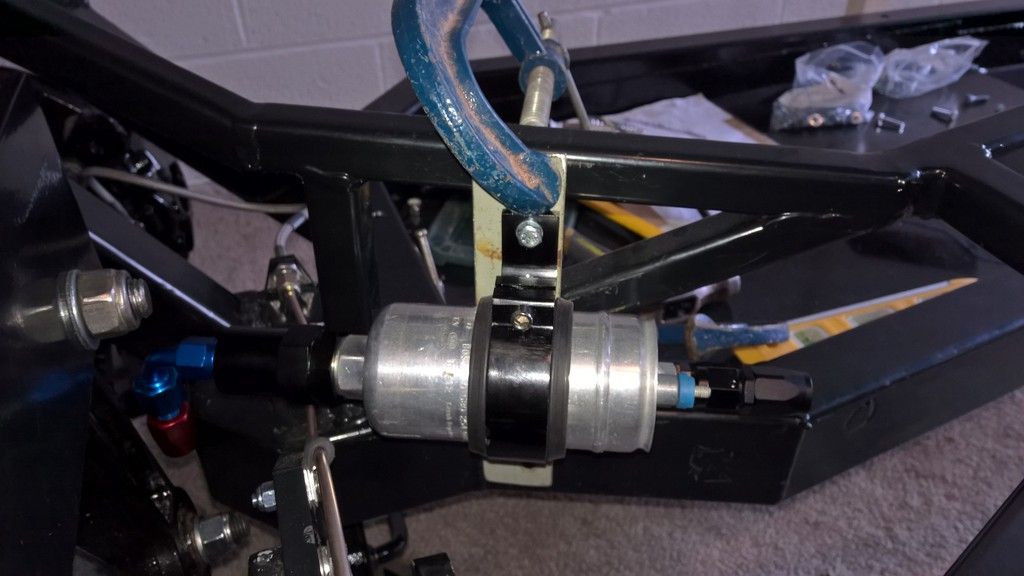
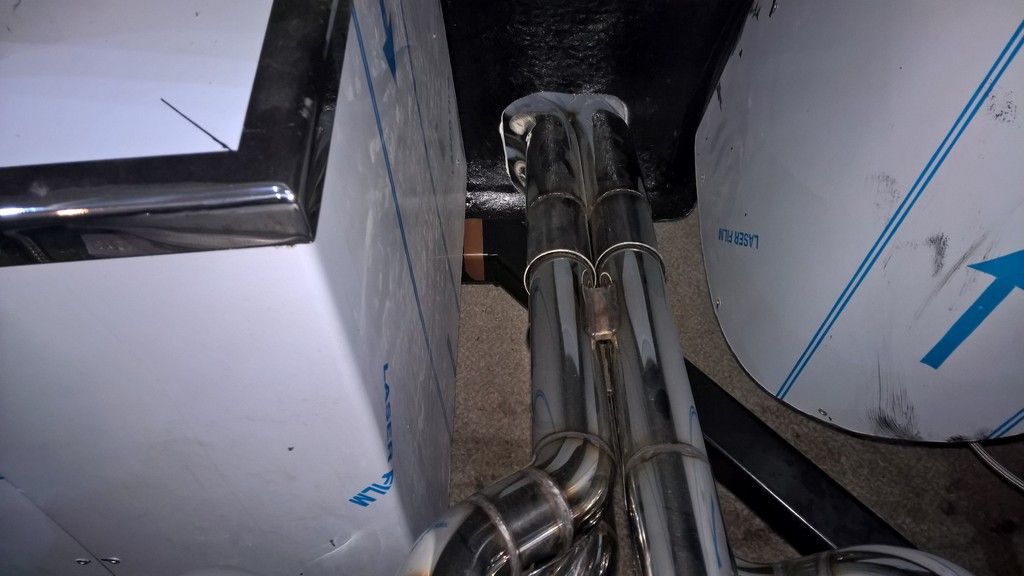
Contrary to what the picture looks like, I have good clearance to all parts; I was especially pleased that my fuel pump bracket and pipes have plenty of clearance given that this was a bit of a gamble.
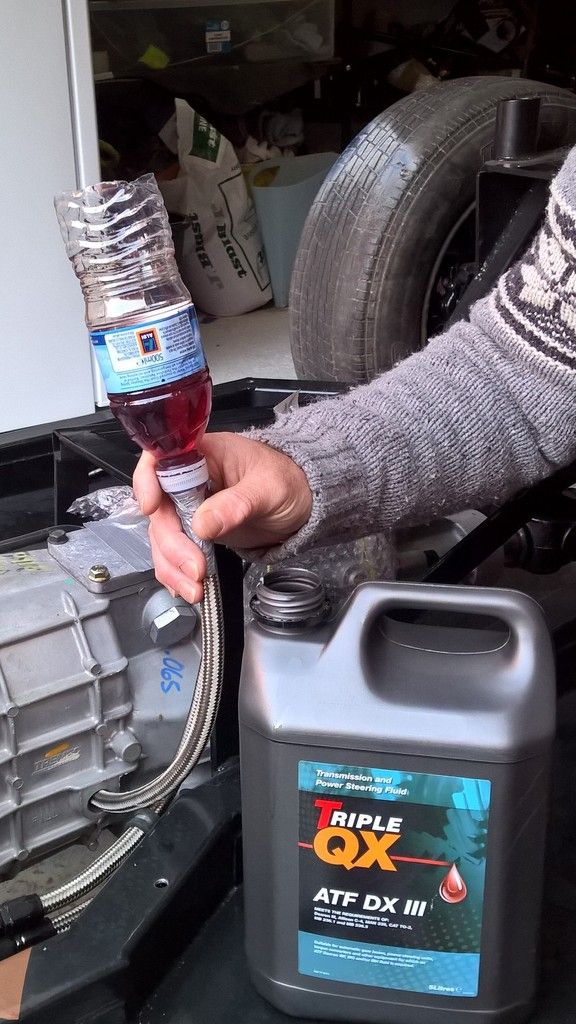
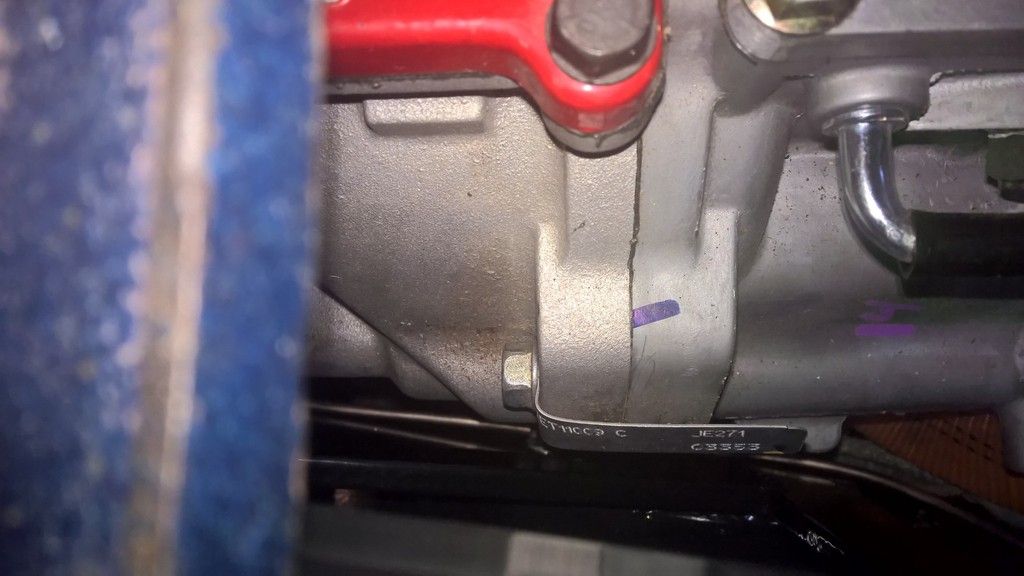
Once this was on I could move to filling the gearbox with fluid. The Tremec T56 Magnum recommended oil is Dexron III grade Automatic Transmission Fluid (at time of writing). Please check the tremec website for the latest recommendation. 

The fill point on a gearbox is on the side so unless you have bought a oil pump designed to do the job (Sealey 1L Litre Mini Pump For Engine/Brake/Gearbox Oil/Fluid/Cleaner TP6804) or you already have a funnel you'll need to do what I did and have a Blue Peter moment.

Basically just fill it until it comes out of the holes and then screw in the plug.
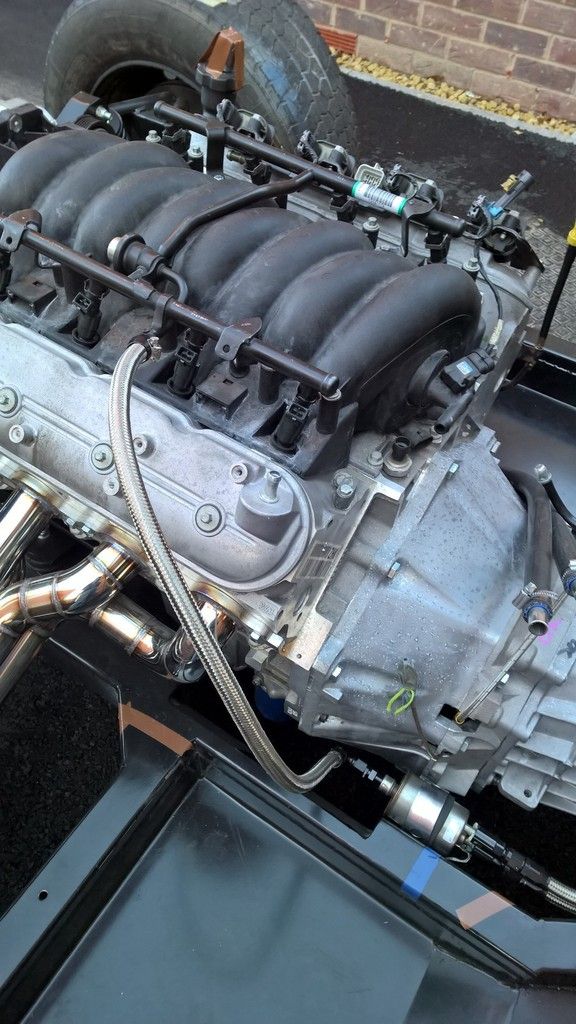
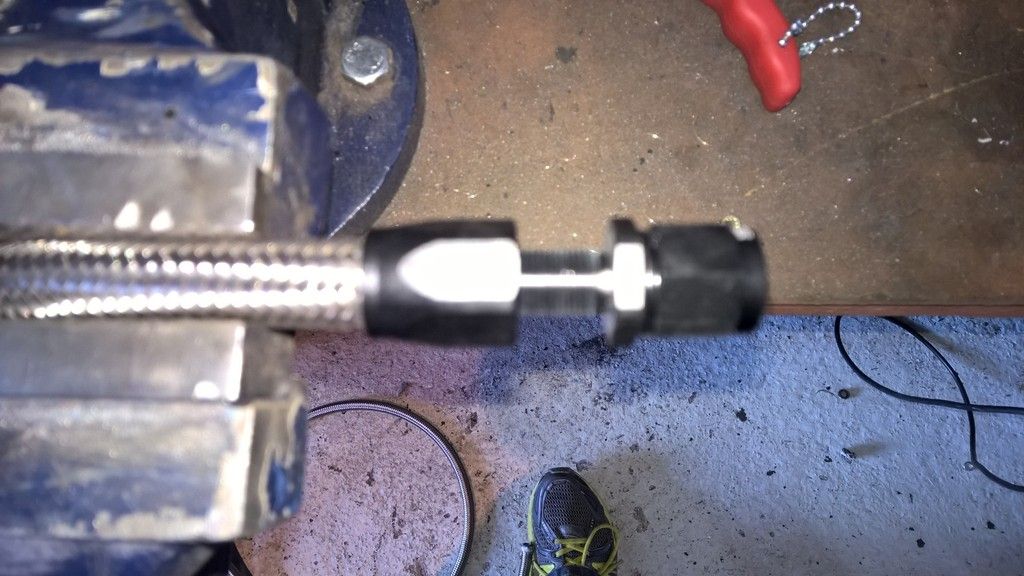
Pictured left is the device I made using a water bottle, duct tape and a bit of left over fuel hose after completing my fuel line (Pictured Right)

I have just used a Torques jubilee clip fitting for now but I am unsure if this is strong enough so I may change this in the future. I've sent an email to AK asking what they do before I decide.

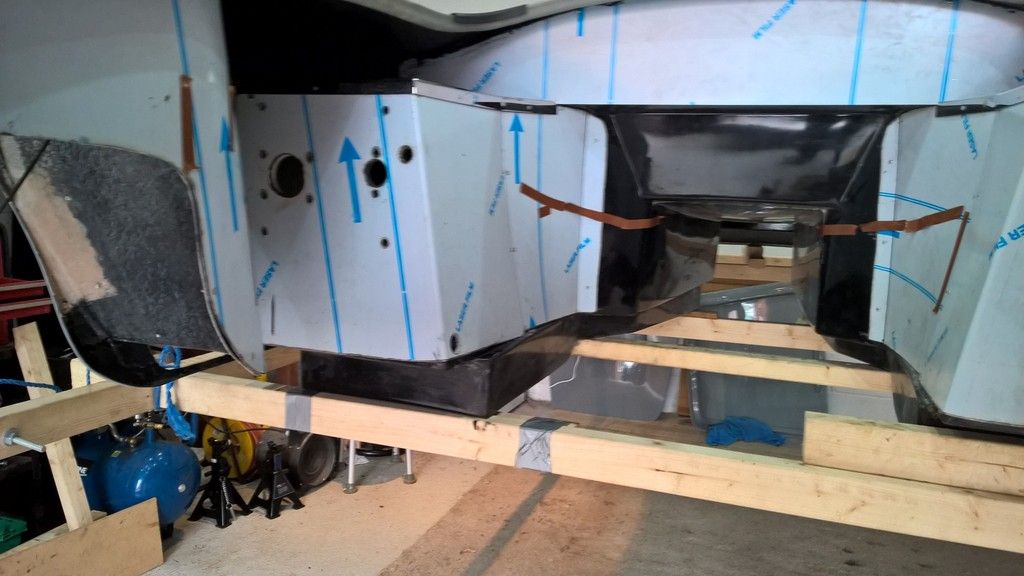
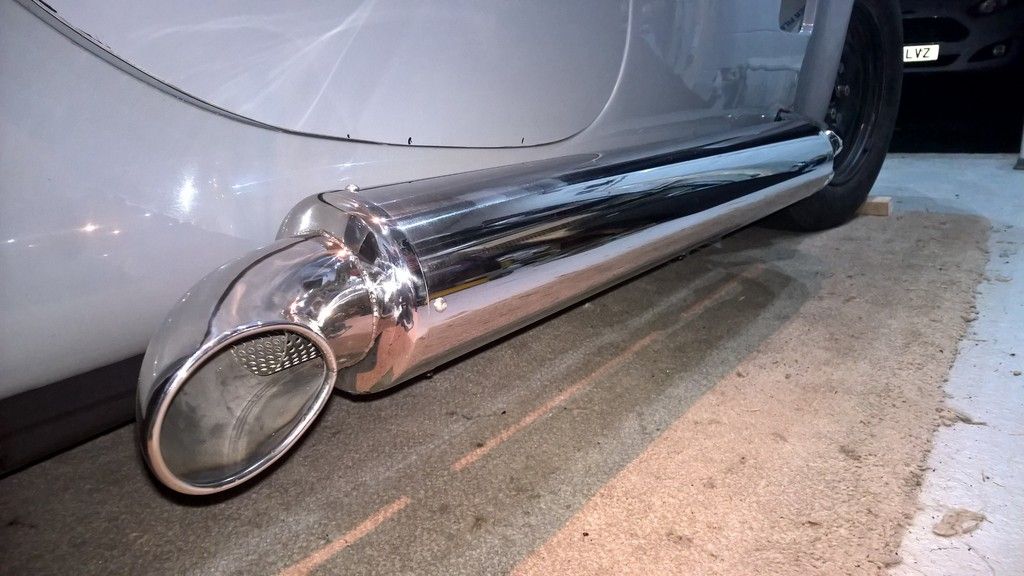
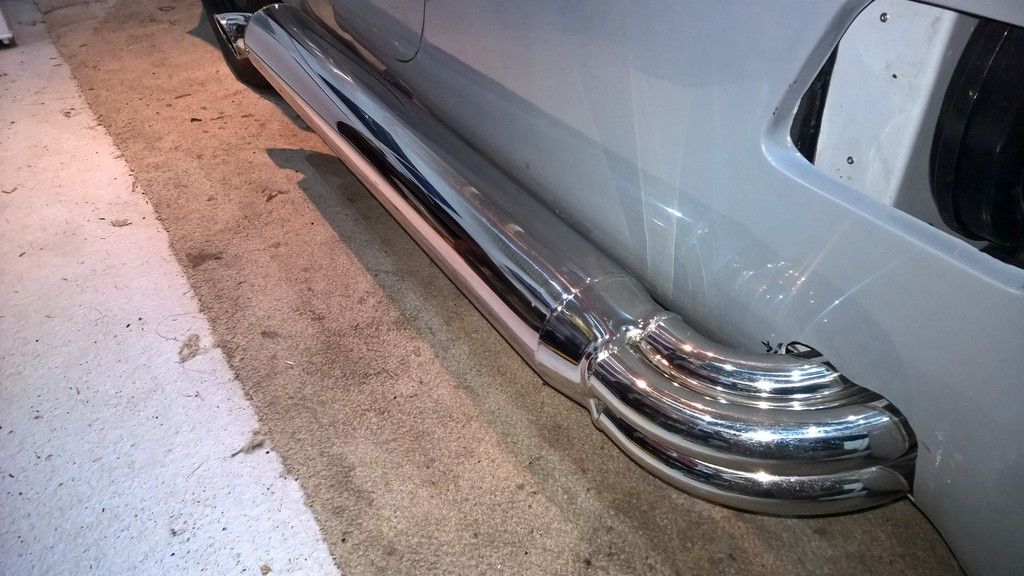
I'll be fitting the side-pipes later just to keep them safe and then I need to strip the parts off the car to polish them up.

Like I said, a few jobs to keep me busy.

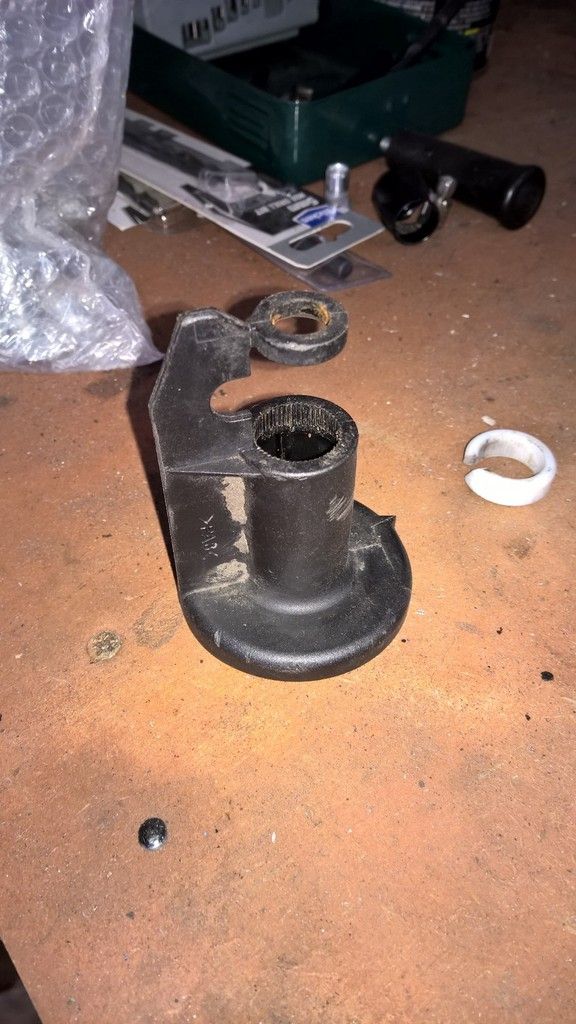
Finally - I also realised that the BMW Streering rack has a small black plastic cap on it. I have confirmed with AK that you just pull this off and dispose of it. This is pictured below:

Undo the hardwork

One of the frustrating things about building a kit car of this complexity is that amount of times you have to fit something just to take it off again later.

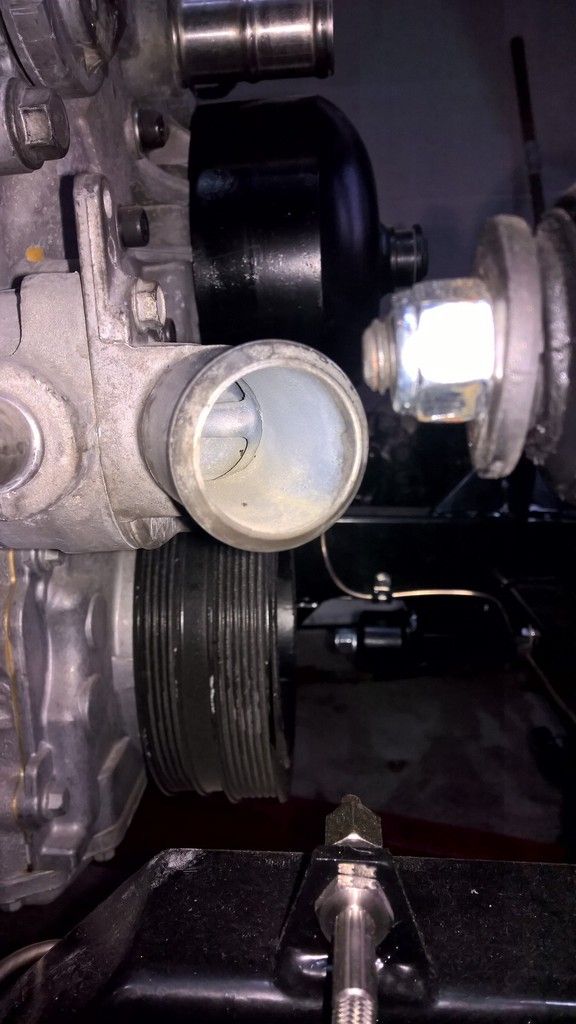
For example, the car looked great when it came back from AK but due to the amount of work still needed on the engine bay I had to take the exhausts back off, get the friends around to remove the body and hoist that back up to a working height and then start disconnecting the great pipework Jon at AK had done in order to fit the thermostat and polish/clean up the aluminium housing. 

I still have the polish to do and I've also order a new thermostat from ebay (US) as the delivery was much cheaper than from GM Parts Direct. This was only 40$ and I did already have one but it didnt seem to be working well and so I thought "better safe than sorry". 

Note: You can no longer buy the thermostat on its own, you get the housing with it as part of a single unit. 

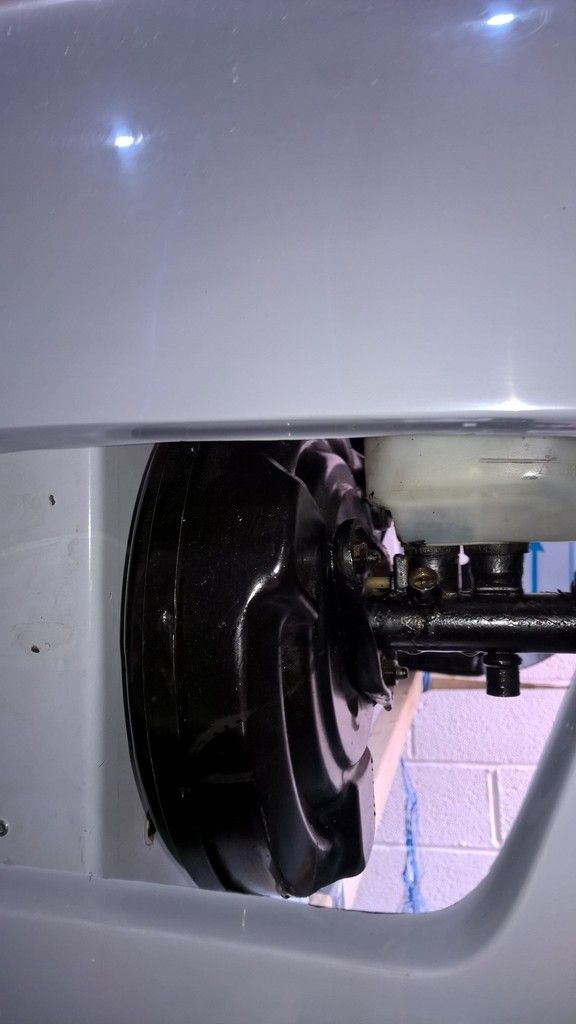
The pedal box had to come back out as did the clutch and brake master cylinders.

In hindsight, I should have removed the stainless cover and then bought and fitted:

1) The heater box
2) The side vents
3) The front vent wire mesh
4) The triple nose vents
5) The brake and clutch Servo
6) Ensure all engine/gearbox work was complete

All before sending to AK as that would have saved me a load of re-work. Hopefully the readers of this blog can learn from this.

One thing I did do is mark out with tape about an inch above where the bell housing goes so when I fit the heater I can ensure I have the correct clearance.


The research on the heater system continues but there are a couple of other jobs I can do in the meantime. 

Tuesday, 3 November 2015

Its back from AK already

When the Cob went to AK I didn't expect to see it again for a few weeks given how busy they are so I was surprised when halfway through my holiday I received an email saying the car was ready for collection.


First, I promised to provide feedback on grim salvage who took the car to AK. They were excellent, arriving bang on time, taking their time to ensure it was loaded carefully and secure including using extending ramps due to the car being so low. The driver was friendly and it was well priced as I mentioned before.

I even received a text from them to say the car had arrived at AK safe and sound. 

Whilst on holiday in Turkey, I sent them a text to try to arrange for them to pick up the car and they were flexible enough to say yes at short notice, without paying any deposit, arranging all over text. 

Having arrived back home in the UK at 4am on the Monday it was 9.30 before I text them to check all was ok and they were nearly at AK and had the car with me by 2pm for cash on arrival.

I can't recommend these guys highly enough.

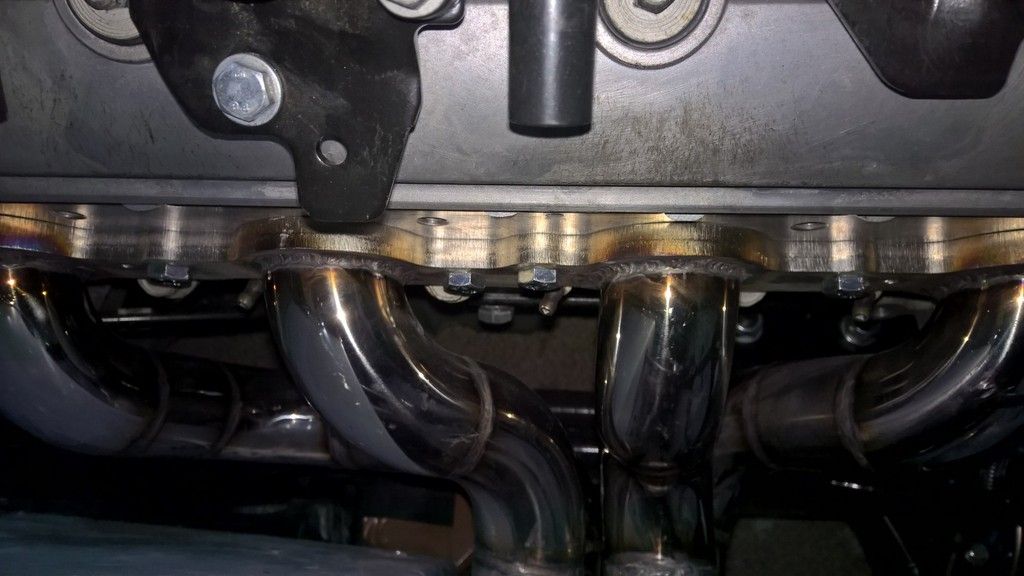
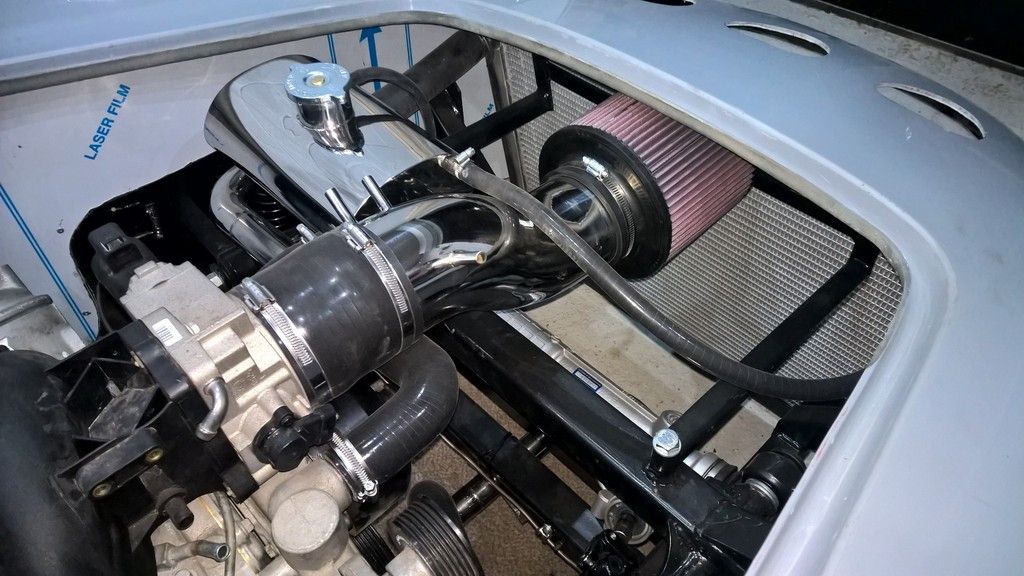
Jon at AK had also gone beyond what I had expected, not just making a tidy job of the stainless headers and sidepipes (which look great), but fitting all the water pipes which I had purchased, including the air intake and filter. I am very happy with results and this now puts me in a good position to crack on with the build.

The AK team had even sorted my accelerator pedal out so it no longer rubs on the body which saved me another job. 


So now I have a wiring loom, lights, locks and door catches which I could fit but I want to get to starting the engine for the first time. For that I need the heater, battery, battery cable, switches and gauges to be able to properly fire things up safely.


To sort the heater ill need to decide on which way to go as I'm still not sure about using the standard AK option.

More research is now needed.


Sunday, 18 October 2015

Exhaust preparation / Transporting your precious project

This week has been a little quiet on the Cobra front as its off to AK on Thursday for the stainless headers and sidepipes making. I went a bit "bright eyed" on the order and added the cooling pipes, stainless header tank, air intake pipe and filter as well as the wiring loom. The card was already preparing itself for a £4.5K hit...ouch...

All I had to do was bolt the body down and arrange for it to go, then go on holiday and hope it was ready when I came back.

This time my mechanic friend was on holiday so couldn't transport the car. "No problem" I thought  "AK can do it".

A phone call later and I realise their normal driver charges (at time of writing) £1.25 per mile which worked out at £255 each way!! an expensive addition to an already expensive order at AK. I needed another solution.

A quick Google search later and I come across AnyVan.Com. This is a simple site where you put where the car is going from and to and then companies can "bid" for your job. It started at £150 but within 20 minutes it was down to £123, less than half the price of the AK driver. The company I went with is based in Ripley, West Yorkshire 

Email: grimsalvage@hotmail.com

Once the pickup occurs I'll let readers know how it went.

So back to the prep,

I was worried about the car getting damaged during transport so decided to hook up the brakes and steering column so the car was a little safer to manoeuvre. 

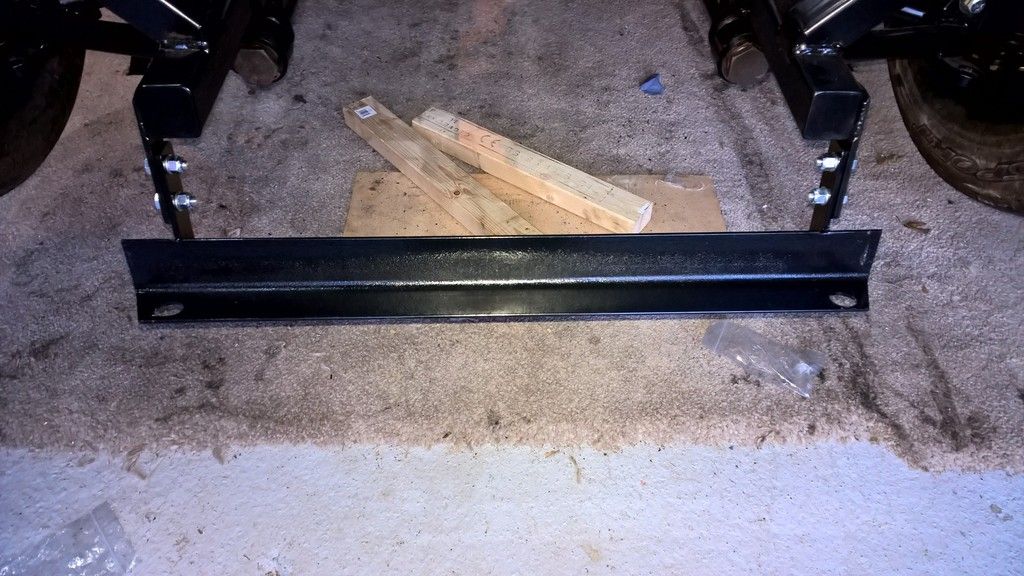
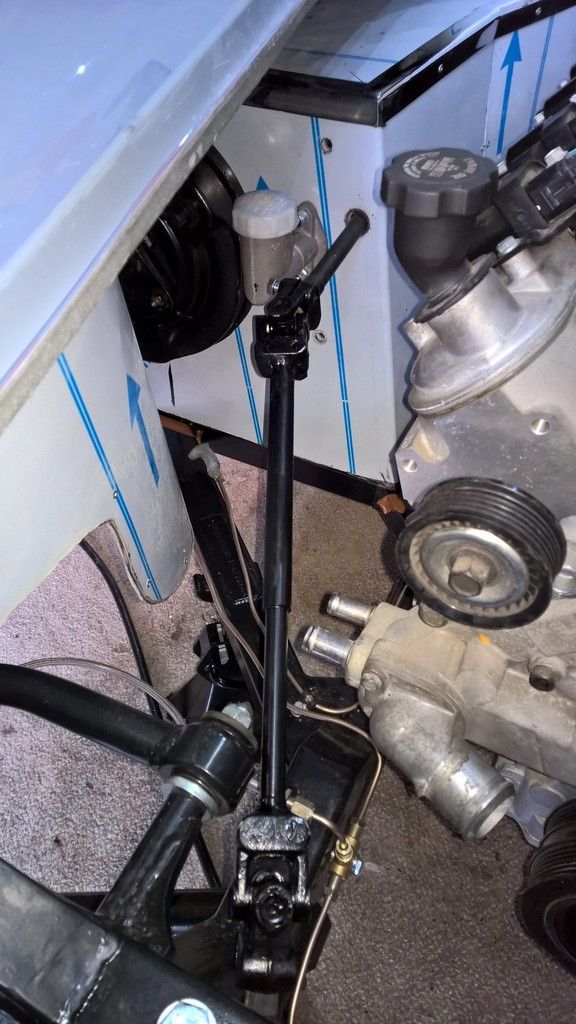
Everything has only been loosely fitted and will be removed later. One tip I have here is take the collapsible part of the column out and feed that through the hole in the bulkhead first, attach it to the AK provided steering rack extension (the black bar with 2 UJs) and then get someone to hold this still whilst slotting the column back onto it.   


Another tip is pre-fit your brake pipes to the Servo and have connectors down near the chassis otherwise it is extremely difficult to connect them together.

Katie came out with Monroe to help bleed the brakes which took us a while as there was an air lock that just wouldn't clear. I finally managed to clear this just as I ran out of brake fluid to top up the reservoir.  

All ready to go. The next time I post I'll have some side pipes :-)


Sunday, 11 October 2015

Body first fit

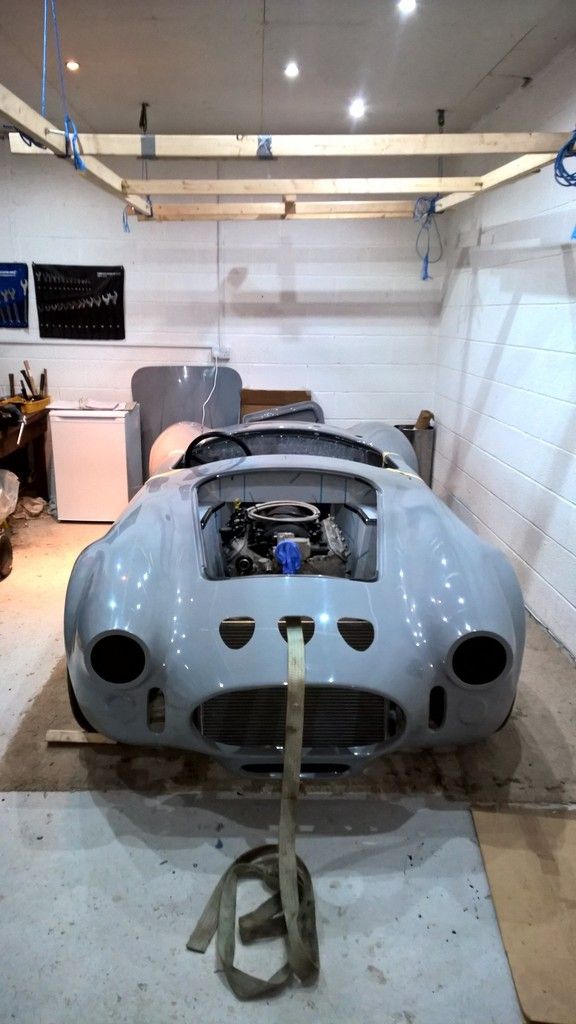
The Cob is heading down to AK at the end of the month for the exhausts making so I needed to get the body back on the car.

First I painted the inner wings with black high temp POR-15 that I had left over from the donor parts. This was to ensure that the stainless cladding had a better reflection once the film was removed. I couldn't think of anything worse than seeing the grey fibre glass in it.

Then final prep jobs.

First to remove the T56 gear shifter and cover the hole to ensure nothing gets in the gearbox. Easily done (six bolts and just pulls off). I wanted to do this so I could decide where to locate the shifter at a later date.

Next; ensure fuel, clutch and brake lines are out of the way. Enough said on this.

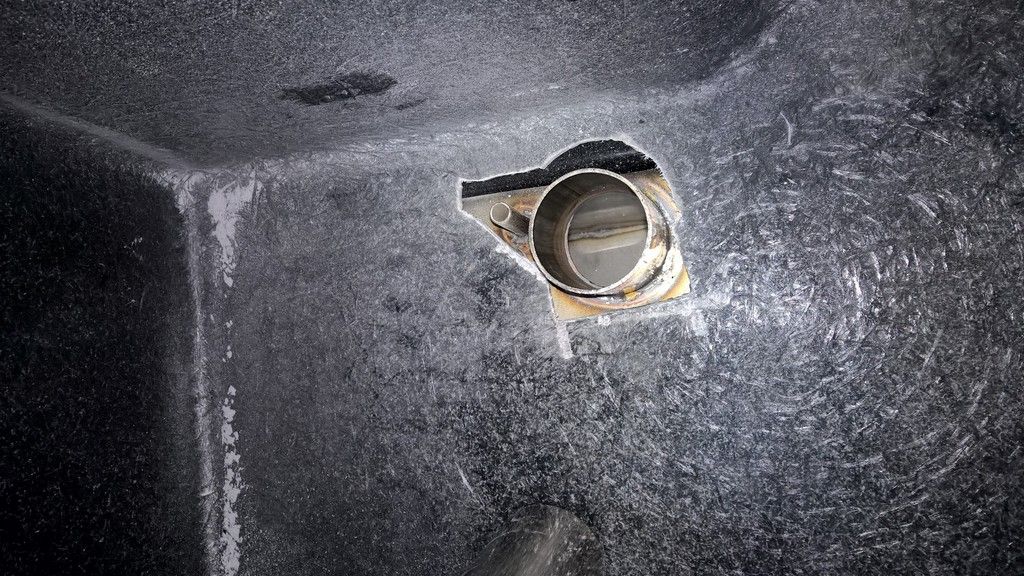
Finally cut holes for fuel filler ....... Worry time!!!

This is the first time I have cut a hole in the body and getting this wrong would be a disaster, both for the car and my confidence going forward. My brother was on hand today to ensure I had two minds on the job; so measure 20 times and cut once then hope all was ok. We decided to go with a hole that was just large enough with the plan to open up the hole later.

Next up was to attached the pedal box and servo so that brakes could be connected to help manoeuvre the car on and off the trailer at AK. I decided not to peel off the protective film from the stainless cladding as the body was going to come back off later for the heater fitting so I figured I just remove the servo at that time.

Here I noticed a bit of a problem in that the accelerator pedal was catching on the body. As this was a custom pedal box by AK (as its a canems ECU - fly by wire) I decided to leave this until I can show AK and get their thoughts.

And now time for the fitting which is a 2 minute job once you have managed to round up 4 of your friends to help lift. A few beer bribes and I soon had the lads around and on it went.


The hole for the filler did need a little adjustment but not much - luckily.


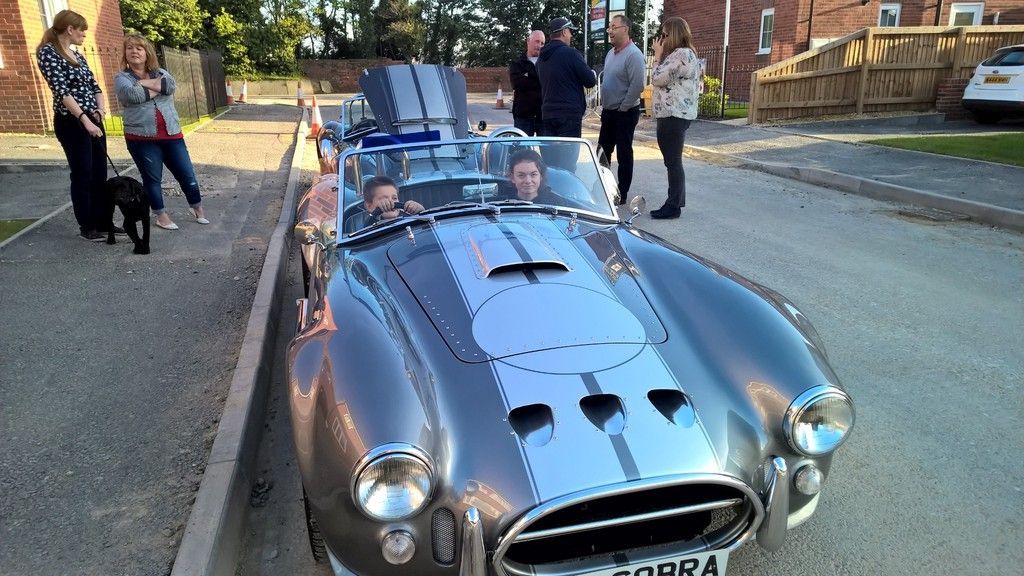
I'll bolt up the body later but for now I have something that is starting to resemble a car


.


Saturday, 3 October 2015

Rolling chassing complete .... I think!

How time flies when you nip into the garage to do a couple of jobs on the Cob....

The Mrs was out tonight so I headed into the garage to try to complete the rolling chassis; on todays list was:

1) Take the engine out again to figure out why the gearbox was leaning
2) Check I had used both a spring washer and washer on the P-clips as I had read on the forum IVA man was keen on this.
3) Connect the handbrake assembly
4) Fit the radiator

This would get me to the point where I could lower the car onto its wheels and prove it moved!

After taking the engine out I realised that I had not put a washer after the spring washer on each of my p-clips. The p-clips were metal not plastic so I figured I would be ok, but after re-thinking I came to the decision that putting them on now would save a LOT of hassle later if IVA man decided they were necessary. About an hour or so later and this was all sorted.

Before removing the engine my old man and I had taken a few measurements and almost come to the conclusion that the gearbox was supposed to lean slightly and that it wasn't 5mm out (see last post). Once we put the engine on the floor and noticed the engine was leaning 1 degree and the gearbox 4 degrees this confirmed it. If the gearbox was mounted correctly to the bell housing and the bell housing to the engine then it couldn't be wrong.... could it?

We agreed that it was all ok and set about re-installing the engine and fitting the gearbox bracket. (EDIT: It was later confirmed by Roadcraft that the GM Bell housings do angle the T56 gearbox)

After checking the height of the output was in line with the output on the diff (it only took 7 washers on the bracket!) then this was job done and onto the Handbrake.

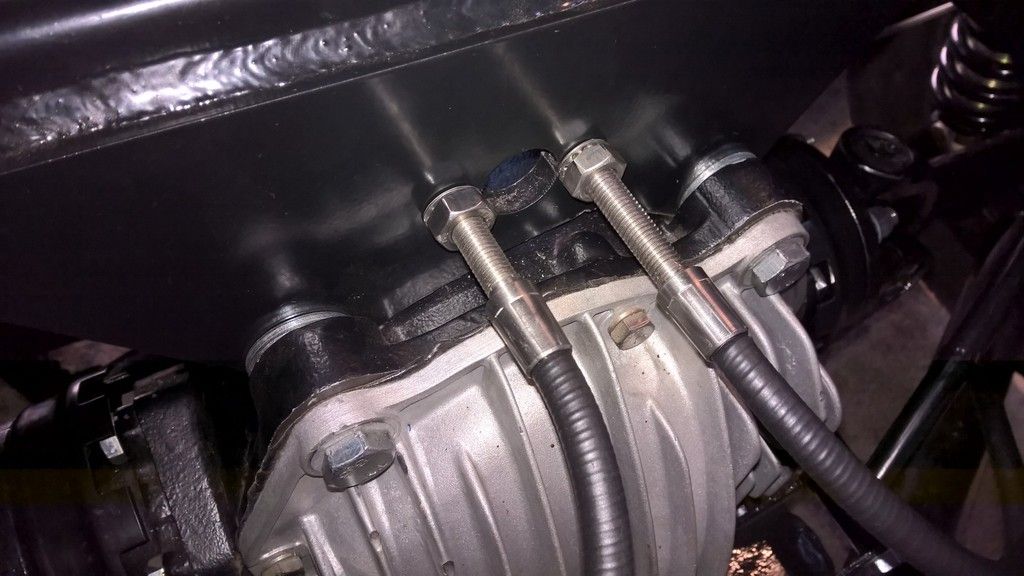
First of all I would point out that the AK manual says sweet FA about the fitting of the level which makes the handbrake work. Luckily there are some pictures on various blogs which help. The two cables need to be adjusted to different lengths to get them to work at the same level so don't be afraid to play with them to get it right. My drivers side cable only has about 1cm of the threaded bar after the nut and the passenger side about 3cm. The level does not require much force to lock both wheels solid.

I didn't have any clevis pins as per the AK picture so I used M8 bolts and nylocs to connect the mechanism together. Now onto the radiator.

AK supply a couple of small M6 bolts which are perfect for the top of the radiator along with a washer before and after the bracket. They also supply two M12 bolts for the top frame and 4 M8 for the bottom. You do need to get your own radiator rubber bushes from Rimmerbros though (£1.30 each). See a previous post for the adjustments I had to make to fit this.

Finally I lowered it to the ground. This was such a great feeling. Almost a month after receiving the chassis I was able to push it in and out of the garage and see everything working as expected. I'll need to order the prop shaft next and I have booked it into AK to have the manifolds and side pipes made at the end of October.


Wednesday, 30 September 2015

Rolling chassis complete .... well nearly :-)

A few small jobs were required to complete the rolling chassis so I my target was to get these completed during the past week.

The first task was to complete the back axle setup. The speed sensor rotator had arrived from Jaguar although just as with the first one the holes didn't quite line up and it needed some small adjustments. I bought this as I needed a 2mm shim for the drivers side axle to get it to between 0 and 0.5 degree (top in) and the smallest Jag do is 3.5mm for that side.

After getting one for the other side of the car and confirming it is 2mm thick I decided it was the perfect solution. It took longer to re-level the car than it did to fit and I was soon putting the suspension into place.


Next up was to fit the radiator. The lower bracket went on easily but the lower radiator outlet fouled on the corner of the bracket.
After checking with AK this can happen and its just a case of cutting the corner of the bracket. I had to take off a reasonable amount to make it fit so I adjusted the opposite side of the bracket so it matches and looks correct.

You need two rubber gromets for the radiator to sit on which are not provided with the kit and after checking on the cobraclub forum I found a link to this part at rimmerbros . At £1.30 each it wasn't worth the effort of making my own grommet but if you are interested in this approach then Jon at AK gave me the following advice.


"You need to make two top hat shaped grommets to fit over the pegs on the radiator , I use two different size hose, 1 x 10mm i/d hose to fit over the peg and another piece to fit over that tube cut about 4 or 5mm thick."

Next was to replace two M10 hex bolts in my bell housing with Allen bolts. This was because the bolt head was fouling on the housing followed by changing one of the connections on the end of my fuel line as it was also fouling on the housing (see updated Fuel lines post).

Whilst working on these tasks Si Smith arrived along with the Catherine and friends to see how I was getting on. It gave a great opportunity for the kids to see the finished article.


As we were discussing some of the challenges I have had they all confirmed what I had been thinking which was that my engine was sat slightly lower on one side. After measuring we confirmed this to be 5mm; a small amount but viewable to the naked eye. It appears as if the mounting brackets supplied by AK have a slightly different angle on side. This is easily adjustable and I am just waiting for a 5mm aluminium plate to arrive which I can use as a spacer. I picked this up for less than £2 on ebay.

All that is left now is to level the engine, bolt the gearbox mount, touch up the chassis with por-15 (from where I have drilled etc) and order the prop shaft and the rolling chassis is done.


Thursday, 24 September 2015

The engine is in


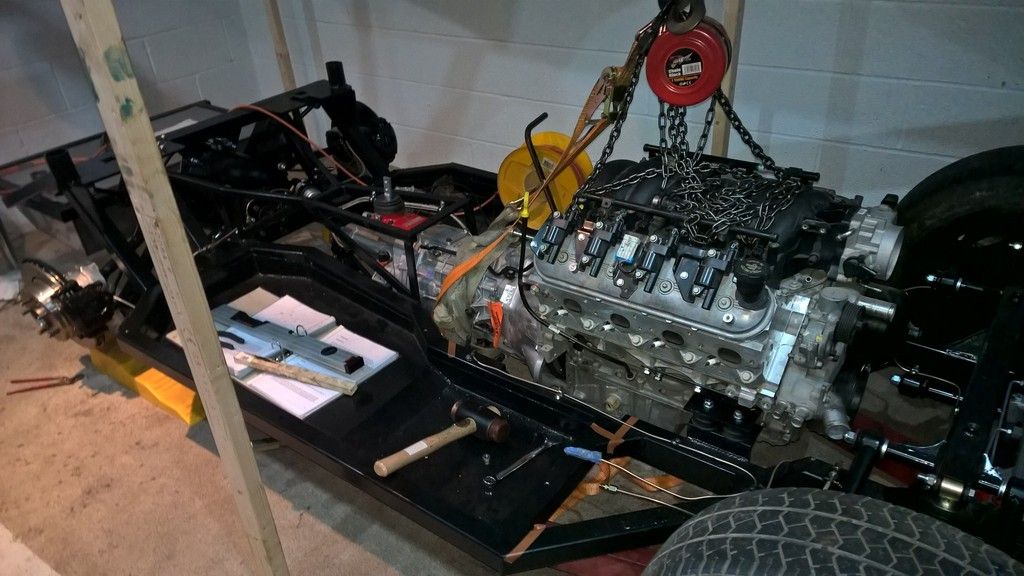
I have figured out the problems with the engine/gearbox alignment and water hose position. The holes on the passenger bracket were 1cm further back than they needed to be, so after confirming it was ok to elongate the holes with AK I re-drilled and set about lifting the engine and gearbox back into place. It now aligns perfectly.

The water hose connection / thermostat housing simply needs unbolting and turning 180 degrees. AK do this with all LS engines.


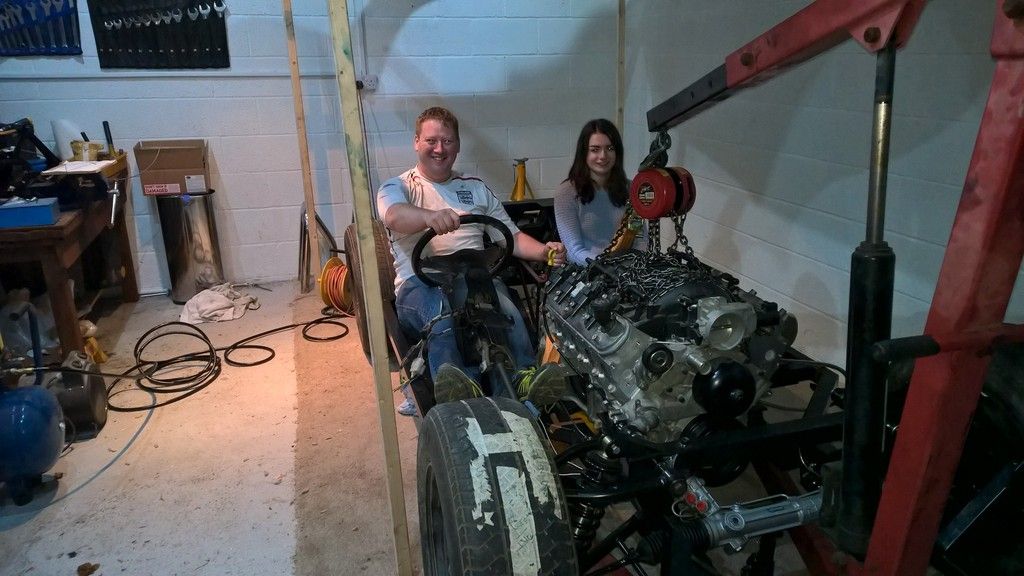
After such a milestone my daughters and I couldnt help but have a little fun and pretend we were driving. This was the first time I had actually sat in the chassis like it was a car :-)


The gearbox mount still needs to be attached and I'm still waiting for one final shim from Jaguar to finish the back rear suspension. Hopefully it will be a rolling chassis by the end of the week.

Sunday, 20 September 2015

Progress so far

After a week of hard work, running around for tools  bolts and washers I have made some good progress as shown below:

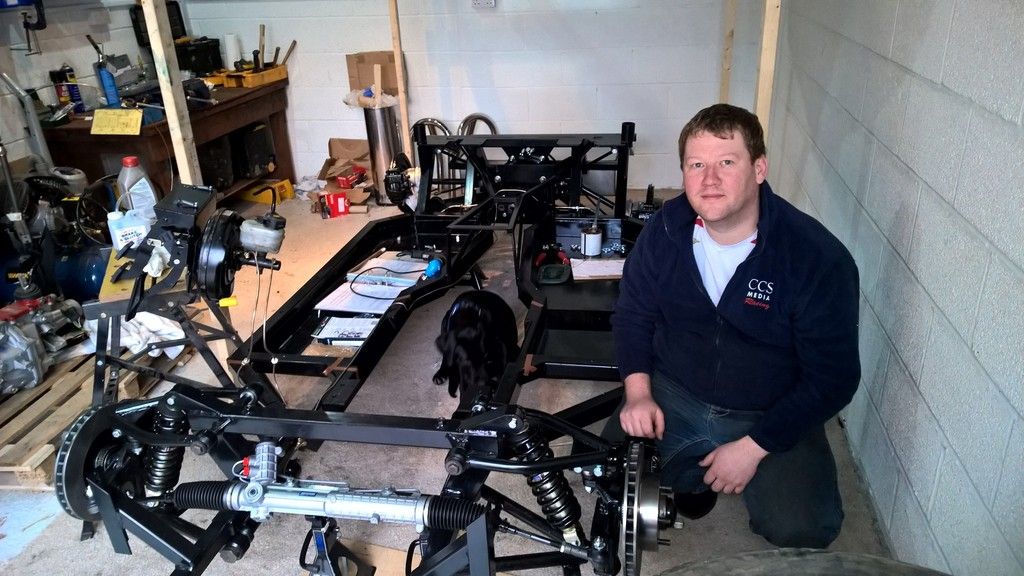
Some things on the build went really well, just as the manual shows. For instance the front
end of the car went together easily, the caster was spot on straight away and it was complete in a day.

The back and engine was a different story.

I needed 2mm of shim on the drivers side, 6mm on the passenger. Jaguar dont do a 2mm shim (and right/left are different). AK do however do 1mm shims but I realised the
diff normally has a speed sensor on the left which is 2mm thick. This was much cheaper than the Jaguar shim (£10 vs £35) and it tidies up the diff a little so I installed one of those on the drivers side to solve the problem

Another speed sensor plus a 4mm shim on the passenger side should achieve the required offset so this is on order.

Waiting for the shims causes a delay so watch out for this. There were major issues getting the diff and diff tie bars to line up. Both tie bars needed to be modified to fit into their brackets, the plate which takes the top rear bolts on the diff wasn't well shaped at all and needed quite a bit grinding off to allow the diff to raise into position and the differential rear carrier needed the holes adjusting to get the tie bar to line up.

Additionally, the kit doesnt come with enough 1.5" x 7/8ths washers so I strongly recommend getting 10-20 of these to save some time running out to the hardware shop. 

You'll also need additional M12 and M14 nyloc nuts, 7/16ths bolts for the Diff, 2 of M16 x 2 nuts for the diff and plenty of washers and M10 x 35 and 70 bolts, nuts and washers.

I also used M5 and M6 Rivnuts, bolts and spring washers for various jobs such as brake and fuel lines. 

Finally you will need some threadlok.

Getting the gearbox to mount to the engine was a bit of a headache. Eventually I took advice from Brian at Roadcraft. He explained I needed to remove the outer bearing on the crankshaft for the LS6. Everything went together and it was lifted into position. 


Its currently hitting against the chassis on the drivers side so something is out of alignment and the water pipe mount will foul on the upper front wishbone. I'll post solutions to this when I get chance. 

Progress will slow a little now as I return to work next week so will have limited time. 

Saturday, 19 September 2015

Fuel System

I spoke to AK about what they do before starting by fuel lines as it wasn't clear if I would have room. Mounting the pump in the "normal" place at the back risked fouling on the prop shaft. Mounting at the front meant long return fuel lines and no room from the regulator I had purchased.

After a bit of a think I came up with the following solution.

The parts needed are:
  • -6 AN fuel line (approx. 15 ft)
  • Bosch 044 Fuel Pump
  • Some metal strip to use as a mounting bracket
  • 4x M8, 8 x M6 and 3 x M5 Riv nuts, bolts and spring washers
  • 2 x AN-6 90 degree corner swivel hose fitting
  • 4 x AN-6 Straight Hose Fitting
  • 1 x AN-6 Quick Connect 5/16" Hose Fitting
  • 1 x AN-6 Quick Connect 3/8" Hose Fitting
  • 3 x AN-6 15mm Clamp Finisher Hose Fitting
  • Dash -6 Bosch 044 Outlet straight fitting
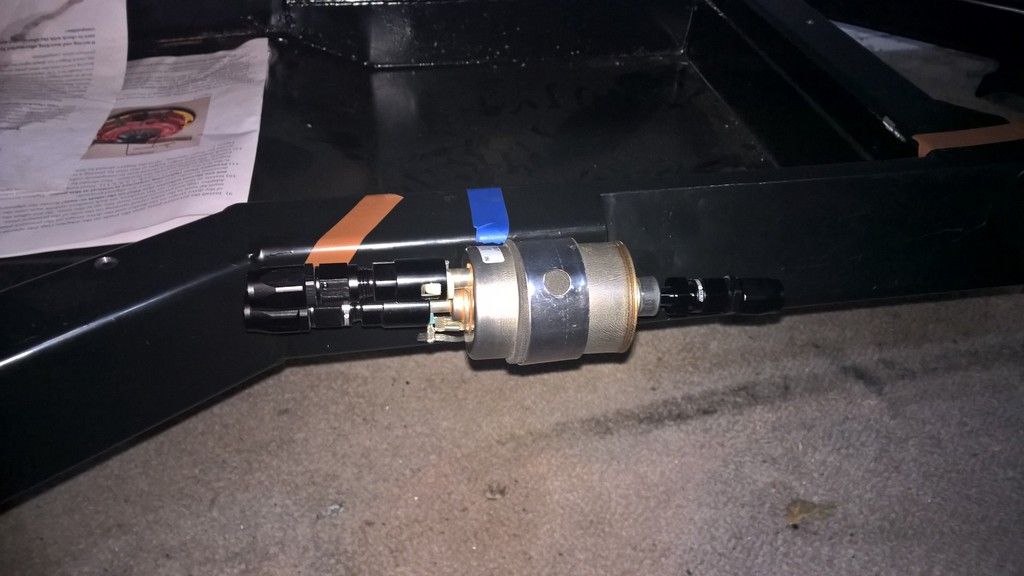
  • AN-6 Bosch Inlet M18x1.5 30 Micron Filter
  • Standard GM Compatible 58 PSI Filter Regulator
The fuel line and regulator came from summitracing and the connectors from torque products. I used the standard GM filter regulator as it works at 58psi which is what the LS6 engine requires. In addition it is readily available at just $35 from summit racing and as it has a built in return valve it saves on additional connectors and cost. 

I used AN-6 fuel line instead of the 10mm I/D hose recommeded by AK as it is slightly smaller and therefore more pliable. In addition, Tim Adams racing advised me this size could provide enough fuel for over 900BHP so there was no need to go as big as 10mm I/D. 

Making the pipes is fairly straight forward. You just have to take your time, one pipe at a time attaching them into place before you move on. This means taking pipes on and off as you go but it means there is less chance for error.

To make a pipe:
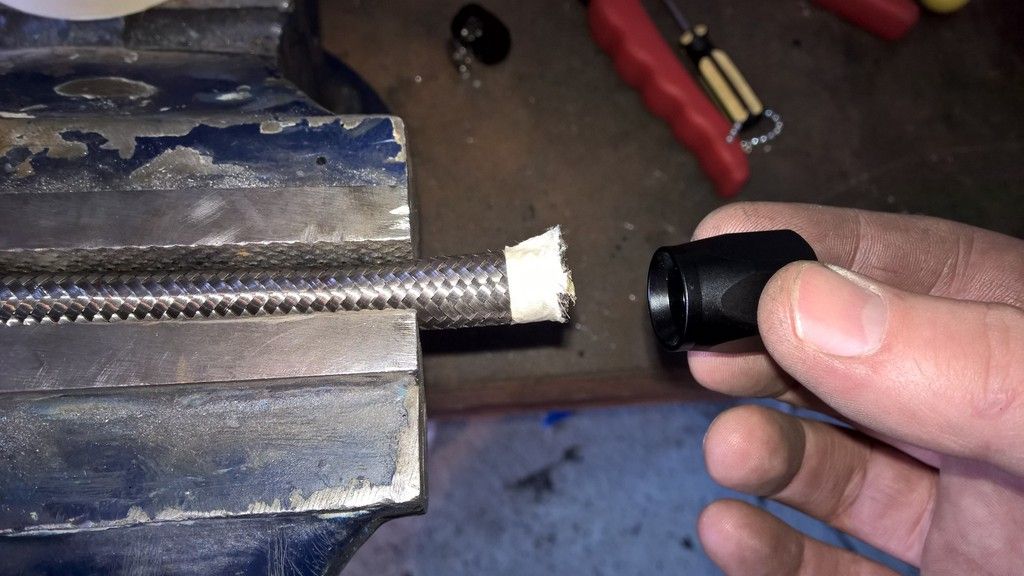
  • Wrap some masking tape around the pipe and then cut with an angle grinder and cutting disc. The tape stops the pipe from falling apart.
    • NOTE: if you get lots from fraying on the pipe then re-cut it as it will be more pain than its worth.
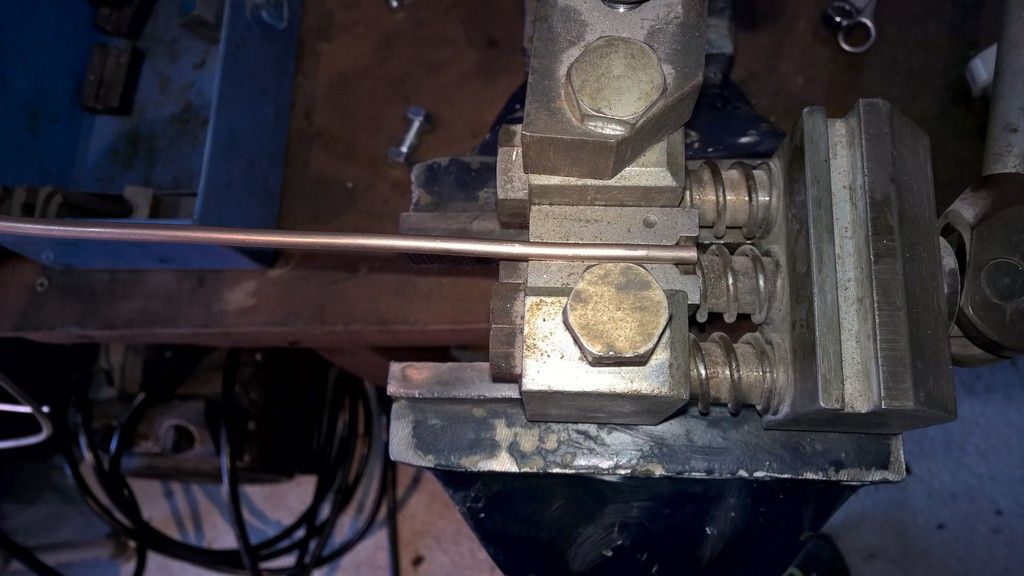
  • Hold the pipe in a vice and offer up the first part of the connector. Use a small flat screw driver to work the end of the pipe into the connector. This takes a bit of effort as you push/screw the end cap onto the pipe without damaging it but its not overly difficult.
  • Screw in the second part of the connector. I found a good method was to clamp one spanner in the vice with the ring end out of the vice. Place first part of the connector in the ring and then hold the pipe with one hand whilst turning the second part of the connector with another spanner until its right in.

I connected the filter to the bosch pump and made a bracket to attach it to. This was so I could mount it at the back near the diff but higher up than the prop shaft so it easily cleared the brake pipes. NOTE: the bottom of the bracket needs a spacer in it as it is offset to the tunnel part of the chassis.

I used M5 Rivnuts and bolts with spring washers and threadlok in the tunnel frame and M6 Rivnuts with bolts, spring washers and threadlok in the main chassis beam. All P-clips were rubber lined and spaced 10" apart.


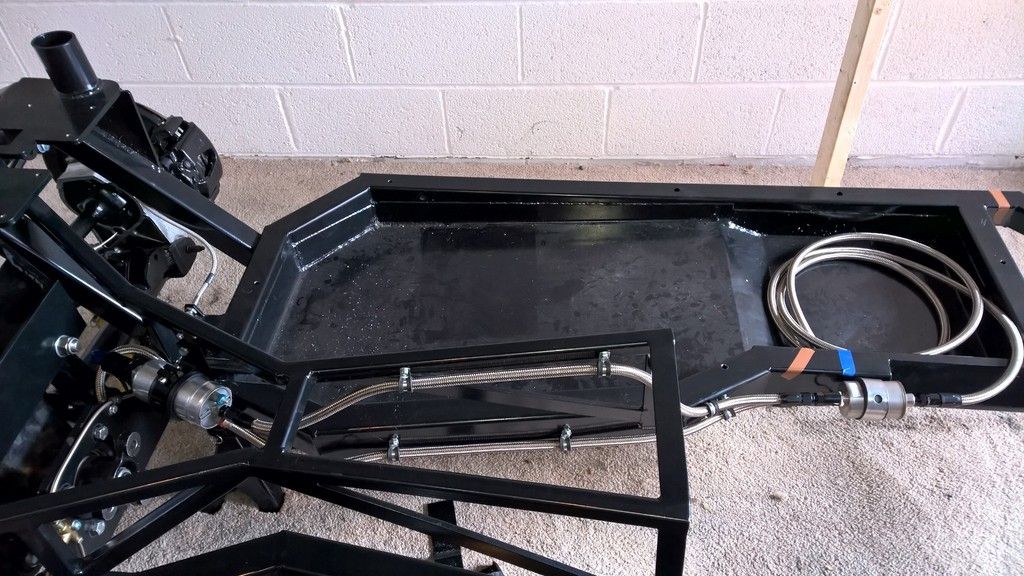
The standard GM filter regulator was placed towards the front of the chassis where the manual suggests putting the pump. 


Pipes were then made up running from front to back.

The tanks had to be lifted into place with a jack and then the "lugs" drilled out to 7mm, then tapped at 8mm. M8 * 35mm bolts with spring washers and thread lock was then used to secure the tank. NOTE: you only drill up through the first wall of the chassis tubing. Do not go through both walls (a.k.a all the way through)

Heres the final solution. 


Update 30/09/15 : I was unhappy later with the clearance from the end of the fuel regulator on the bell housing (the last connector to the right of the picture above) so I changed the connector for a 90 degree bend fitting instead. Parts list at the start of this post has been updated so is correct. 

Brake Lines

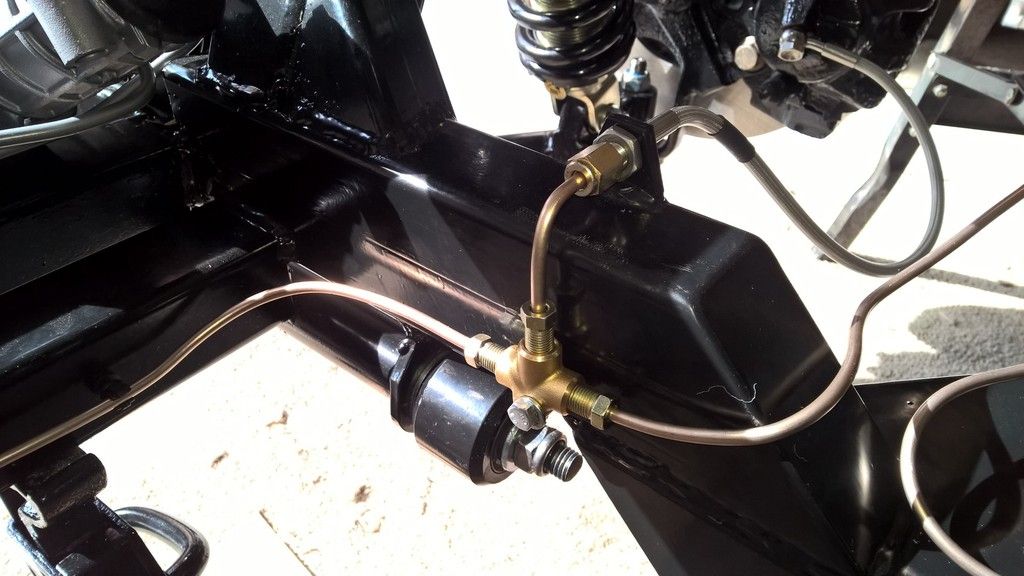
Running the brake lines is a fairly straight forward job, if you have the right tools. I used the following:

  • Kunifer brake pipe (rather than copper as it handles newer fuels better)
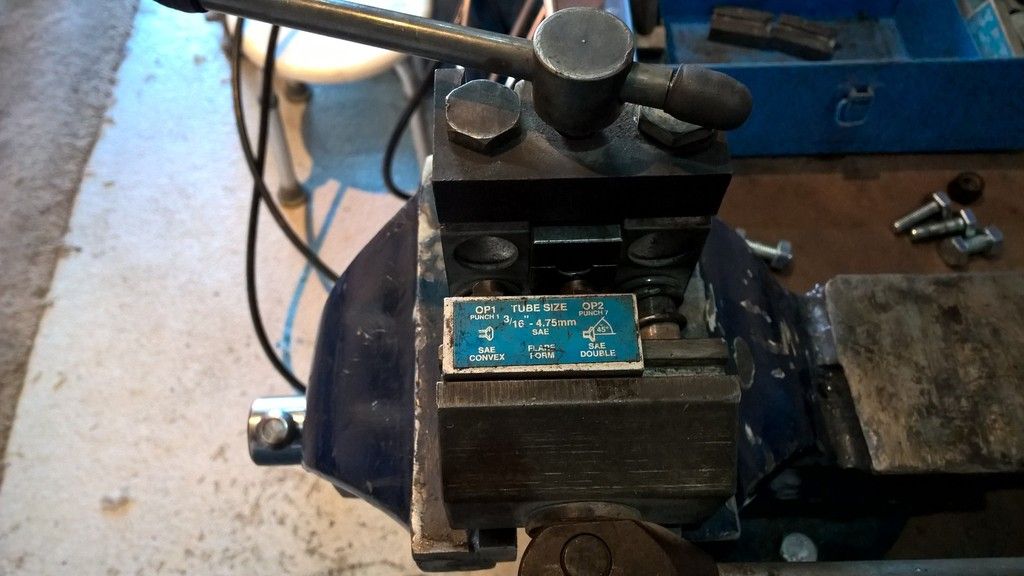
  • A brake pipe flaring tool I borrowed from a mechanic I know
  • Various unions bought from carbuildersolutions
  • M5 Rivnuts, M5 bolts, Spring Washers and Thread-lok
  • 3/16ths rubber lined p-clips spaced 10" apart
  • A 90 degree drill chuck bought from Toolstation for about £10
  • Some brake pipe clips (just to hold the cable in place until permanent fixings were added)
The key thing that I found was its all about having the right tool. The brake flaring tool I bought was very easy to use, made perfect flares straight away a every sealed up first time when I pressure tested it.

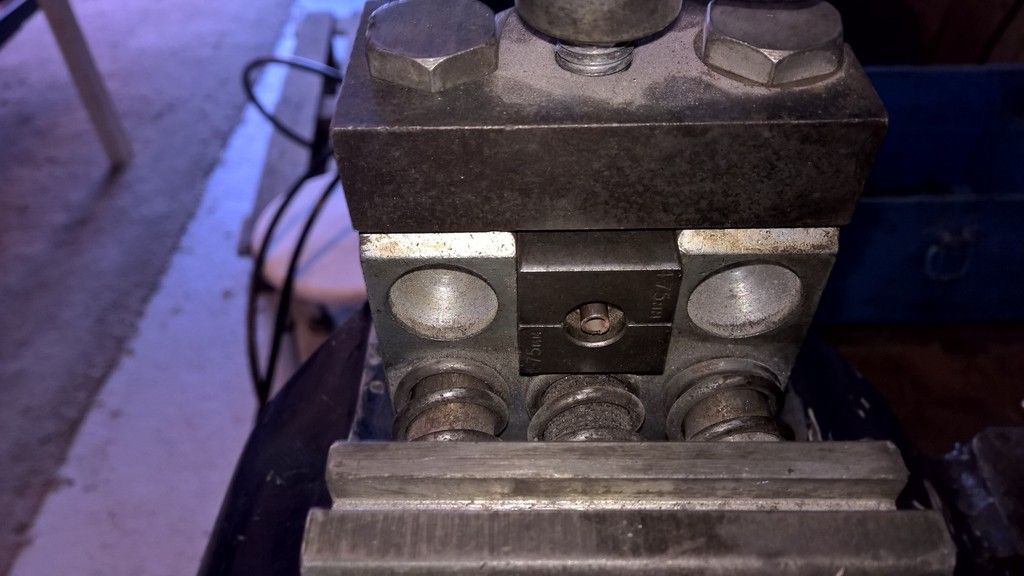
How do you flare brake pipes (using a tool similar to what I had)

1) Place the pipe in the bottom half of the mould, add the top of the half and screw the clam down ensuring the pipe is flush with the front for the mould.
2) The rule is do a single flare for a male connection and a double flare for a female connection.
3) line up the 3/16ths flare tool and pull the lever on the single flare (even if doing a double)
4) Without moving the pipe, and only if doing a double flare, move the tool across to the double and pull the level again.
5) Use a pin to pull out any swarf/metal shavings from inside the pipe.
6) When tightening in them up on the car do not over tighten. This is as bad as not doing them enough. They should be hand tight but without swinging off the spanner.

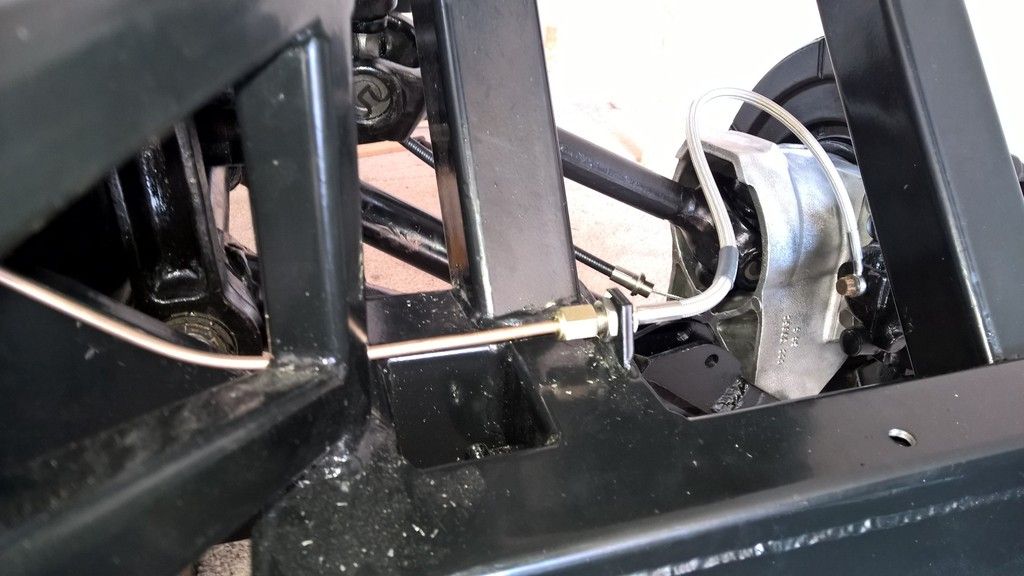
I then connected all the calipers, discs, brake flexis and pedal box so that I could pressure test the system. I left this pressurised overnight and once I was satisfied everything was ok a drilled and M5 Rivnut the chassis to fix the brake lines into place. 


Caliper Rebuild

A lot of builders shy away from rebuilding their own calipers usually siting the importance of braking as the reason; many use Ward Engineering and I must admit that if ease is your preference over cost or if you are comfortable with this approach then go for it.

However, I wanted to rebuild as many of the donor parts as I could myself.

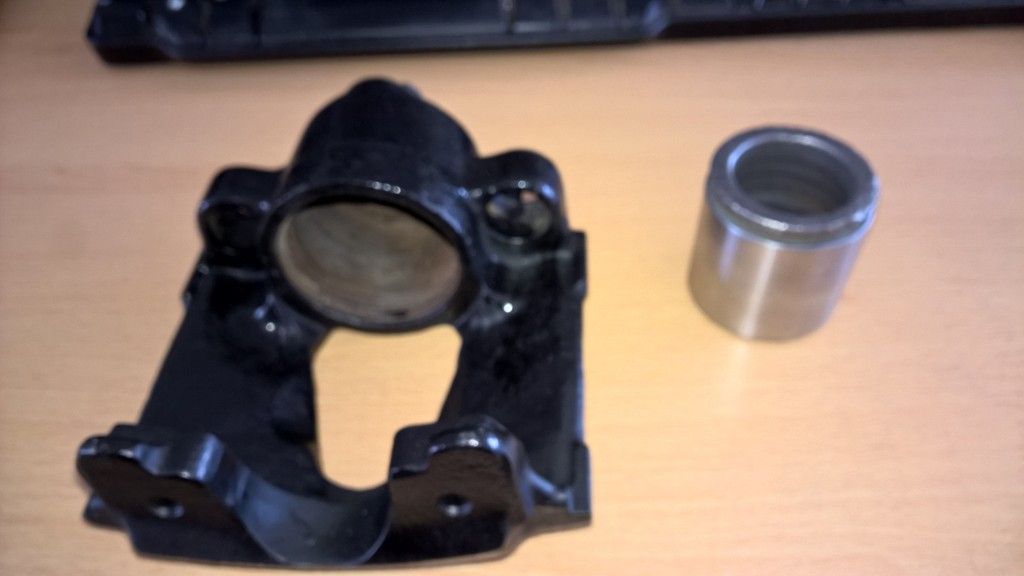
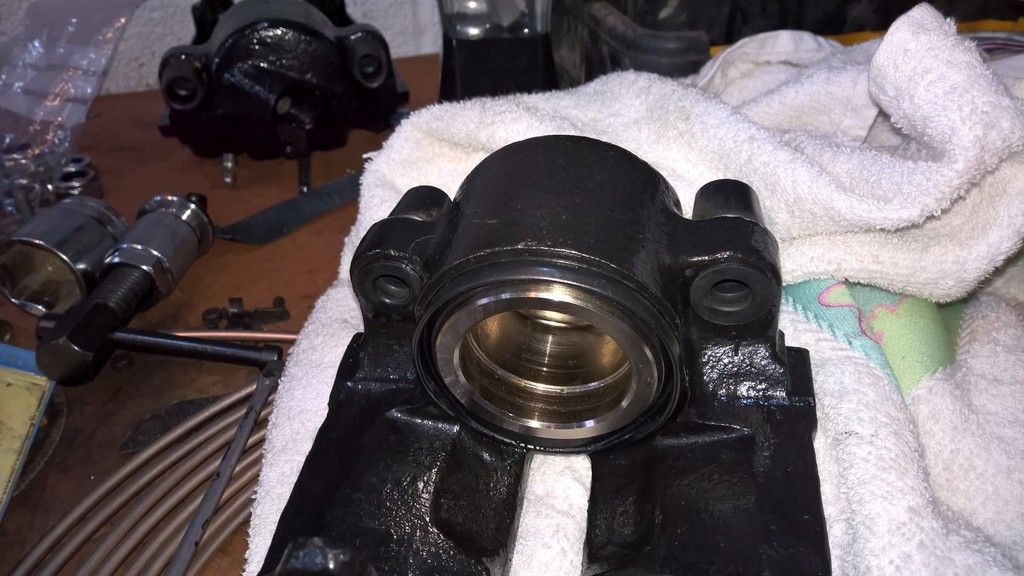
Calipers are fairly simple items. There is a square cut seal (the most important bit) which sits inside in the piston housing. This along with a clean piston face is the bit that really makes it work. There is a dust boot to keep the whole thing clean and functioning well; finally there are the carrier pin rubber sleeves, bleed screw and brake pipe input hole.

My rear brakes are from the Jaguar X300 range whereas the fronts are the XJ40 (newer version). For those that don't know, it is important to know this when you get your donor parts as the XJ40 has two part numbers for discs and pads (etc).

The XJ40 is commonly M10 x 1 for the input thread, However if you have the X300 variant that I have on the rear of the car, they are M10 x 1.5.

Replacement parts are available from a number of places but I chose to get mine from SNG barratt as they do both Jaguar and cheaper alternative products so you can pick and choose the best route for you.

I am assuming that you have cleaned up the calipers and painted them with something like POR-15 caliper paint (I got mine from Frost.co.uk).

First install the square cut seal into the piston housing. Lubricate it well with brake fluid and ensure that it is seated corrected. It just pushes into place.


Next there are two methods of installing the boot and piston; the first worked on three of the calipers, however the 2nd had to be used for the 4th as the boot kept jumping out.

Secondly install the new bleed screw and tighten, then:

Method 1: install the boot into the piston housing ensuring that you push the rim into of the boot into the seal groove then lubricate the boot well with brake fluid. Place the piston (also lubricated well with brake fluid) over the boot and use an air line to blow air into the brake pipe input hole. If you have created a good seal around the boot it will inflate and try to push the piston out. Allow it to do this a little and it will expand and pop around the piston, you can then just push the piston in (you may need a clamp or brake piston retraction tool). Push the piston in fully and then work into the groove in the piston.

Method 2: Place the boot onto the bottom of the piston with the seal hanging off the bottom. Place the piston over the housing and work the boot into place gently. Once the boot rim seats into the housing you can push the piston fully in so the boot seats into the piston also.


Finally, blow a little air into the brake input hole (not too much) - just enough to move the piston so you can check the boot is installed correctly and apply a little rubber grease/copper grease/Vaseline to the carrier pin holes and push through your new carrier bushes.

All done.


Thursday, 17 September 2015

Storing / Lifting the body

Many people simply put the body in the garden and AK are fine with this, however, for me the garden gate gap was too small to get the body into the garden (I would need a crane to lift it over the wall!)

So I needed a new solution....

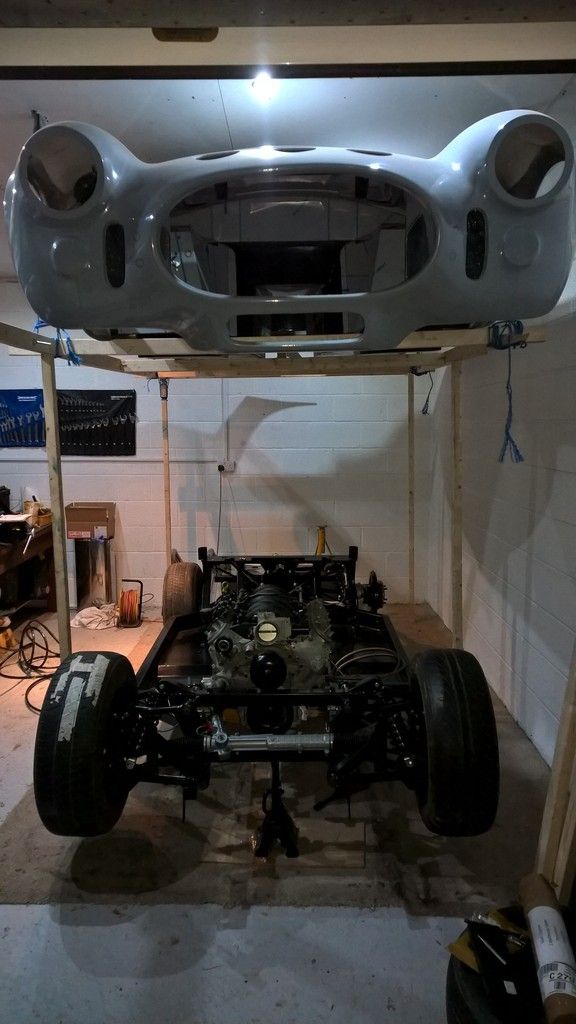
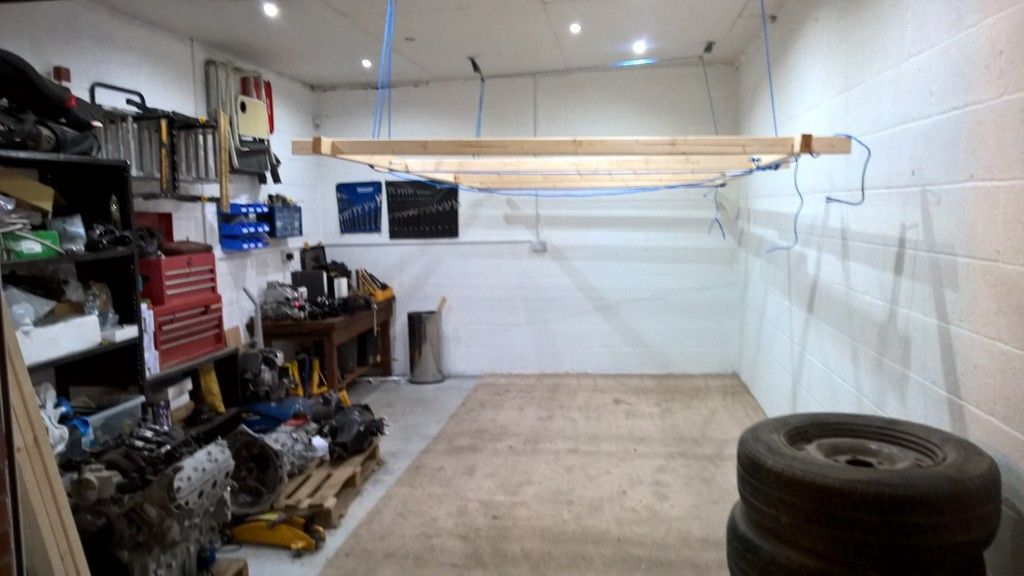
What I had was a reasonable high garage ceiling, so I decided to lift the body up instead.

First and foremost I talked with the surveyors who built the garage to confirm it could take the weight and when they said yes the plan was put into action.

The parts needed for this were:

4 x 4" x 4" fence posts, long enough to span 3 roof rafters

2 x 1 tonne ratchet straps
4 x 1 tonne lifting slings
4 x shackles (rated at 600kg each)
4 x Pulley wheels (rated at 250kg each)
30m of Polypropelene rope (rated to 600kg)
7 x 8ft lengths of wood (mine was softwood and came from Wickes)
A packet or two of angle brackets

The cost for this overall was around £100.

I had read on the forum that the body needed to be supported at 43" (behind the wheel arch) 86" and 135" (under the boot).

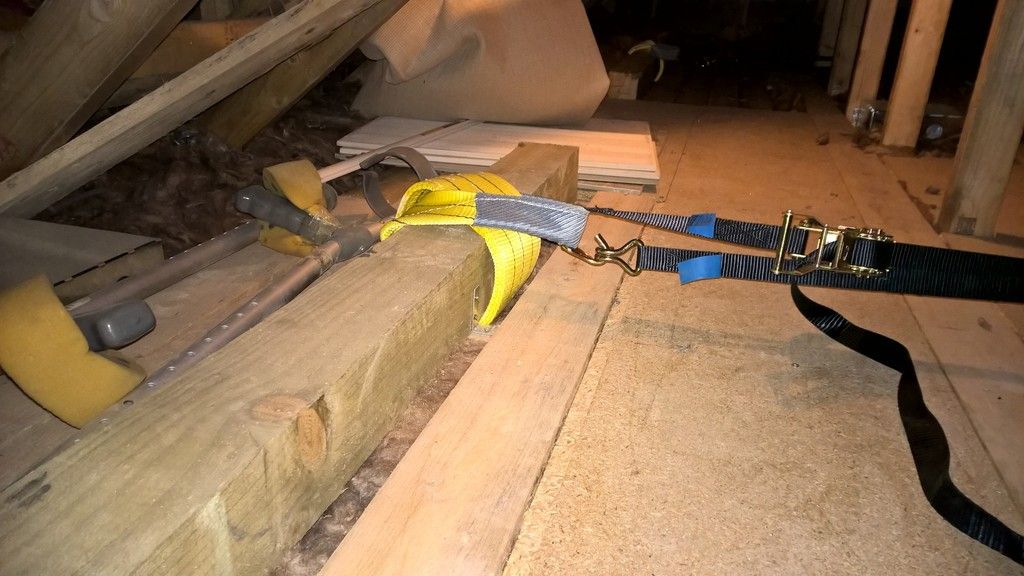
First of all I made four holes in my garage ceiling, close to the 43" and 135" markers and placed the posts into position, attaching them down with angle brackets. I wrapped the slings around the posts looping it through itself so it couldn't be pulled off the post and then through the hole at one end. For extra security I then attached a ratchet strap across the two rear and front beams to spread the load.


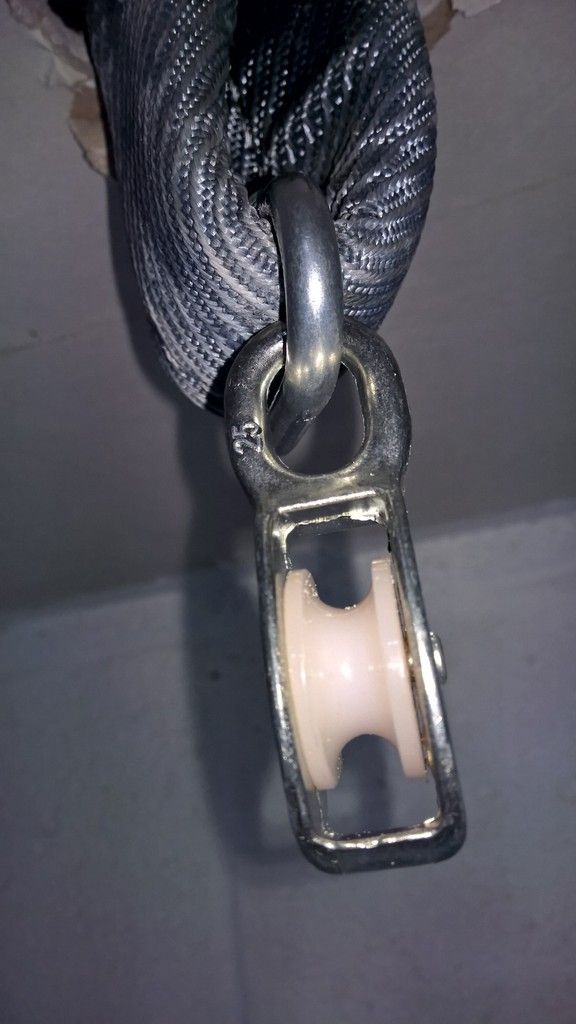
The shackles and pulleys simply connect onto the strap and then the ropes attach to the frame I built to lift the body.

For those that have done the research you'll notice this solution is over-engineered in terms of ability to support the weight as the body is c. 200kg (AK said they have never actually weighed it). I did this on purpose for simple piece of mind.

The "Eagle-Eyed" amongst you will also note the posts supporting the frame in the pictures elsewhere on the blog. These are not technically needed, but psychologically they make me feel safe :-)

There was one mistake in the solution. Originally I bought double pulleys for one side of the lifting rig. This was so that I could run all the ropes to one side of the garage and lift the body with just two people rather than one on each corner. It didn't work for two reasons; firstly because the weight is simply too much for two people to safely lift (unless your built the proverbial brick s**t-house) but also because the soft wood frame I had built couldn't take the strain and broke on one corner. Changing the solution to a four person lift however worked fine. The revised solution also ignored the eye bolts and tie offs in the picture of parts.

One possible improvement if money was no issue would be to change the ropes for four chain blocks so that one person could lower the car bit by bit, corner by corner.

Don't get me wrong readers - this still requires some serious effort to lift.